 Save
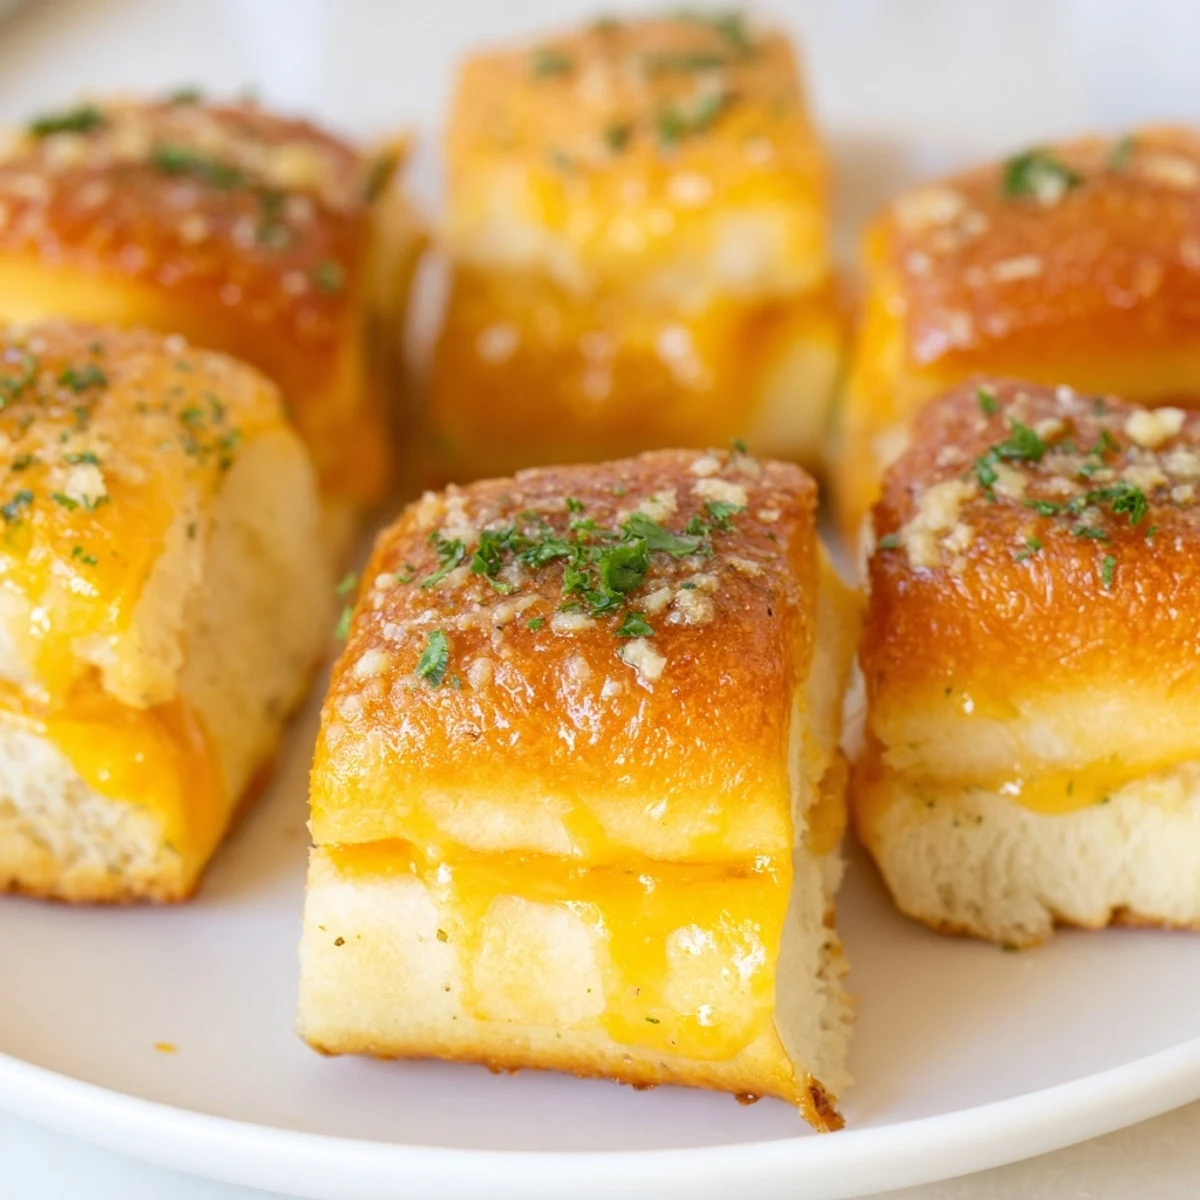
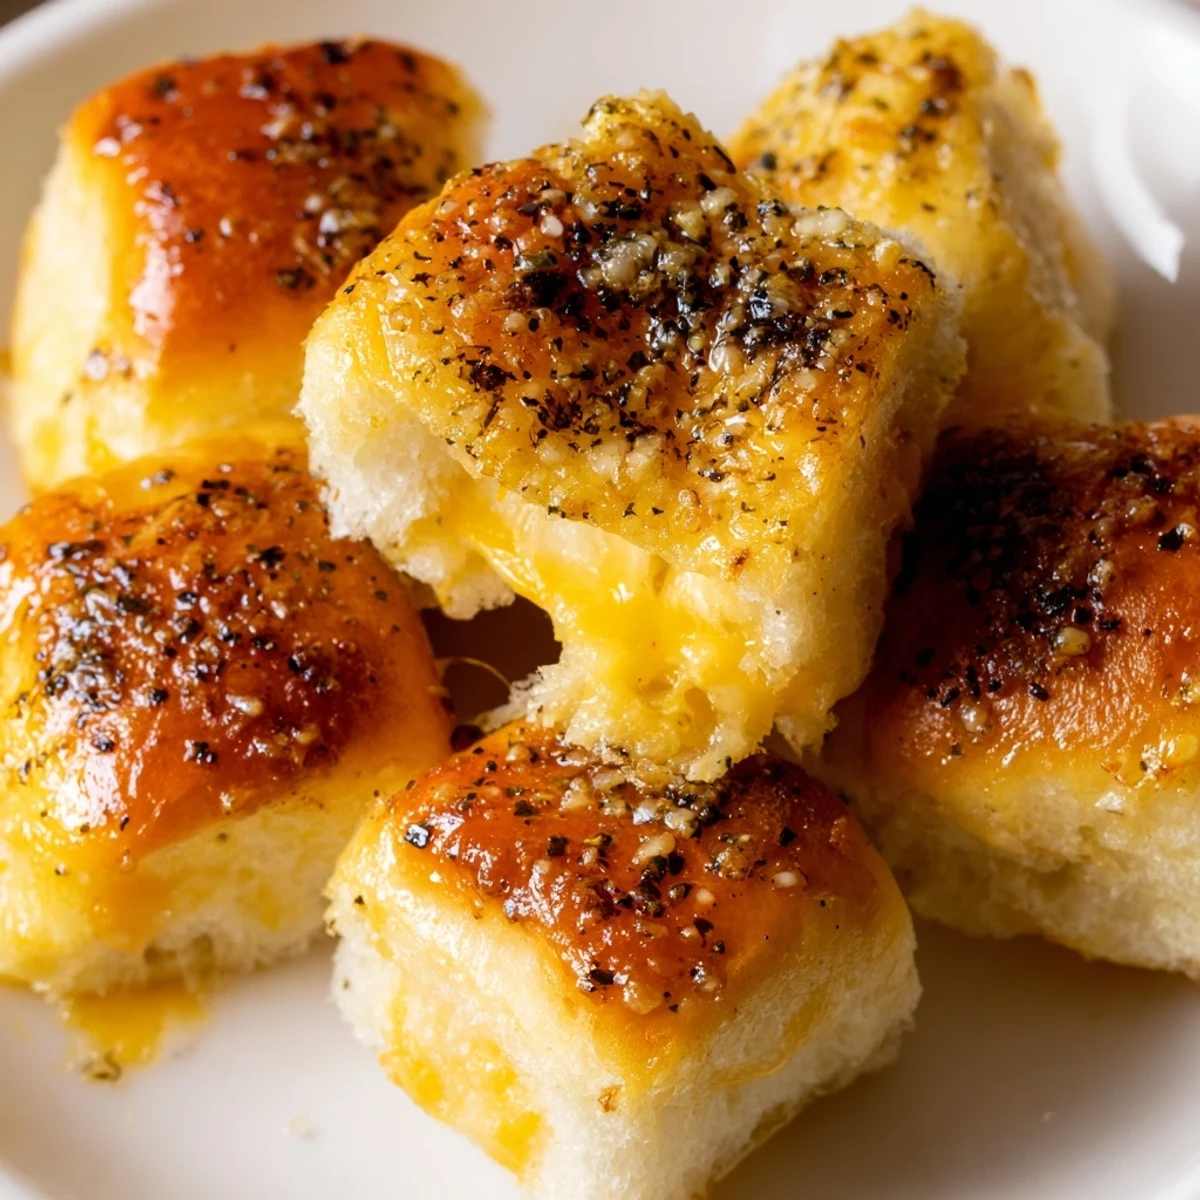
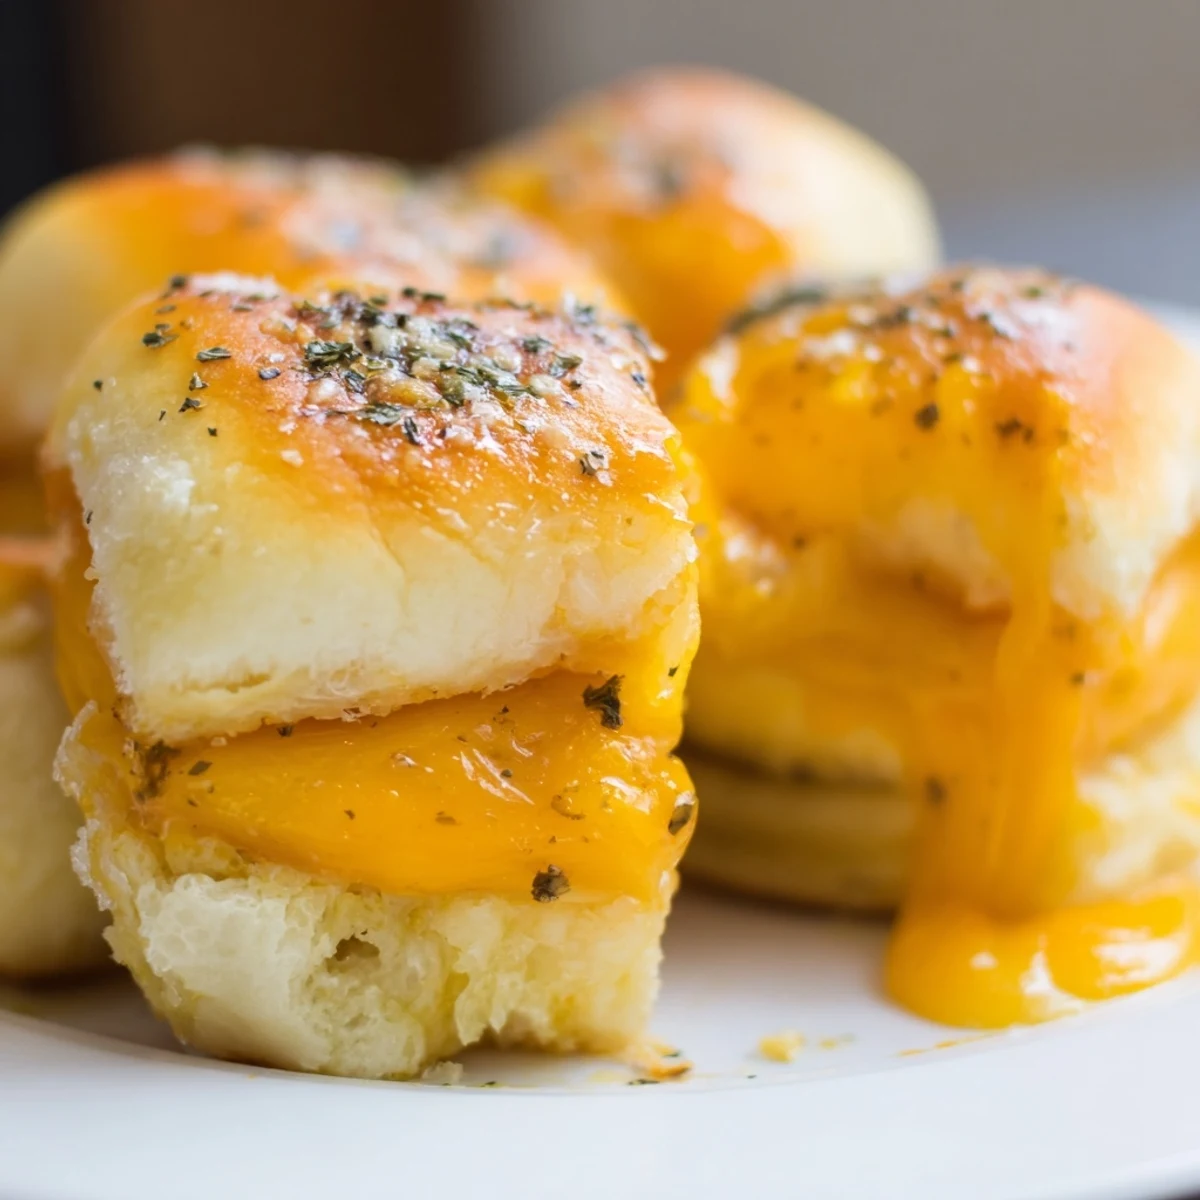
Save These bite-sized sandwiches feature Hawaiian sweet rolls sliced horizontally and filled with layers of sharp cheddar cheese. After brushing with melted butter and optional seasonings like garlic powder and parsley, the rolls bake until the cheese melts completely and the tops turn golden brown. The natural sweetness of Hawaiian rolls pairs perfectly with savory cheddar, creating an irresistible sweet and salty combination that appeals to both kids and adults. Serve them warm for the ultimate party appetizer or quick snack.
My daughter came home from a birthday party last year raving about these little sliders someone had brought. She kept talking about them for days, so we decided to recreate them in our tiny apartment kitchen. The smell that filled our place when they came out of the oven was absolutely ridiculous. Now they are her most requested birthday dinner, and honestly, I cannot blame her.
Last Super Bowl, I made three batches because my brother insisted twelve would not be enough for everyone. He was right, and I ended up throwing together another tray while people were literally waiting by the oven door. Never have I seen adults get this excited about something so simple.
Ingredients
- 1 package Hawaiian sweet rolls: The sweetness in these rolls is what makes the whole concept work
- 8 oz cheddar cheese: Sharp cheddar gives you that perfect contrast against the sweet bread
- 2 tbsp unsalted butter, melted: Get this nice and hot so it spreads evenly
- 1 tbsp Dijon mustard: Optional but highly recommended for cutting through the richness
- 1 tbsp mayonnaise: Creates the most incredible spread when mixed with mustard
- 1 tsp garlic powder: Sprinkle this on top for that golden buttery finish
Instructions
- Get your oven ready:
- Preheat to 350°F and line a baking sheet with parchment paper so nothing sticks
- Prep the rolls:
- Keep all the rolls connected and slice the entire block horizontally like you are making a giant sandwich
- Make the magic spread:
- Whisk together Dijon and mayo if using, then spread it on both cut sides of the rolls
- Layer it up:
- Pile the cheese onto the bottom half, then put the top back on like nothing happened
- Butter and season:
- Brush the tops generously with melted butter and hit them with garlic powder and parsley
- Bake covered:
- Cover loosely with foil and bake for 10 minutes to melt everything together
- Get them golden:
- Remove the foil and bake 5 more minutes until the tops are gorgeous and golden brown
- Finish and serve:
- Let them rest 2 minutes, cut into individual sandwiches, and watch them vanish
 Save
Save My neighbor texted me at midnight once asking for the recipe because her kids would not stop talking about them after a playdate. Apparently her son told her they were better than restaurant sliders, which is basically the highest compliment a seven year old can give.
Make Them Your Own
I have discovered that adding thin slices of tomato right before the cheese layer adds this brightness that cuts through all the richness. My husband swears by crispy bacon inside, and honestly he is not wrong. These are incredibly forgiving, so play around with what your family loves.
Serving Strategy
These reheat surprisingly well the next day, though getting them to day two has never happened in my house. Pop them in a 300°F oven for about 5 minutes and they come back to life beautifully. I serve them with a simple green salad to balance out all that cheesy goodness.
Timing Is Everything
You can assemble these entirely the night before and keep them wrapped tightly in the fridge. Just brush with butter right before baking. This has saved me more times than I can count when we have last minute guests or need party food fast.
- Wrap assembled rolls tightly if making ahead
- Let them sit at room temperature 15 minutes before baking
- Double the butter topping if reheating the next day
 Save
Save These little sliders have turned into my absolute go to for everything from game day to casual weeknight dinners. Hope they bring as much joy to your table as they have to mine.
Recipe FAQs
- → Can I make these ahead of time?
-
Yes, you can assemble the rolls up to 24 hours in advance. Store them covered in the refrigerator, then bake when ready to serve. They may need an extra minute or two in the oven if cold from the refrigerator.
- → What other cheeses work well?
-
Mozzarella creates extra stretch, Swiss adds nutty flavor, pepper jack brings mild heat, or try a blend of multiple cheeses. Provolone and Gruyère also melt beautifully on these sweet rolls.
- → Can I add meat to make them more substantial?
-
Absolutely. Layer cooked bacon, ham, or turkey slices between the cheese layers. You can also add caramelized onions, sautéed mushrooms, or sliced tomatoes for extra flavor and texture.
- → Do I have to slice all the rolls at once?
-
Slicing the entire block horizontally saves time and keeps the rolls uniform. However, you can separate and slice individual rolls if you prefer. Just work carefully to keep them intact for the best presentation.
- → Why cover with foil during baking?
-
The foil initially steams the rolls, keeping them soft while the cheese melts. Removing it for the final minutes allows the tops to crisp and turn golden brown, creating that perfect buttery, crunchy exterior.
- → What should I serve with these?
-
These pair wonderfully with tomato soup for dunking. They also complement a fresh green salad, vegetable platter, or bowl of chili. For parties, serve alongside other finger foods and appetizers.
