 Save
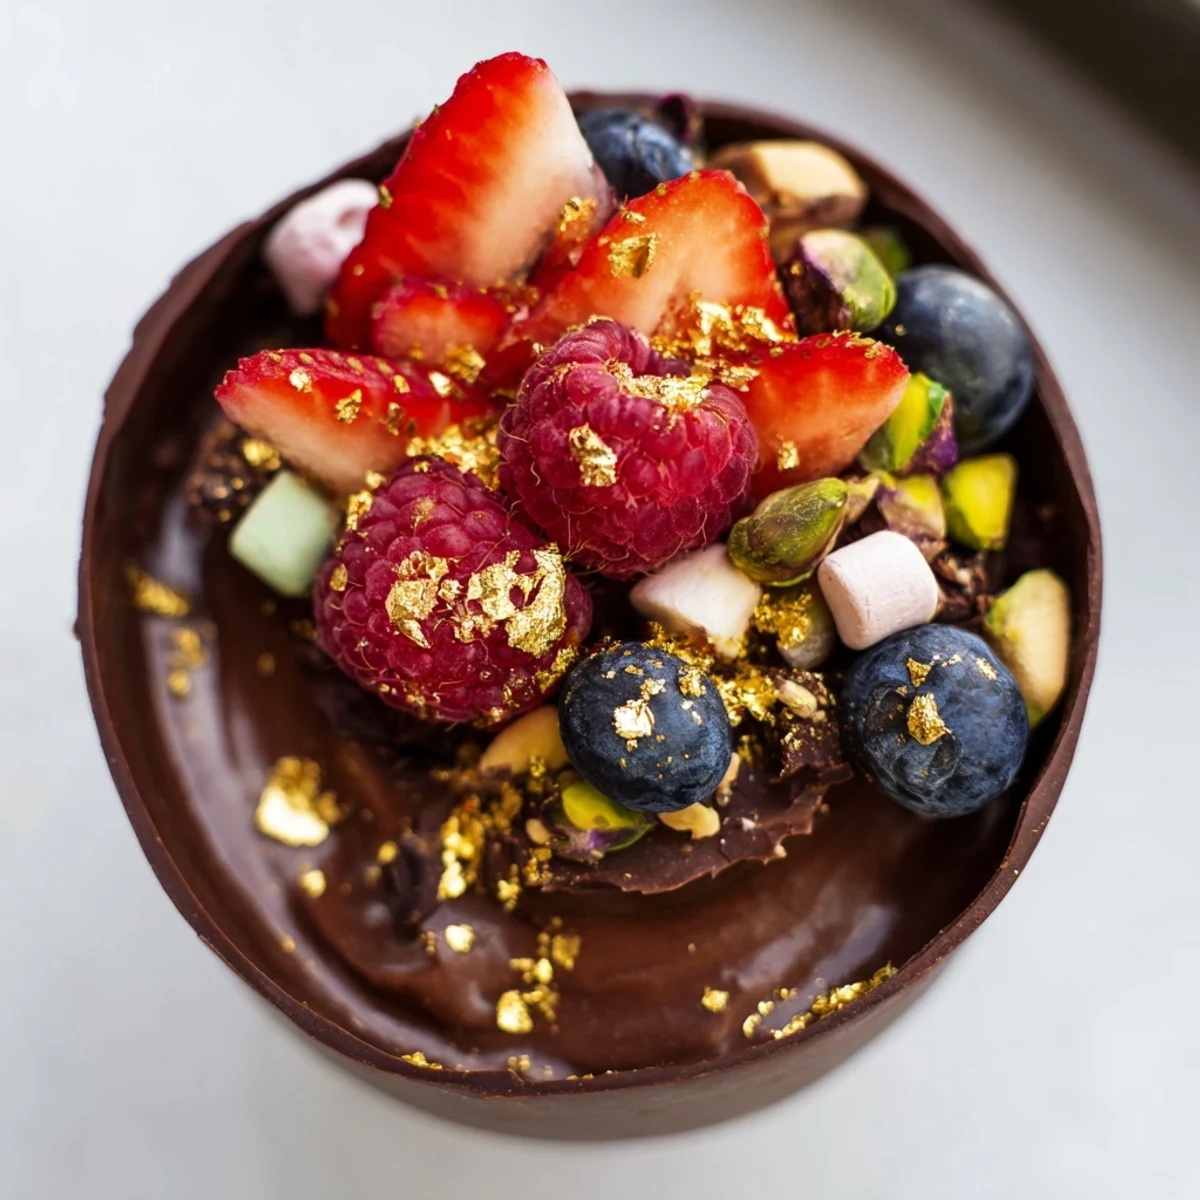
Save These stunning individual chocolate cups combine the richness of dark chocolate mousse with the freshness of seasonal berries and satisfying crunchy toppings. The edible chocolate vessels create an impressive presentation that's surprisingly simple to achieve. Each cup delivers layers of velvety smooth chocolate mousse balanced by tart berries and textured nuts. The assembly process is straightforward: melt and mold chocolate cups, whip up a light mousse, then artfully arrange your chosen toppings. These handheld desserts are perfect for grazing tables, dinner parties, or whenever you want to serve something visually striking that tastes absolutely luxurious.
Last New Year's Eve, I stood in my kitchen at midnight, chocolate coating my fingers and tiny cup liners scattered everywhere like confetti. These grazing cups were born from a desperate wish to serve something elegant without spending hours at the stove. Now they're my go to when I want to feel fancy without actually trying that hard.
I made these for my best friend's engagement party last spring, and honestly, the way people's eyes lit up was better than any compliment I've ever received. There's something about personal desserts that makes people feel special, like you put extra thought just for them.
Ingredients
- Dark chocolate: Go for at least 60% cocoa content because the bitterness balances the sweet mousse beautifully
- Heavy cream: Very cold cream whips better so pop it in the freezer for 10 minutes before starting
- Powdered sugar: Dissolves instantly into the cream without any grainy texture
- Vanilla extract: Pure vanilla makes a noticeable difference in such a simple dessert
- Fresh berries: Use whatever looks best at the market but avoid anything mushy or overripe
- Chopped nuts: Toast them lightly first for that extra layer of flavor depth
- Mini marshmallows: Add a playful texture that reminds everyone of childhood treats
Instructions
- Craft the chocolate shells:
- Melt the chocolate until perfectly smooth then paint it into cupcake liners with deliberate upward strokes.
- Set the cups:
- Chill until firm then peel away the liners slowly to reveal these gorgeous edible vessels.
- Whip the cream:
- Beat cold heavy cream with powdered sugar and vanilla until soft peaks just barely hold their shape.
- Make the mousse base:
- Melt the remaining chocolate and let it cool slightly so it does not seize when combined.
- Combine gently:
- Fold a spoonful of whipped cream into the chocolate first then incorporate that mixture into the remaining cream with light patient strokes.
- Fill the cups:
- Pipe or spoon the mousse into each chocolate shell stopping two thirds from the top.
- Add the toppings:
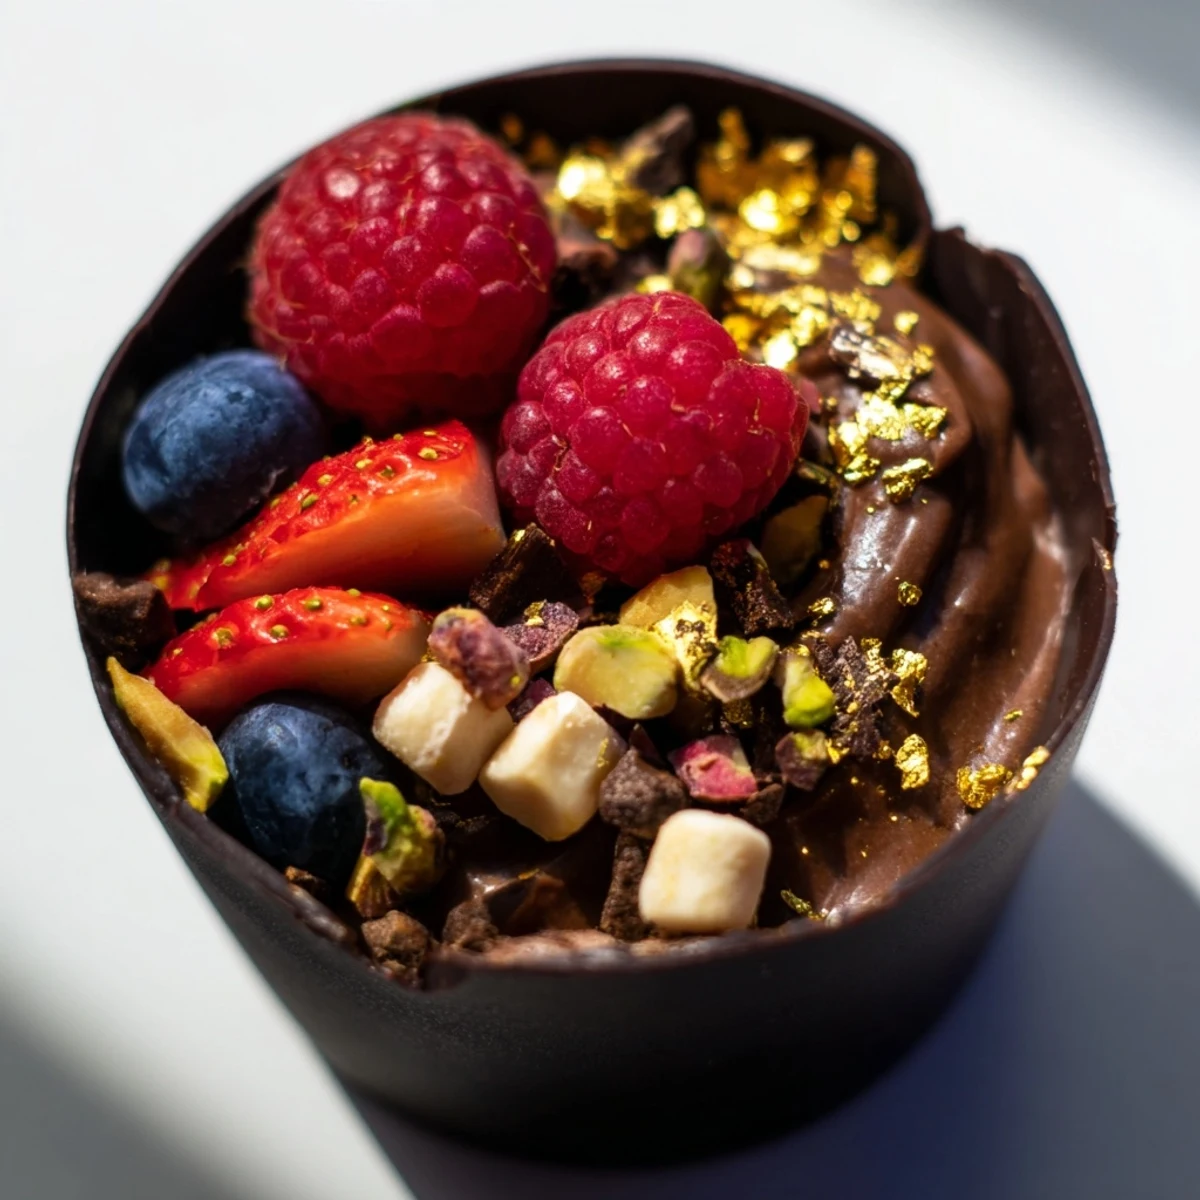
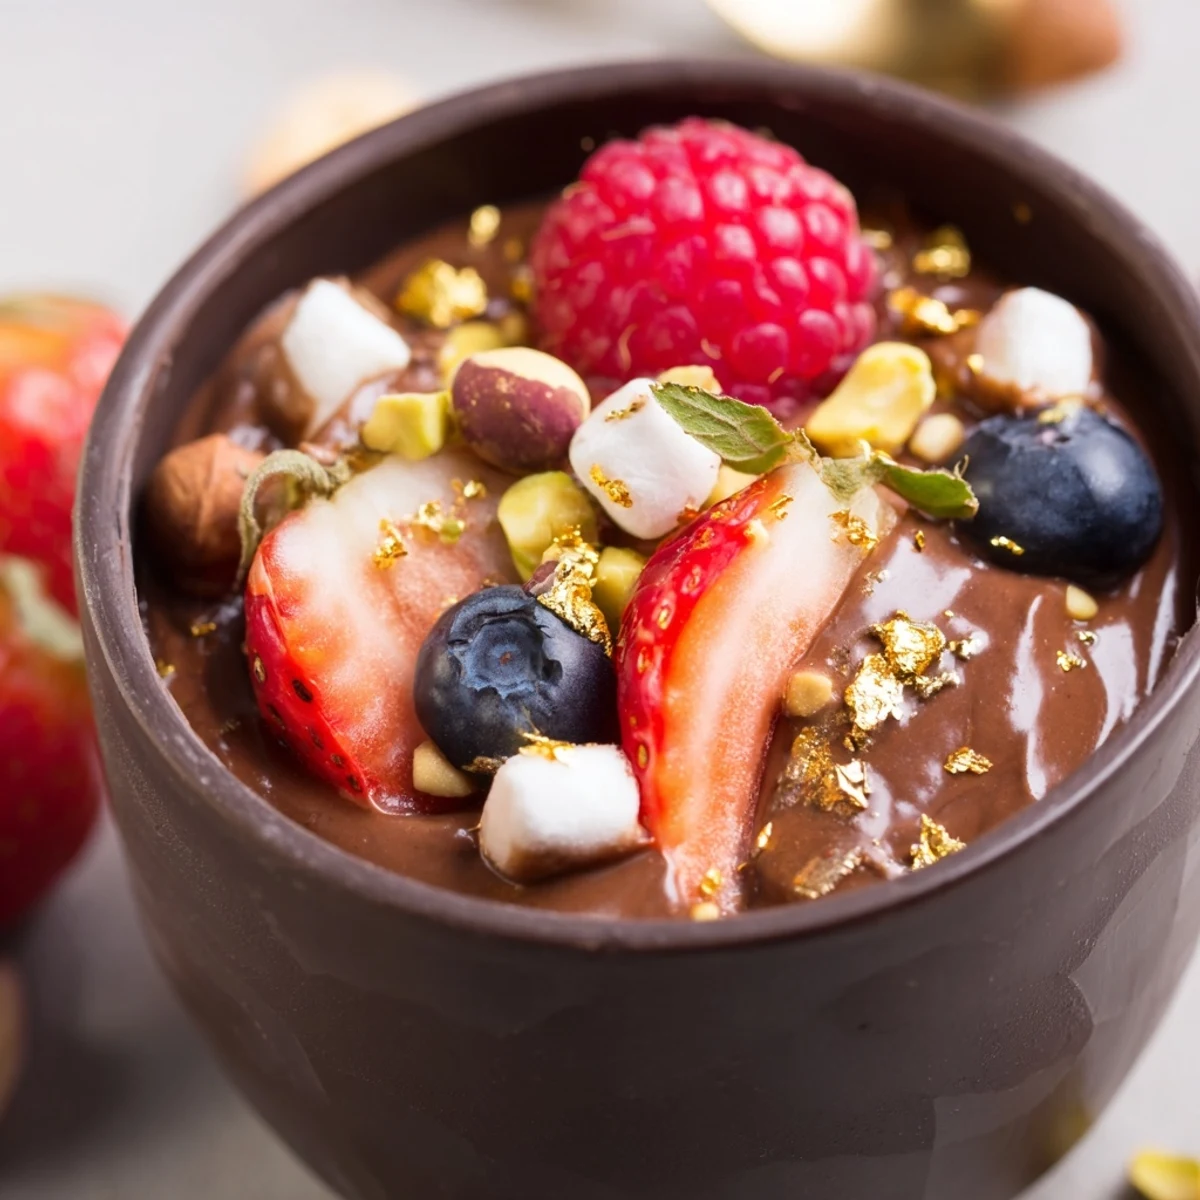
- Pile on berries nuts marshmallows and chocolate curls like a tiny beautiful edible landscape.
- Final chill:
- Refrigerate for at least 20 minutes so everything settles into perfect harmony.
 Save
Save My sister called me the next day after that engagement party asking for the recipe, and I realized these cups had become part of our family story already. Food has a way of doing that weaving itself into memories before you even notice.
Chocolate Temperature Matters
Work with your chocolate when it feels barely warm to the touch, around 90°F. Too hot and it will slide right off the liners, too cool and it will clump up unevenly.
Make Ahead Strategy
The chocolate cups and mousse can both be prepared a day ahead, but wait to assemble until a few hours before serving. Those toppings need to stay fresh and crunchy.
Presentation Magic
Arrange these on a pretty platter with some fresh mint sprigs or edible flowers tucked between the cups. The visual impact doubles when they are not just lined up like soldiers but artfully scattered.
- Clear glass plates show off the cups beautifully
- Napkins nearby are essential since chocolate can get messy
- Small dessert forks help guests get every last bite
 Save
Save There is something deeply satisfying about serving a dessert that looks like it came from a fancy bakery but actually came from your own kitchen. These cups remind me that elegance does not always require effort, just a little bit of chocolate love.
Recipe FAQs
- → How far in advance can I make chocolate grazing cups?
-
For optimal texture and freshness, prepare these cups on the same day you plan to serve them. The chocolate cups and mousse can each be made a day ahead and stored separately in the refrigerator. Assemble the cups just before serving to maintain the crisp texture of the chocolate vessels and prevent the toppings from becoming soggy.
- → What other toppings work well in grazing cups?
-
Beyond berries and nuts, consider adding crushed cookies, pretzel pieces for salt contrast, fresh mint leaves, shredded coconut, caramel drizzle, or seasonal fruits like diced mango or pomegranate seeds. The toppings should provide varying textures and complementary flavors to the rich chocolate base.
- → Can I make these without cupcake liners?
-
While silicone or paper liners create the classic cup shape, you can also use small silicone molds, chocolate molds designed for cups, or even carefully shape the chocolate around the outside of a greased glass. The key is ensuring even thickness and proper chilling time for the chocolate to set completely before removing the mold.
- → What's the best way to melt chocolate for the cups?
-
Use a double boiler method for the most control—place chopped chocolate in a heatproof bowl over simmering water, ensuring the bowl doesn't touch the water. Stir frequently until just melted. If using the microwave, heat in 20-second intervals at 50% power, stirring between each. Avoid overheating, which can cause chocolate to seize and become grainy.
- → How do I store leftover assembled grazing cups?
-
Store assembled cups in an airtight container in the refrigerator for up to 24 hours. Keep them in a single layer if possible to prevent topping damage. Note that the chocolate may develop condensation when refrigerated, which can slightly affect texture. For longer storage, freeze the unfilled chocolate cups for up to 2 weeks, then thaw and fill when ready to serve.
