 Save
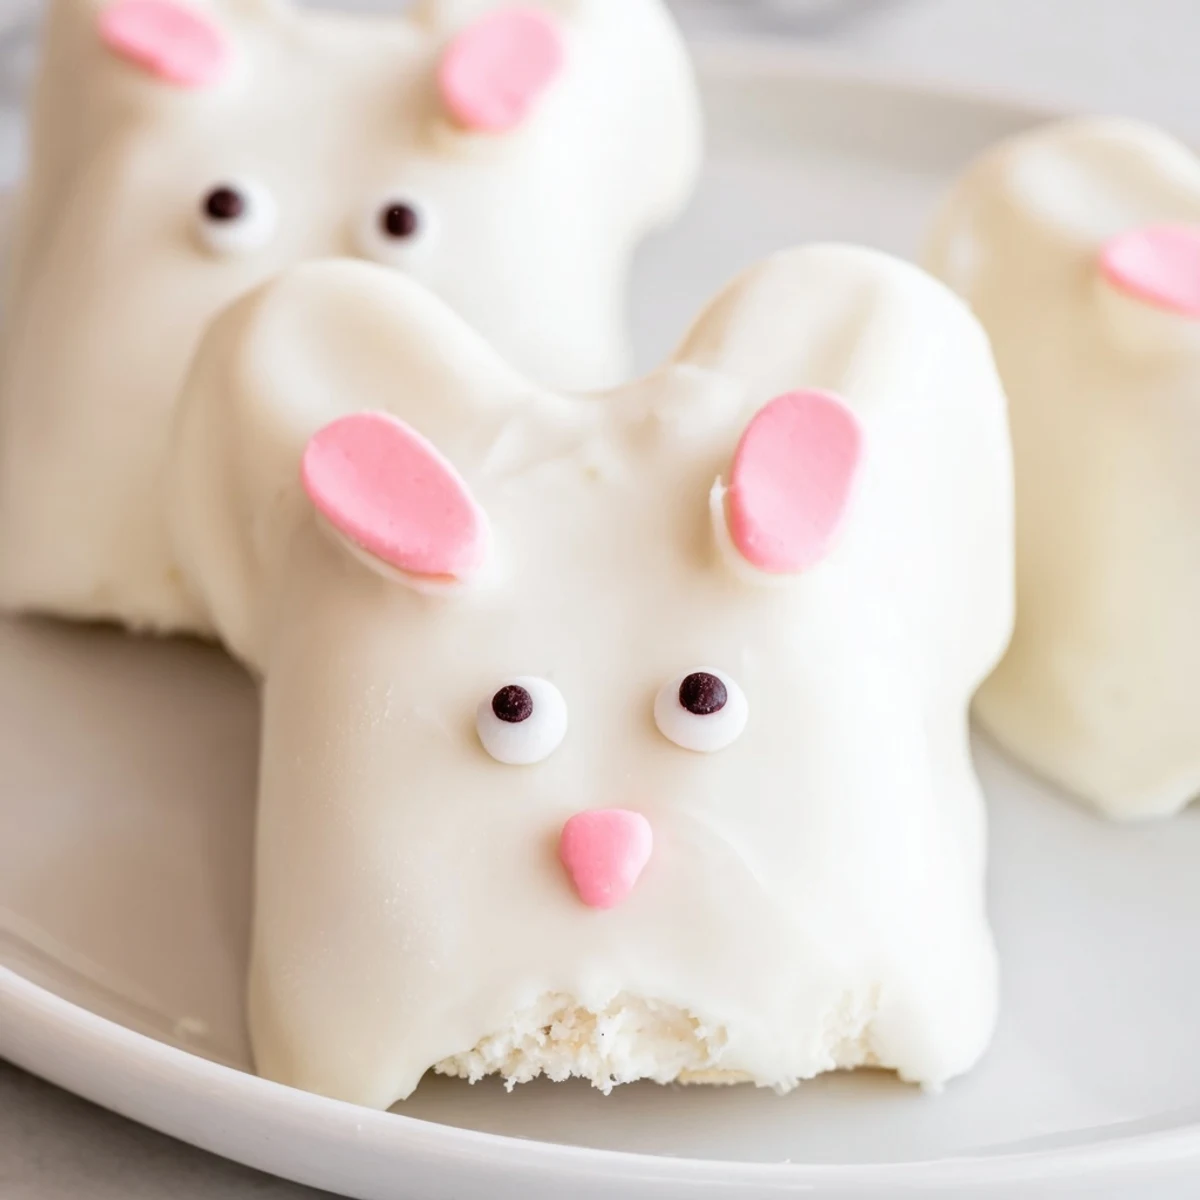
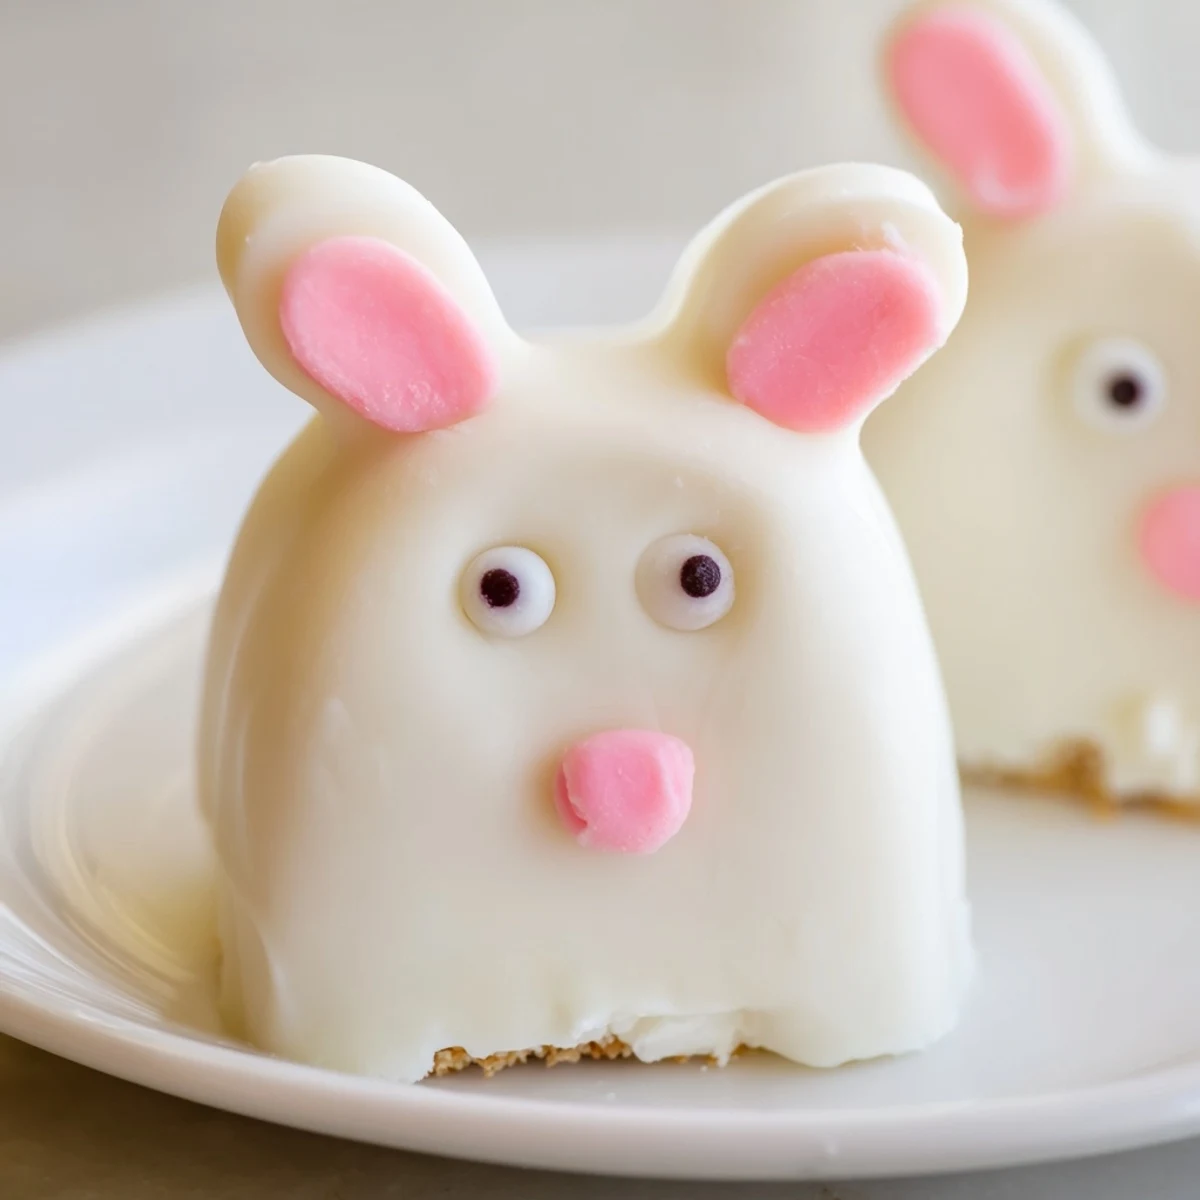
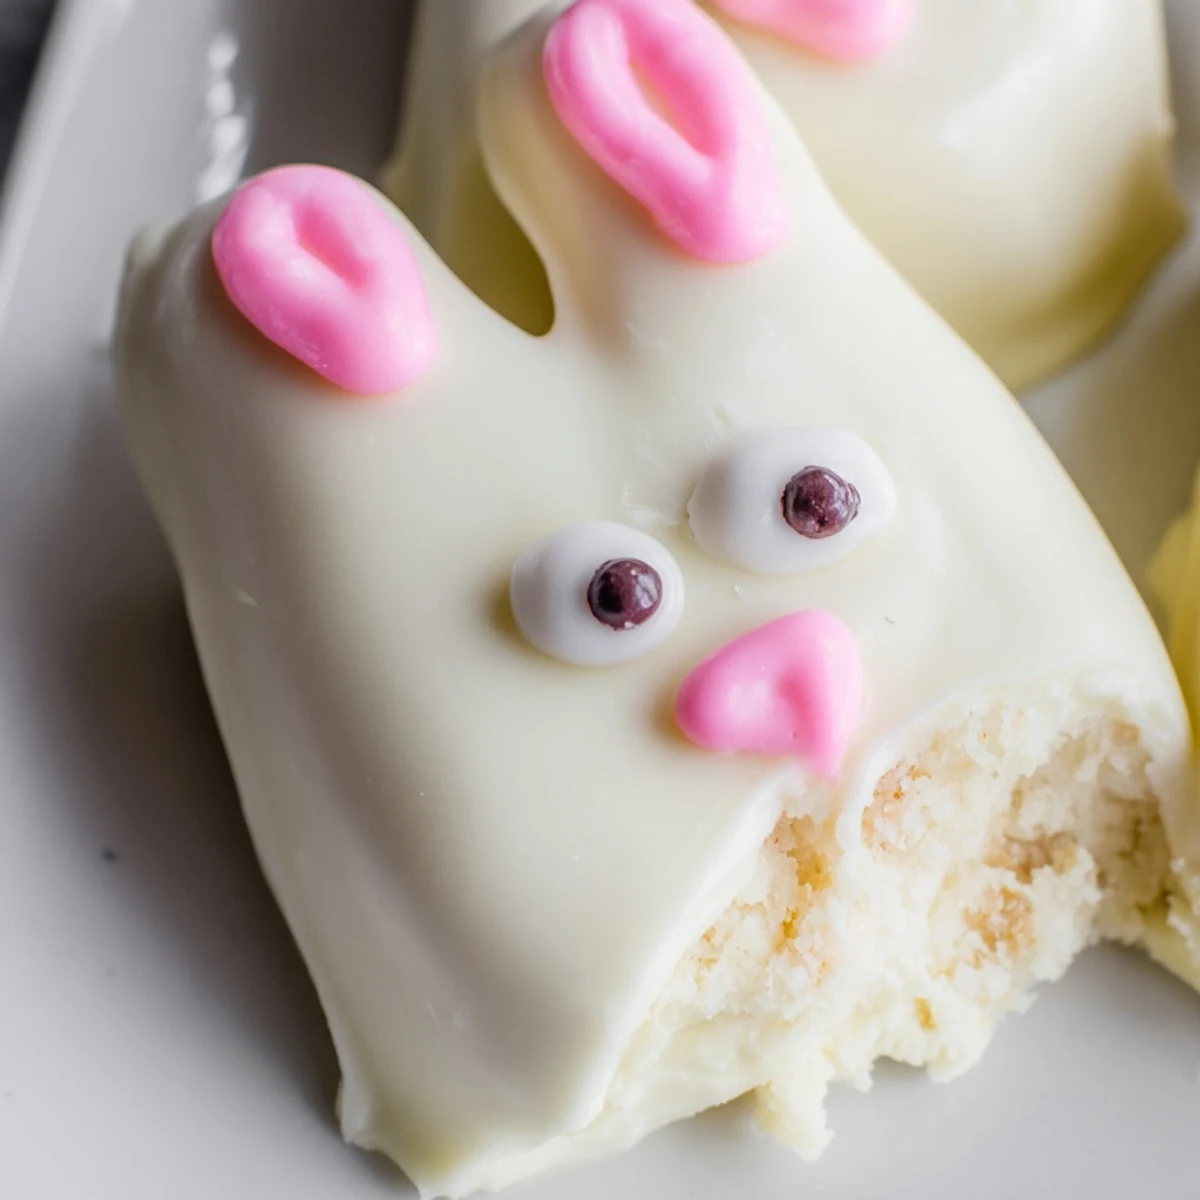
Save These delightful bunny cakesicles combine moist vanilla cake blended with cream cheese and butter, dipped in smooth white chocolate and decorated with festive details. The cake mixture forms perfectly shaped bunny faces that hold securely on sticks, making them ideal for Easter gatherings or spring celebrations. Each handheld treat features a rich chocolate coating that pairs beautifully with the tender cake center. Customize with colored accents, sprinkles, or candy features to create unique expressions. These crowd-pleasing sweets are simple enough for beginners yet impressive enough for any dessert table.
My kitchen counter became a sprinkle-strewn wonderland the first Easter I attempted these bunny cakesicles with my niece. We may have had more frosting on our faces than on the actual treats, but the giggles made every messy moment worth it. Something magical happens when you combine childhood nostalgia with the satisfying snap of tempered chocolate.
Last spring, I made a double batch for our neighborhood egg hunt, and they disappeared faster than the hidden eggs themselves. Watching parents sneak back for seconds while their kids were distracted by the egg hunt was absolutely hilarious.
Ingredients
- Vanilla cake crumbs: The foundation of your cakesicle, homemade or store-bought both work beautifully
- Cream cheese: Adds the perfect creamy binding that holds everything together without making it too dense
- Unsalted butter: Room temperature is essential here for that smooth, workable dough texture
- Powdered sugar: Just enough sweetness to balance the tanginess of the cream cheese
- Vanilla extract: Pure vanilla makes all the difference in elevating the flavor profile
- White chocolate: High-quality melts or coating chocolate create that gorgeous professional finish
- Edible gel food coloring: Keep it subtle with pink noses and ears or go all out with colorful details
- Cakesicle sticks: Sturdy paper or plastic sticks that wont wobble or bend under the weight
- Decorations: Candy eyes, sprinkles, and fondant ears bring your bunnies to life
Instructions
- Mix the cake dough:
- Combine cake crumbs, softened cream cheese, butter, powdered sugar, and vanilla in a medium bowl until the mixture holds together like playdough when pressed.
- Shape the bunnies:
- Divide the dough into 8 equal portions and form each into a flattened oval shape that resembles a cute bunny face, about 1/2 inch thick.
- Add the sticks:
- Gently insert a cakesicle stick into each shape, pressing carefully to secure it without poking through the other side.
- Chill until firm:
- Place the shaped cakesicles in the refrigerator for 20 to 30 minutes until completely firm and ready for dipping.
- Melt the chocolate:
- Heat white chocolate in a microwave-safe bowl in 30-second intervals, stirring between each burst until completely smooth and glossy.
- Dip and coat:
- Carefully dip each chilled cakesicle into the melted chocolate, tilting to coat completely, then tap gently against the bowl edge to remove excess.
- Decorate immediately:
- While the chocolate is still soft, add candy eyes, pink sprinkles for noses, and fondant ears to create those adorable bunny faces.
- Set and serve:
- Let the cakesicles set at room temperature for about 15 minutes or pop them in the fridge for 5 minutes to speed up the process.
 Save
Save The moment my niece bit into her first bunny cakesicle and declared it better than chocolate bunnies, I knew this recipe was a permanent Easter tradition.
Making Them Ahead
You can prepare the cake mixture and shape the bunnies up to two days in advance, storing them tightly wrapped in the refrigerator. Dip them in chocolate the day of your celebration for the freshest appearance and optimal texture.
Customization Ideas
Swirl a tiny bit of pink or yellow food coloring into your melted white chocolate for a gorgeous marbled effect. Different cake flavors like chocolate or lemon create entirely new taste experiences that keep everyone coming back for more.
Storage Solutions
Store your finished cakesicles in an airtight container in the refrigerator for up to three days, placing parchment paper between layers to prevent sticking. These treats also freeze beautifully for up to one month if you want to get a head start on holiday preparations.
- Bring chilled cakesicles to room temperature 15 minutes before serving for the best texture
- If chocolate coating develops condensation, pat gently with a paper towel before decorating
- Wrap individually in clear treat bags tied with pastel ribbons for adorable party favors
 Save
Save Theres something uniquely joyful about food on a stick that brings out the kid in everyone at the table.
Recipe FAQs
- → How far in advance can I make bunny cakesicles?
-
Prepare these treats up to 3 days ahead when stored properly in an airtight container in the refrigerator. The coating stays fresh and the cake remains moist. Add delicate decorations like candy eyes or fondant features closer to serving time for best presentation.
- → Can I freeze these Easter treats?
-
Yes, freeze undecorated dipped cakesicles for up to one month. Place them in a single layer on a baking sheet until frozen solid, then transfer to freezer-safe containers. Thaw in the refrigerator overnight before adding final decorations and serving.
- → What other cake flavors work well?
-
Chocolate cake creates a classic combination with white chocolate coating. Lemon or strawberry cake adds bright fruit notes that complement the sweet white chocolate. Red velvet offers dramatic color contrast. Spice cake provides warm flavors that balance the sweetness.
- → How do I prevent the white chocolate from cracking?
-
Ensure the cake centers are thoroughly chilled before dipping. Melt chocolate slowly in short intervals, stirring between each burst. Avoid overheating, which causes chocolate to seize and become brittle. Let excess chocolate drip off gently rather than tapping forcefully.
- → What alternatives work for bunny ear decorations?
-
Fondant cut into ear shapes provides smooth, customizable decorations. Modeling chocolate holds its shape well and tastes delicious. Pretzel sticks dipped in pink chocolate offer crunch and stability. Marshmallow slices cut diagonally create soft, adorable ears.
- → Can I make these without cakesicle molds?
-
Absolutely shape the cake mixture by hand into flattened ovals or bunny face forms. Chill thoroughly until firm before dipping. The stick insertion requires gentle pressure to secure without breaking the shape. Freezing for 15 minutes before dipping helps maintain the form.
