 Save
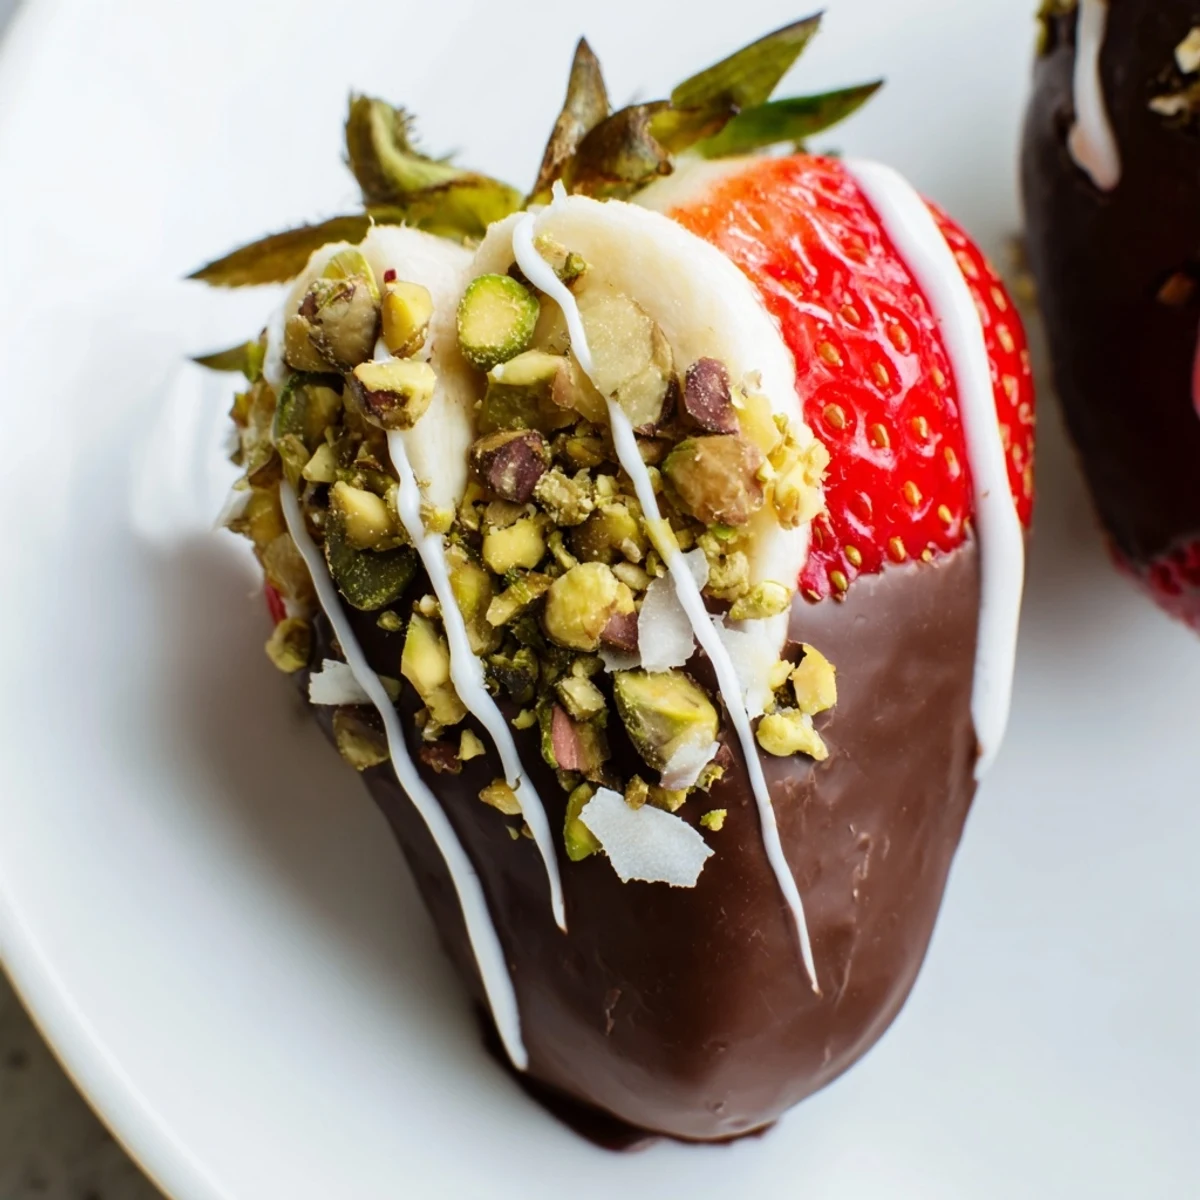
Save Enjoy a simple yet elegant snack featuring large strawberries, banana slices, and kiwi pieces half-dipped in smooth melted dark chocolate. Customize each with a sprinkle of chopped pistachios or toasted coconut flakes, or add drizzles of white chocolate for visual appeal. Chill until the coating hardens to create a perfect balance of fresh, juicy fruit and rich chocolate. This versatile treat suits vegetarians, gluten-free diets, and festive occasions alike, with optional fruit swaps and easy preparation.
There's something about the first warm evening of spring that makes you want to do something with your hands. I found myself standing in front of a bowl of strawberries, thinking about how ordinary fruit transforms the moment chocolate touches it. That's really what this dish is about—taking something simple and making it feel like an occasion, without the stress of an actual recipe.
I once brought these to a friend's birthday potluck, and they disappeared within minutes while the more complicated dishes sat untouched. That's when I realized elegance doesn't require hours in the kitchen—just knowing how to pick your moments and your ingredients.
Ingredients
- 8 large strawberries: Pick ones that feel firm and smell fragrant; they're your canvas, so choose ones you'd actually want to eat whole.
- 1 small banana, cut into 8 thick slices: A ripe banana works, but not overripe; it should still hold its shape when you handle it.
- 1 kiwi, cut into bite-sized pieces: The tartness cuts through richness beautifully, and the bright green looks stunning against dark chocolate.
- 150 g good-quality dark chocolate (at least 60% cacao), chopped: This is where quality matters; cheaper chocolate tastes waxy and won't set with the same snap.
- 2 tbsp chopped pistachios: Toast them lightly first if you have time; it wakes up their flavor and adds texture.
- 2 tbsp toasted coconut flakes: Look for ones without added sugar if you can, since the chocolate is already sweet.
- 2 tbsp white chocolate, melted: Use this sparingly for drizzling; it's the garnish that makes people think you spent all afternoon on this.
Instructions
- Set up your station:
- Line a baking sheet with parchment paper and have all your fruit prepped and completely dry before you start melting chocolate. Wet fruit will cause the chocolate to seize, so it's worth taking the extra moment here.
- Melt the chocolate:
- Use a double boiler if you have the patience—it's gentler and you'll feel in control. If you're using a microwave, go in 20-second bursts so you don't overheat it into a grainy mess. You want smooth, glossy chocolate you could pour.
- Dip with intention:
- Using a fork or skewer, dip each piece halfway into the melted chocolate and let the excess drip off for a few seconds. This creates that elegant contrast of chocolate and fruit, not a chocolate-covered fruit situation.
- Add your toppings immediately:
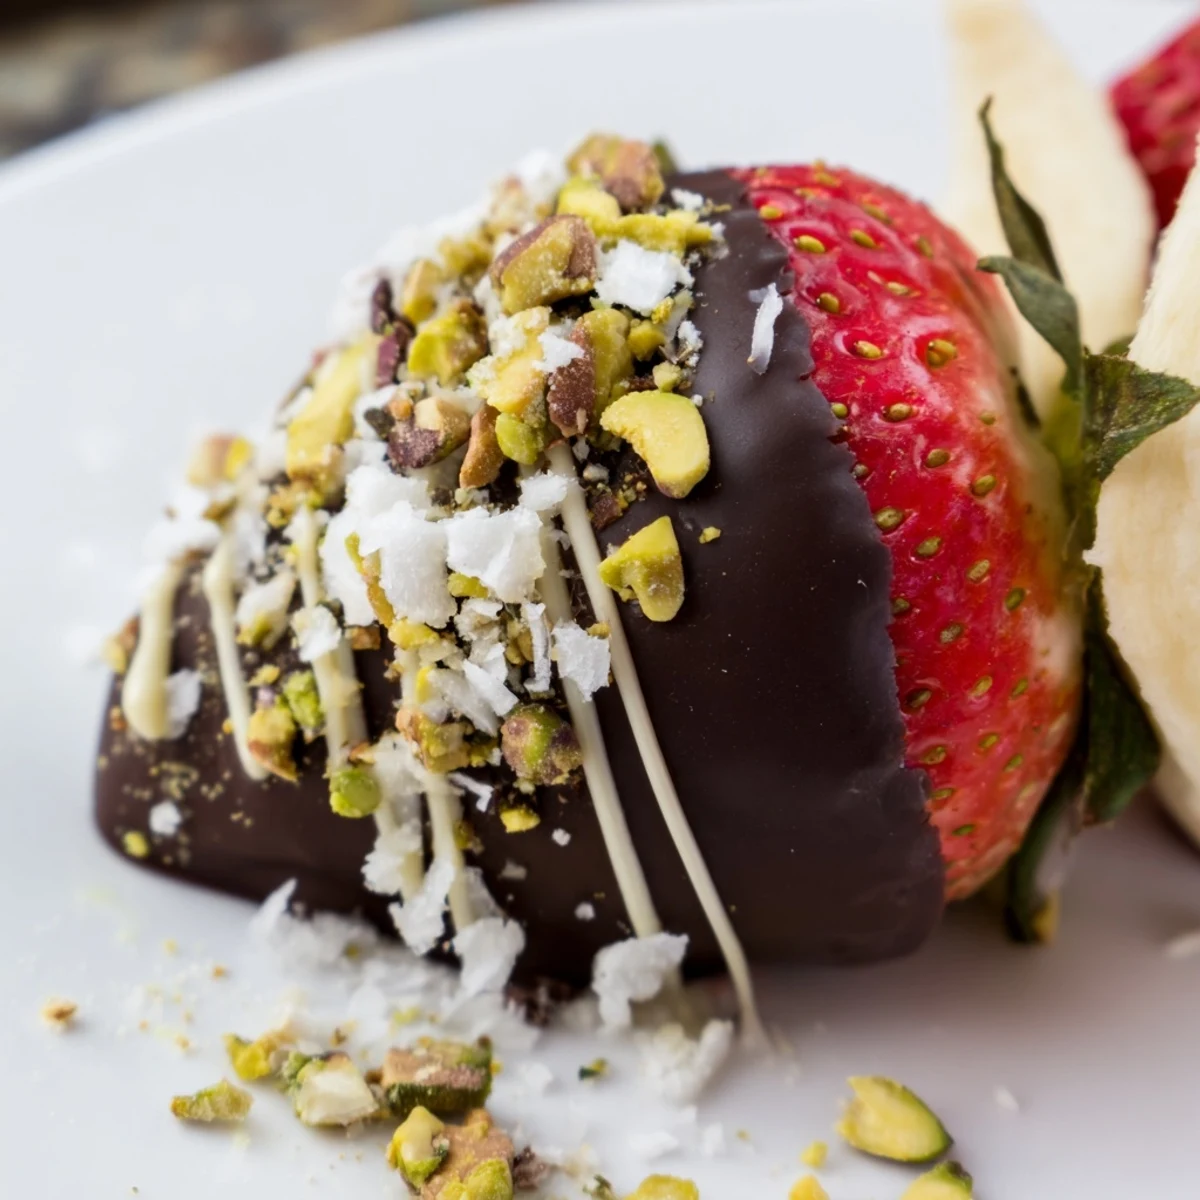
- Sprinkle pistachios or coconut onto the chocolate while it's still tacky, so they actually stick. This is the moment that makes each piece look handmade.
- Finish and chill:
- If you're using white chocolate, drizzle it over the pieces with a fork for a delicate, artistic touch. Refrigerate for at least 15 minutes until the chocolate hardens and feels snappy to the bite.
 Save
Save My sister once asked why I bothered making something so simple when I could just buy fancy chocolates. Then she bit into one and realized the difference between something made with intention and something made by committee. That's the real luxury of this dish.
Fruit Choices That Matter
Strawberries are the classic for a reason—they're sturdy enough to hold a dip and their tartness balances chocolate perfectly. But don't stop there; grapes are elegant and unexpected, orange segments feel citrusy and bright, and even pineapple chunks have a tropical appeal. The only rule is that your fruit should be firm enough not to collapse when you pierce it with a fork, and dry enough that the chocolate actually adheres.
Chocolate Temperature and Texture
The chocolate should be warm enough to flow but not so hot that it cracks when it hits the cool fruit. If your chocolate starts to thicken as you work, you can gently reheat it for 10 seconds; if it overheats and becomes grainy, you're better off starting over with fresh chocolate than trying to salvage it. There's no shame in knowing when to begin again.
Making It Your Own
This recipe is really a template for your own preferences and what you have on hand. The structure stays the same, but everything else is negotiable—swap out the toppings for crushed hazelnuts, swap white chocolate for a caramel drizzle, or use milk chocolate instead of dark if that's what you love. The beauty is that you can't really mess this up.
- For a vegan version, use dairy-free chocolate and skip the toppings that contain animal products, or find vegan alternatives in most groceries now.
- If you're making these in advance, store them in an airtight container in the fridge for up to two days before the chocolate starts to feel tacky.
- Pair these with sparkling wine or champagne, or even a strong cup of coffee if it's an afternoon gathering.
 Save
Save This is the kind of appetizer that makes people think you've mastered something sophisticated, when really you've just learned to trust simplicity. That's honestly the best kind of kitchen knowledge.
Recipe FAQs
- → What types of fruit work best for dipping?
-
Firm and juicy fruits like strawberries, banana slices, and kiwi hold the chocolate well and provide a satisfying bite.
- → How do I melt chocolate smoothly?
-
Use a double boiler by placing chocolate over simmering water or microwave in short bursts, stirring frequently until smooth.
- → Can I customize the toppings?
-
Yes, chopped pistachios, toasted coconut flakes, and melted white chocolate drizzle add texture and flavor variations.
- → How long should dipped fruit chill?
-
Refrigerate for at least 15 minutes or until the chocolate hardens for the best texture and flavor contrast.
- → Are there dietary considerations to keep in mind?
-
This option is vegetarian and gluten-free; for vegan versions, ensure you use dairy-free chocolate.
- → What tools do I need for preparation?
-
A baking sheet lined with parchment paper, a heatproof bowl or microwave-safe dish for melting chocolate, and forks or skewers for dipping.
