 Save
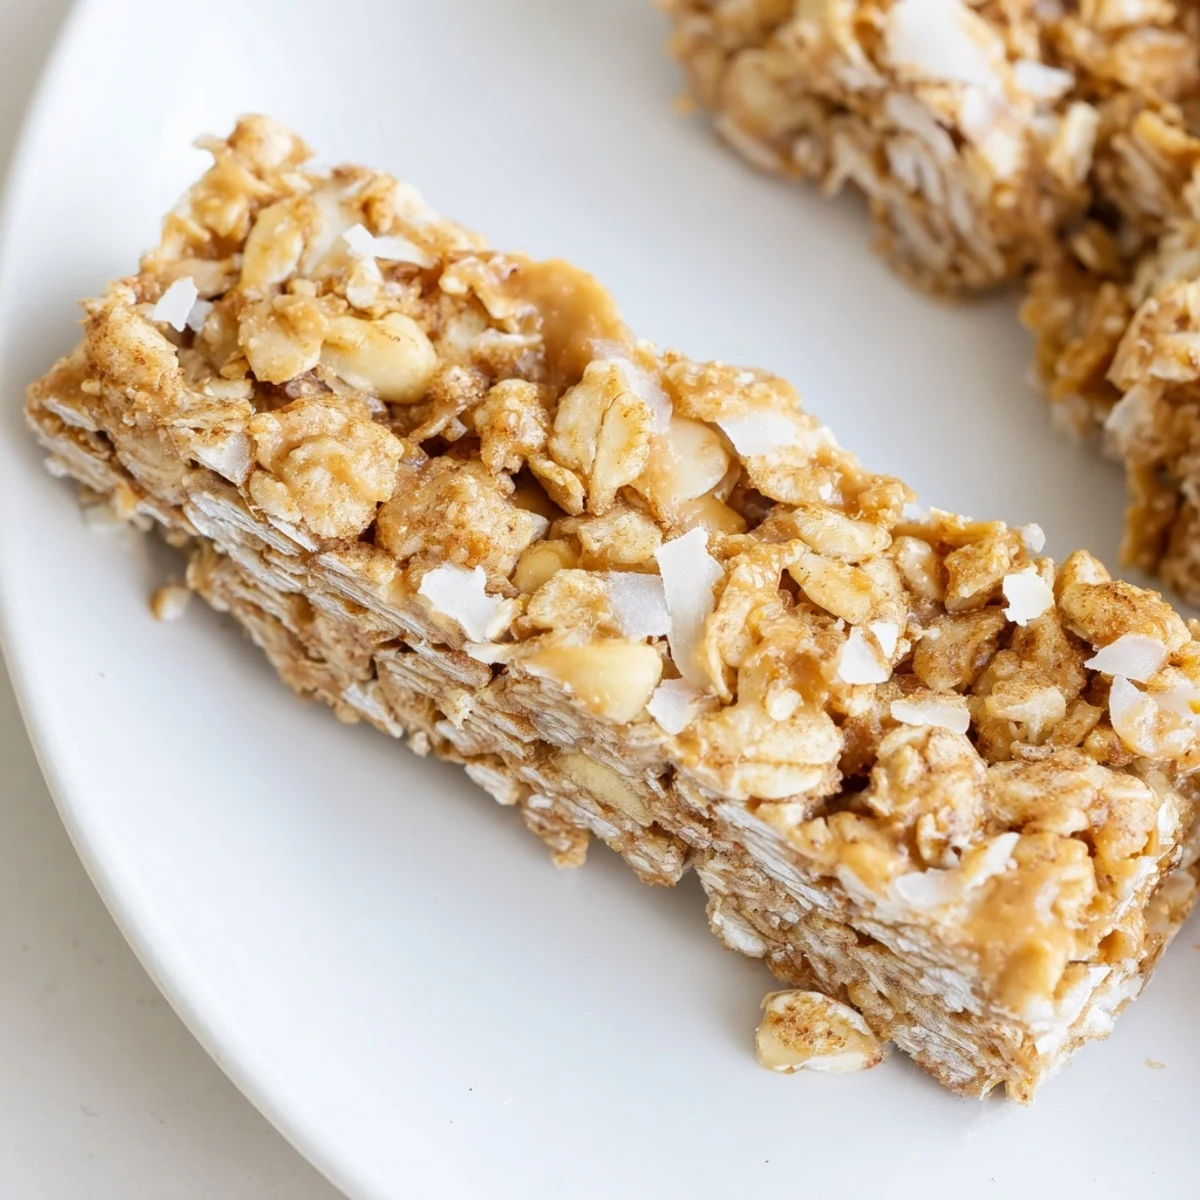
Save These wholesome no-bake granola bars combine old-fashioned rolled oats, crispy rice cereal, and dried apple with rich creamy peanut butter and honey. The mixture comes together in minutes and requires just an hour of chilling to set perfectly.
Simply warm the peanut butter, honey, and coconut oil until smooth, then pour over the dry ingredients. Press firmly into an 8x8 pan and refrigerate until firm. The result is soft, chewy bars that hold together beautifully and stay fresh in the fridge for up to a week.
Customize with chocolate chips, seeds, or different dried fruits. For a nut-free version, swap sunflower seed butter for the peanut butter.
I started making these granola bars during those frantic college semester weeks when my bank account and my schedule were both running on empty. My roommate Sarah would hover over the stove, waiting for the honey and peanut butter to melt together because that smell was somehow better than anything from a bakery. We would cut them into uneven squares at midnight, still warm from the pressing, and eat three before they even made it to the refrigerator.
Last autumn I made a batch for my niece who had just started soccer practice. She came home exhausted one afternoon, rummaged through the pantry, and called me to say these were the only thing getting her through school days. Now her mom keeps a hidden stash so they actually last more than two days.
Ingredients
- Old fashioned rolled oats: These give the bars their chewy backbone and hold everything together
- Crispy rice cereal: Adds that satisfying crunch in every bite
- Dried apple: Finely chopped so it distributes evenly throughout the bars
- Shredded coconut: Optional but adds lovely sweetness and texture
- Chopped peanuts: For extra protein and salty crunch
- Ground cinnamon: Brings warmth that makes the apple flavor sing
- Salt: Just enough to balance the honey and highlight the spices
- Natural creamy peanut butter: The binding agent that holds everything together
- Honey or maple syrup: Use honey for traditional or maple syrup to keep it vegan
- Coconut oil: Melted first so it blends seamlessly into the peanut butter mixture
- Vanilla extract: Pure vanilla makes a noticeable difference in the final flavor
Instructions
- Prep your pan:
- Line an 8x8 inch pan with parchment paper and let the edges hang over like little handles for easy lifting later
- Mix the dry ingredients:
- Combine oats, cereal, dried apple, coconut, peanuts, cinnamon, and salt in a large bowl
- Warm the wet mixture:
- Heat peanut butter, honey, and coconut oil until smooth and runny, then stir in vanilla
- Combine everything:
- Pour the warm mixture over the dry ingredients and stir until every piece is coated
- Press firmly:
- Transfer to your prepared pan and press down hard with a spatula or your hands until compact and even
- Chill until firm:
- Refrigerate for at least an hour until set enough to cut cleanly
- Cut and store:
- Lift the whole slab out using the parchment overhang and slice into twelve bars
 Save
Save My dad still requests these every time he comes to visit, claiming they are the only snack that keeps him full on long drives. I have learned to double the recipe because the first batch somehow disappears before he even leaves the kitchen.
Making Them Your Own
I have swapped the dried apple for chopped dates when that was what I had on hand, and the result was just as delicious. Sometimes I toss in a handful of dark chocolate chips instead of peanuts because chocolate and peanut butter will never not be perfect together.
Getting The Texture Right
The first time I made these I pressed too gently and ended up with granola crumble instead of bars. Now I use the bottom of a measuring cup to really pack it down. That firm compression is the secret to bars that hold together when you bite them.
Storage And Meal Prep
I keep these stacked between parchment squares in a glass container in the fridge. They last all week and actually get better after a day or two as the flavors meld together.
- Wrap individual bars in plastic for grab and go breakfasts
- These freeze beautifully for up to three months
- Let frozen bars thaw at room temperature for ten minutes before eating
 Save
Save There is something deeply satisfying about making your own granola bars, like you are outsmarting the entire snack aisle at the grocery store.
Recipe FAQs
- → How long do these bars need to chill?
-
Refrigerate the bars for at least 1 hour until firm. They hold together best when served chilled and can be stored in the refrigerator for up to 1 week.
- → Can I make these nut-free?
-
Yes, substitute sunflower seed butter for the peanut butter and omit the chopped peanuts. The texture and flavor will still be delicious.
- → What can I use instead of honey?
-
Maple syrup works as a vegan alternative to honey. Both provide the same binding properties and sweetness level.
- → Why do I need to press the mixture firmly?
-
Pressing firmly compacts the ingredients so the bars hold together when cut. Use a spatula or clean hands to apply even pressure across the pan.
- → Can I freeze these granola bars?
-
Yes, wrap individual bars tightly in plastic wrap and freeze for up to 3 months. Thaw in the refrigerator before serving.
- → What type of oats work best?
-
Old-fashioned rolled oats provide the best texture. Instant oats may become too soft, while steel-cut oats won't bind properly.
