 Save
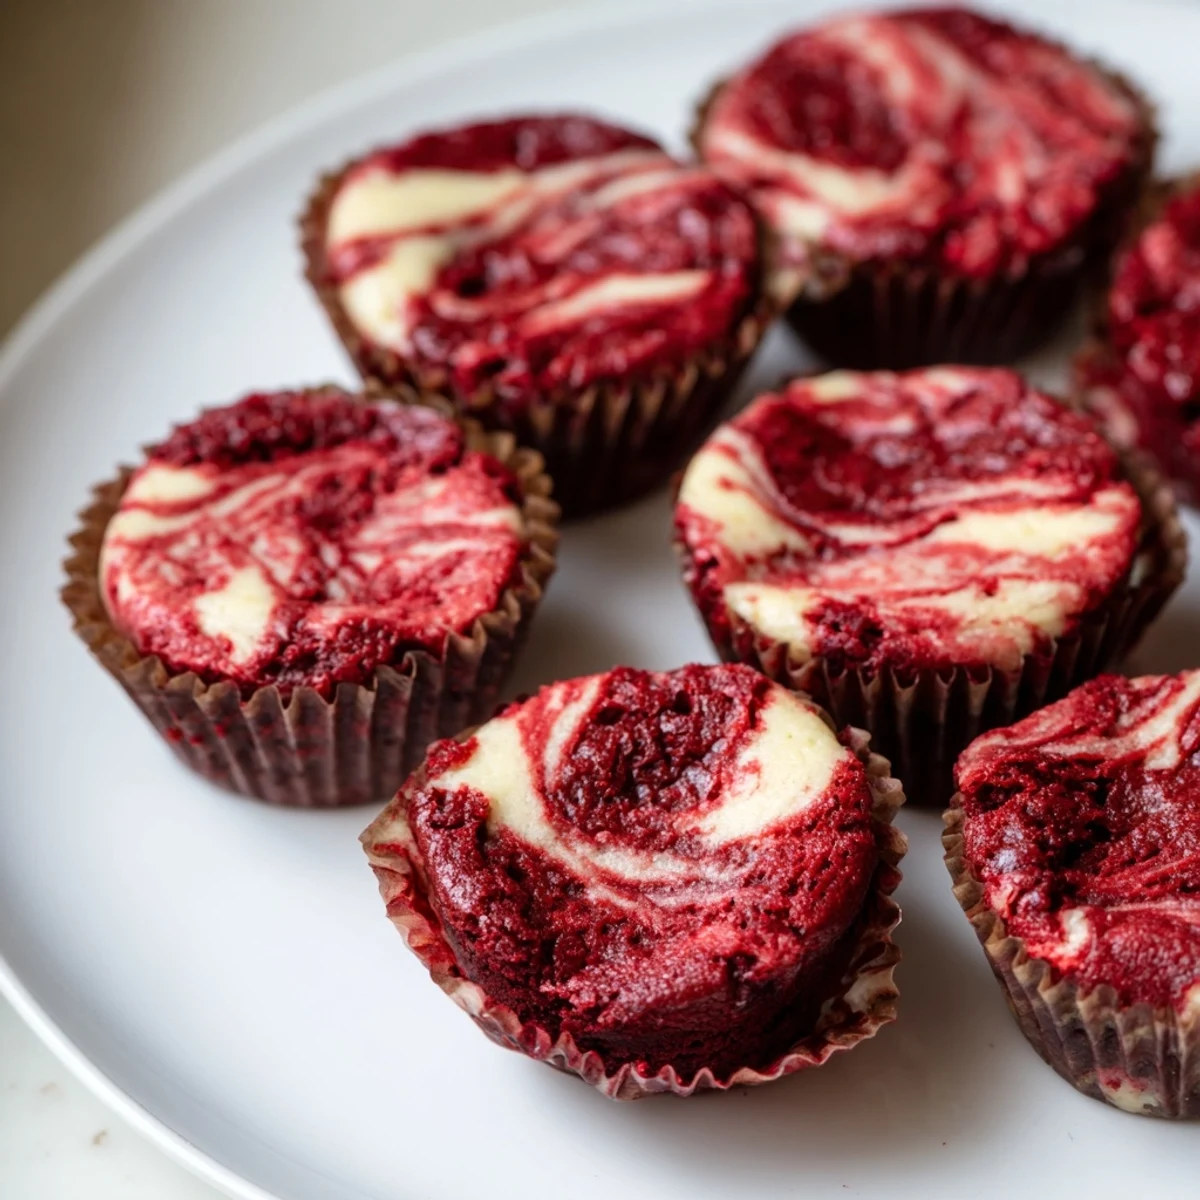
Save These irresistible red velvet brownie bites combine rich chocolate flavor with tangy cream cheese swirls. The fudgy texture comes from carefully balanced ingredients, while the marbled cream cheese topping adds a luxurious contrast. Perfect portion-sized treats for gatherings, holidays, or whenever you crave something special.
I brought these to a friend's Valentine's Day party last winter, and honestly, I thought they'd be just another dessert on the table. But within twenty minutes, three different people asked for the recipe. There's something about that red velvet color paired with the tangy cream cheese that makes people pause and take notice.
My niece helped me make a batch for her school bake sale, and she was absolutely mesmerized by the swirling process. We may have gotten red food coloring everywhere, but watching her face light up when she saw the marbled pattern was worth the extra cleanup time. Now every time she visits, she asks if we're making 'the red swirly ones.'
Ingredients
- Unsalted butter: Melting this first creates that dense fudgy texture we want in the brownie base
- Granulated sugar: This sweetens both layers and helps create that crackly top on the brownie portion
- Red food coloring: Gel coloring gives you that vibrant ruby red without adding extra liquid to the batter
- All-purpose flour: Just enough to hold everything together without making these cakey or dry
- Unsweetened cocoa powder: Don't skip this even though it's red velvet that subtle chocolate depth is essential
- Cream cheese: Make sure this is completely softened or your swirl will be lumpy instead of smooth
Instructions
- Get your oven ready:
- Preheat to 350°F and line your mini muffin tin those paper liners make cleanup so much easier
- Mix the brownie batter:
- Whisk melted butter and sugar until smooth then add egg vanilla and that vibrant red food coloring
- Add the dry ingredients:
- Sift in flour cocoa powder and salt and stir gently until just combined overmixing makes these tough
- Prepare the swirl:
- Beat softened cream cheese with sugar egg yolk and vanilla until creamy and completely smooth
- Layer it up:
- Spoon brownie batter into each cup then top with a smaller amount of cream cheese mixture
- Create the marble:
- Gently swirl with a toothpick just once or twice too much swirling blends the layers together
- Bake to perfection:
- Slide into the oven for 23 to 25 minutes until centers are set but still moist
- Cool completely:
- Let them rest in the pan 10 minutes before moving to a wire rack they firm up as they cool
 Save
Save I learned the hard way that refrigerating these before a party makes them incredibly easy to transport. I once brought them to an outdoor summer gathering and watched the cream cheese swirl start melting within fifteen minutes in the heat. Now I always pack them in a cooler and serve them chilled they're just as delicious that way.
Getting The Marble Effect Right
The trick is not overthinking the swirling motion. I used to spend way too much time trying to create perfect patterns but three or four gentle figure eights with your toothpick is all you need. The cream cheese mixture naturally spreads as it bakes creating those beautiful random marbled lines that make each bite unique.
Making These Ahead
These brownie bites freeze beautifully which is perfect for holiday baking. I bake a double batch in November and keep them in freezer bags then just pull out what I need for parties or gift plates. They thaw in about thirty minutes on the counter and taste freshly baked.
Serving Suggestions
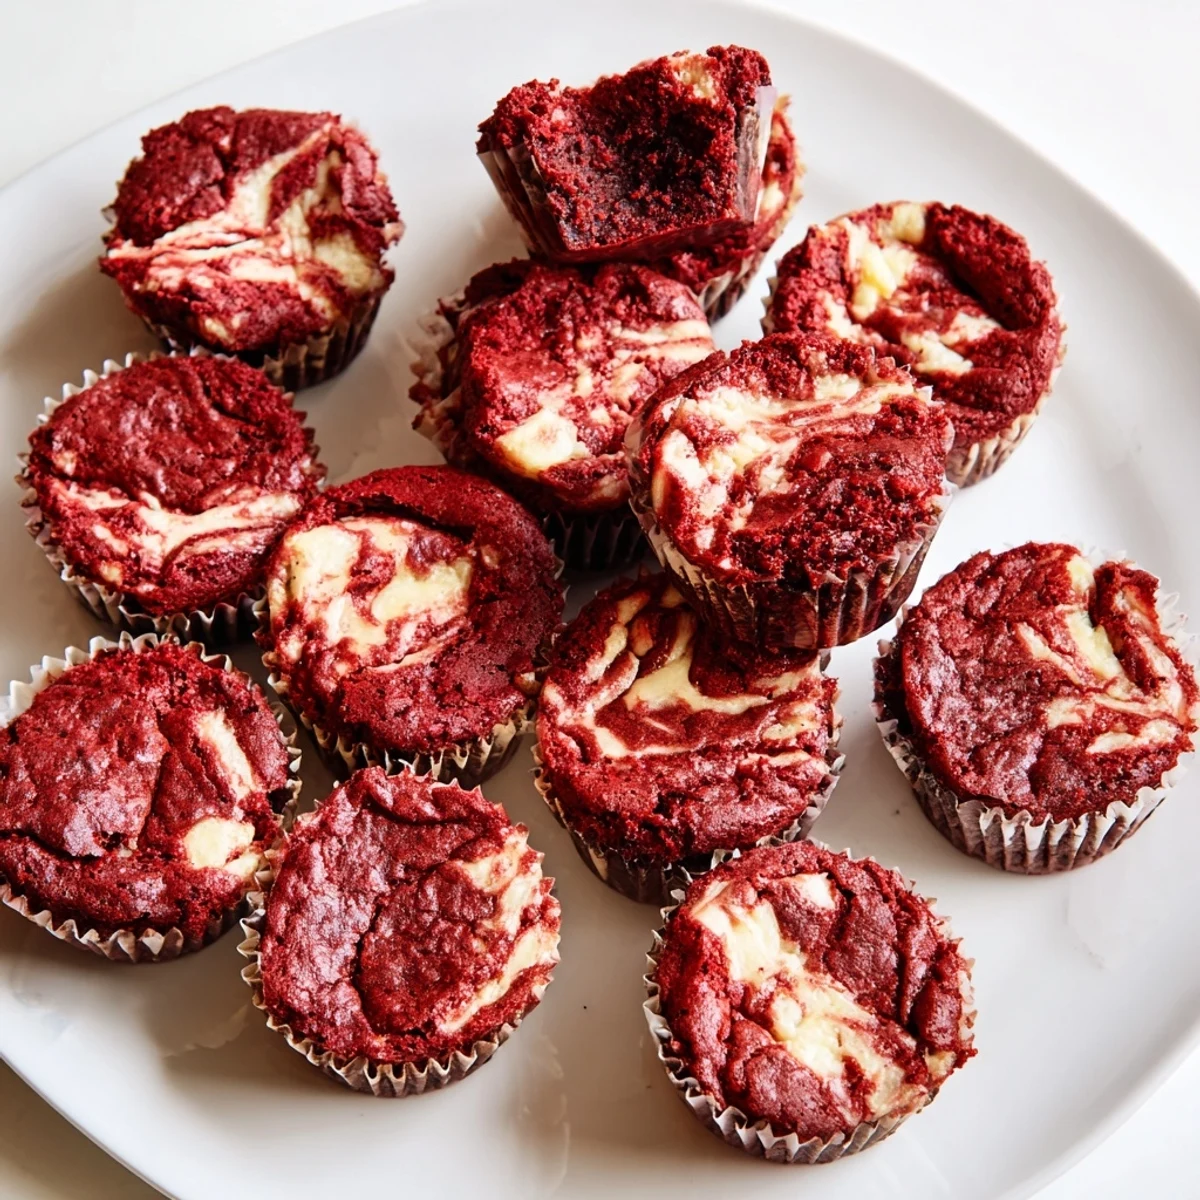
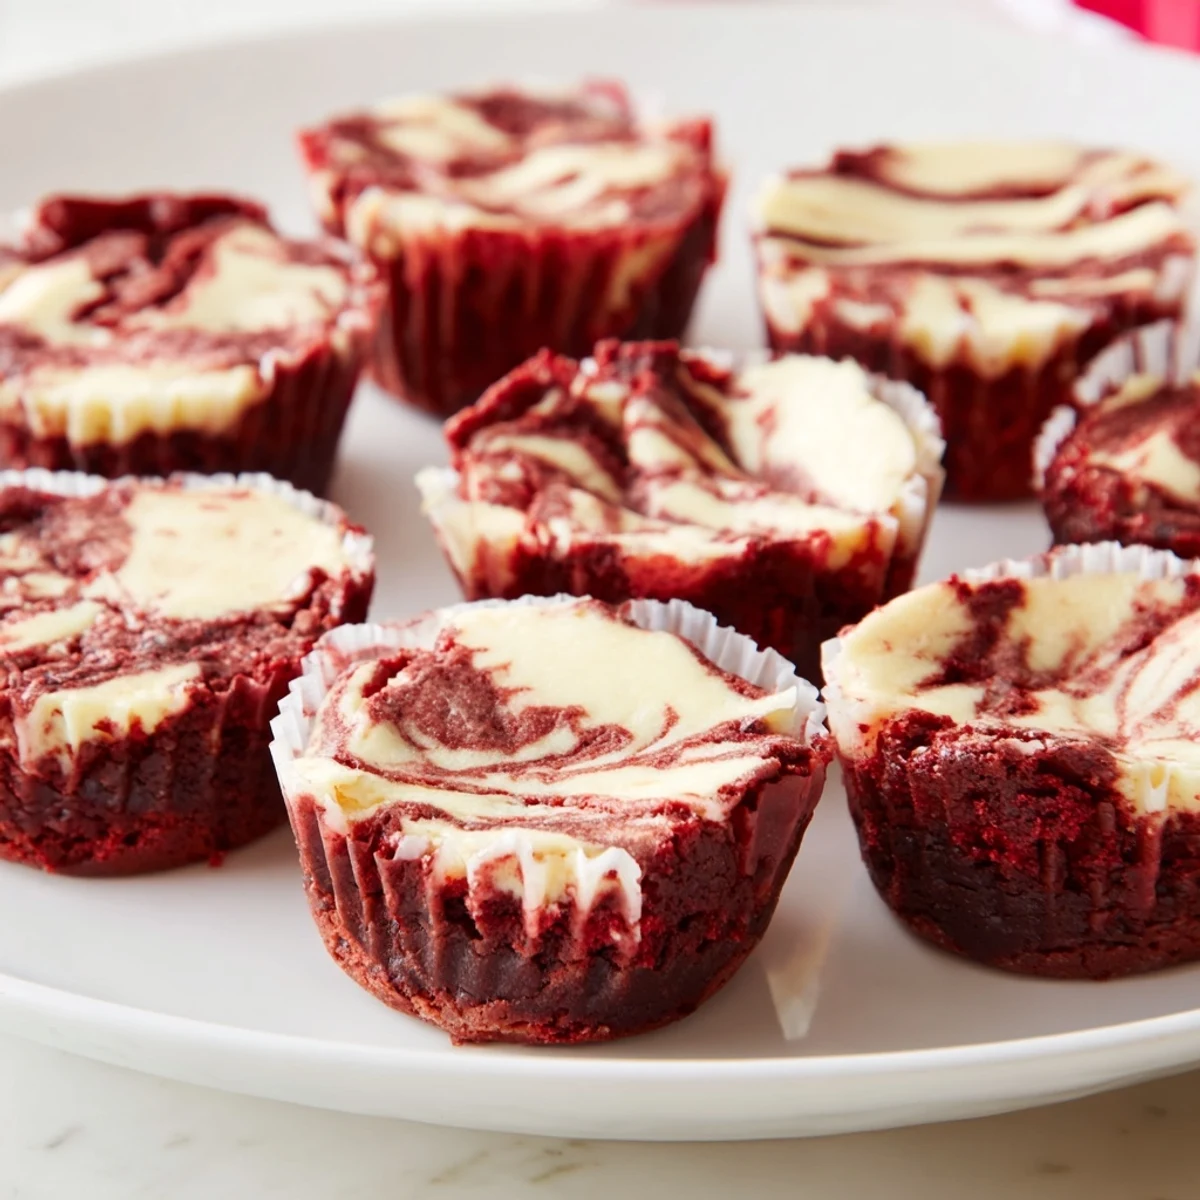
I like to arrange these on a vintage cake stand for parties the red color pops against white serving pieces. A light dusting of powdered sugar right before serving makes them look even more elegant but honestly they disappear fast either way.
- Pair with hot coffee or cold milk to balance the richness
- Add chocolate chips to the brownie batter for extra indulgence
- Try lemon zest in the cream cheese layer for a bright tangy twist
 Save
Save These have become my go to dessert for practically everything now from potlucks to birthday parties to those nights when you just need something sweet and pretty. Hope they become a favorite in your kitchen too.
Recipe FAQs
- → Can I make these ahead of time?
-
Yes, these brownie bites store beautifully in an airtight container in the refrigerator for up to 4 days. They actually develop deeper flavor after resting overnight.
- → What's the best way to achieve the marbled effect?
-
Use a toothpick or skewer to gently swirl the cream cheese mixture into the batter—just 2-3 circular motions per bite creates the perfect marble pattern without overmixing.
- → Can I freeze these brownie bites?
-
Absolutely! Flash freeze them on a baking sheet first, then transfer to a freezer-safe container. They'll keep for up to 3 months. Thaw overnight in the refrigerator.
- → Why did my brownies turn out cakey instead of fudgy?
-
Overmixing the batter or overbaking can cause cakey texture. Stir just until combined and remove from the oven when a toothpick shows moist crumbs, not completely clean.
- → Can I use natural food coloring?
-
Beet juice or pomegranate juice work as natural alternatives, though the red will be more muted. Gel food coloring provides the most vibrant red hue with less liquid.
