 Save
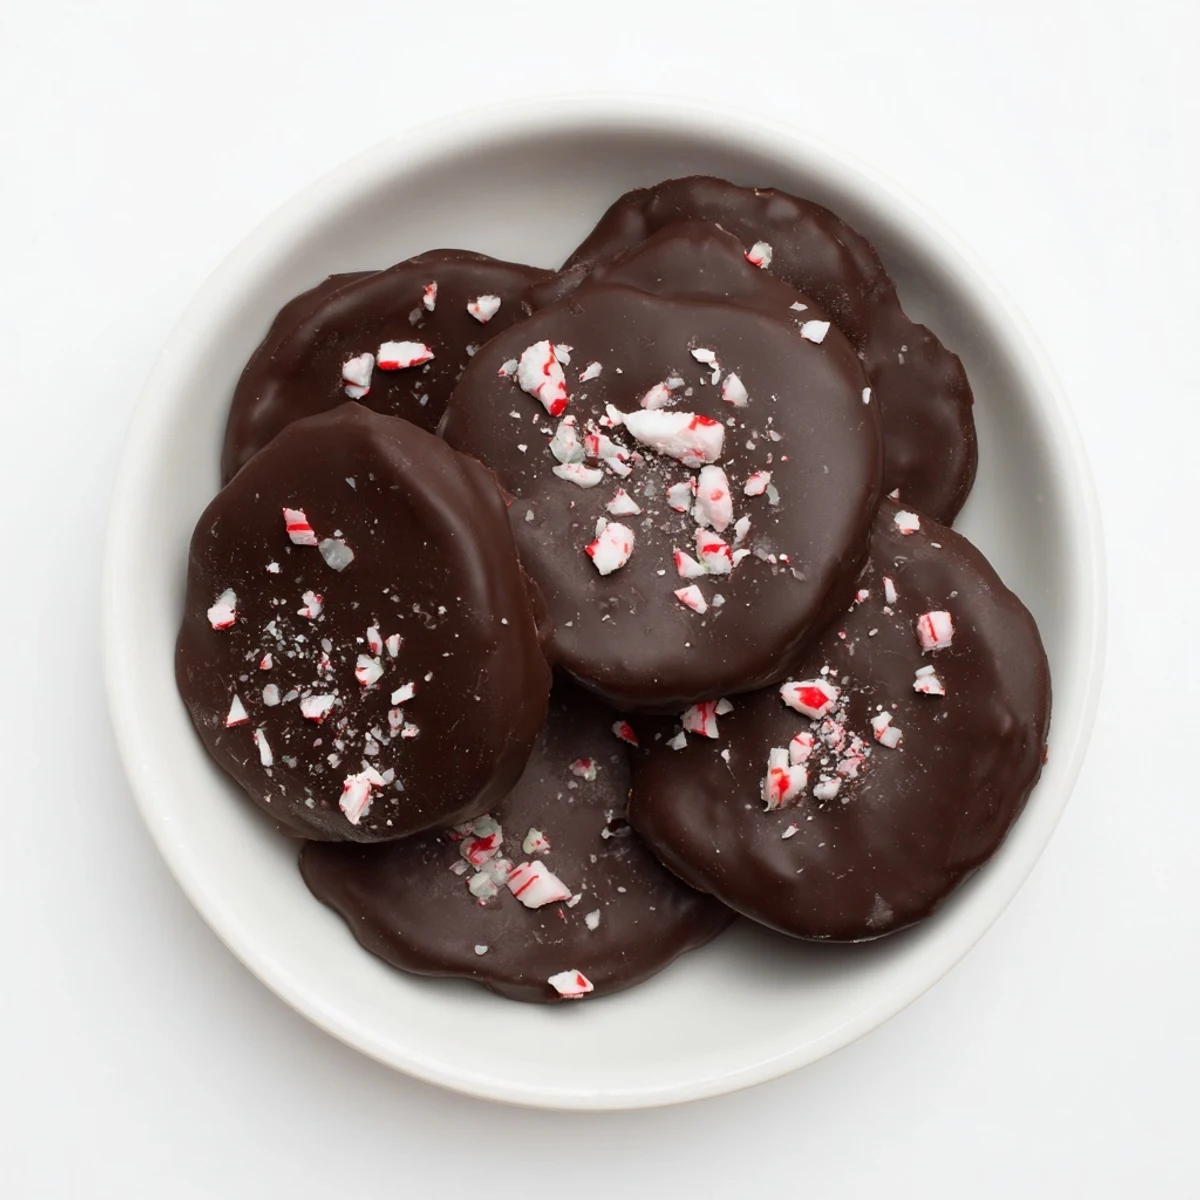
Save These chocolates combine a smooth peppermint cream center with a rich dark chocolate coating for a delightful treat. The preparation involves creating a creamy filling with powdered sugar, butter, cream, and peppermint extract, which is shaped and chilled before dipping in melted dark chocolate. After setting in the refrigerator, these confections offer a perfect balance of refreshing mint and velvety chocolate, ideal for special occasions or everyday indulgence.
With a manageable preparation and cooking time, they yield 24 chocolates that showcase a melt-in-your-mouth texture and a cool peppermint finish. Optional toppings like crushed peppermint candies add a festive touch, and substitutions allow for vegan and sweeter variations. Enjoy these smooth, flavorful chocolates chilled and fresh.
I stumbled on this recipe during a week when I had too much leftover peppermint extract and zero patience for complicated sweets. The first batch turned out lopsided and a little too soft, but the flavor stopped everyone mid-conversation. Now I make them every winter, sometimes just because the kitchen smells like a snow day.
I once packed these into a tin for a neighbor who mentioned loving mint chocolate, and she later told me she hid them from her kids for three days. That kind of feedback makes you want to double the batch next time.
Ingredients
- Powdered sugar: Sift it or youll end up with gritty centers that ruin the smooth melt.
- Unsalted butter: Softened means you can press a finger into it easily, not microwaved into a puddle.
- Heavy cream: This binds the filling without making it wet, just two tablespoons does the job.
- Pure peppermint extract: Not the imitation kind, the real stuff makes all the difference in clarity of flavor.
- Fine sea salt: A pinch balances the sweetness and keeps it from tasting like pure sugar.
- Dark chocolate (60-70% cocoa): Good quality matters here, it should snap cleanly and taste complex.
- Coconut oil or neutral vegetable oil: Optional but it gives the coating a professional gloss.
Instructions
- Make the peppermint cream:
- Beat the powdered sugar, butter, cream, peppermint extract, and salt together until it holds its shape like soft play dough. If it sticks to your hands, dust in a bit more sugar.
- Shape the centers:
- Roll the mixture into 24 small balls, then press them gently into flat discs about the size of a quarter. Line them up on parchment paper.
- Freeze until firm:
- Pop the tray into the freezer for 20 minutes so the centers hold their shape when you dip them. Cold centers make for cleaner chocolate coats.
- Melt the chocolate:
- Set a heatproof bowl over simmering water, add the chopped chocolate and oil if using, and stir slowly until glossy and smooth. Dont let water touch the chocolate or it will seize.
- Dip the discs:
- Use a fork to lower each frozen disc into the melted chocolate, let the excess drip off, then slide it back onto the parchment. Work quickly before the chocolate cools.
- Chill and set:
- Refrigerate the dipped chocolates for at least 20 minutes until the coating is firm and no longer tacky.
- Store properly:
- Keep them in an airtight container in the fridge for up to two weeks. They soften at room temperature, so serve them cold.
 Save
Save The first time I made these for a holiday party, someone asked if I ordered them from a chocolatier. I didnt correct them right away because honestly, it felt nice to let the compliment sit for a minute.
Variations Worth Trying
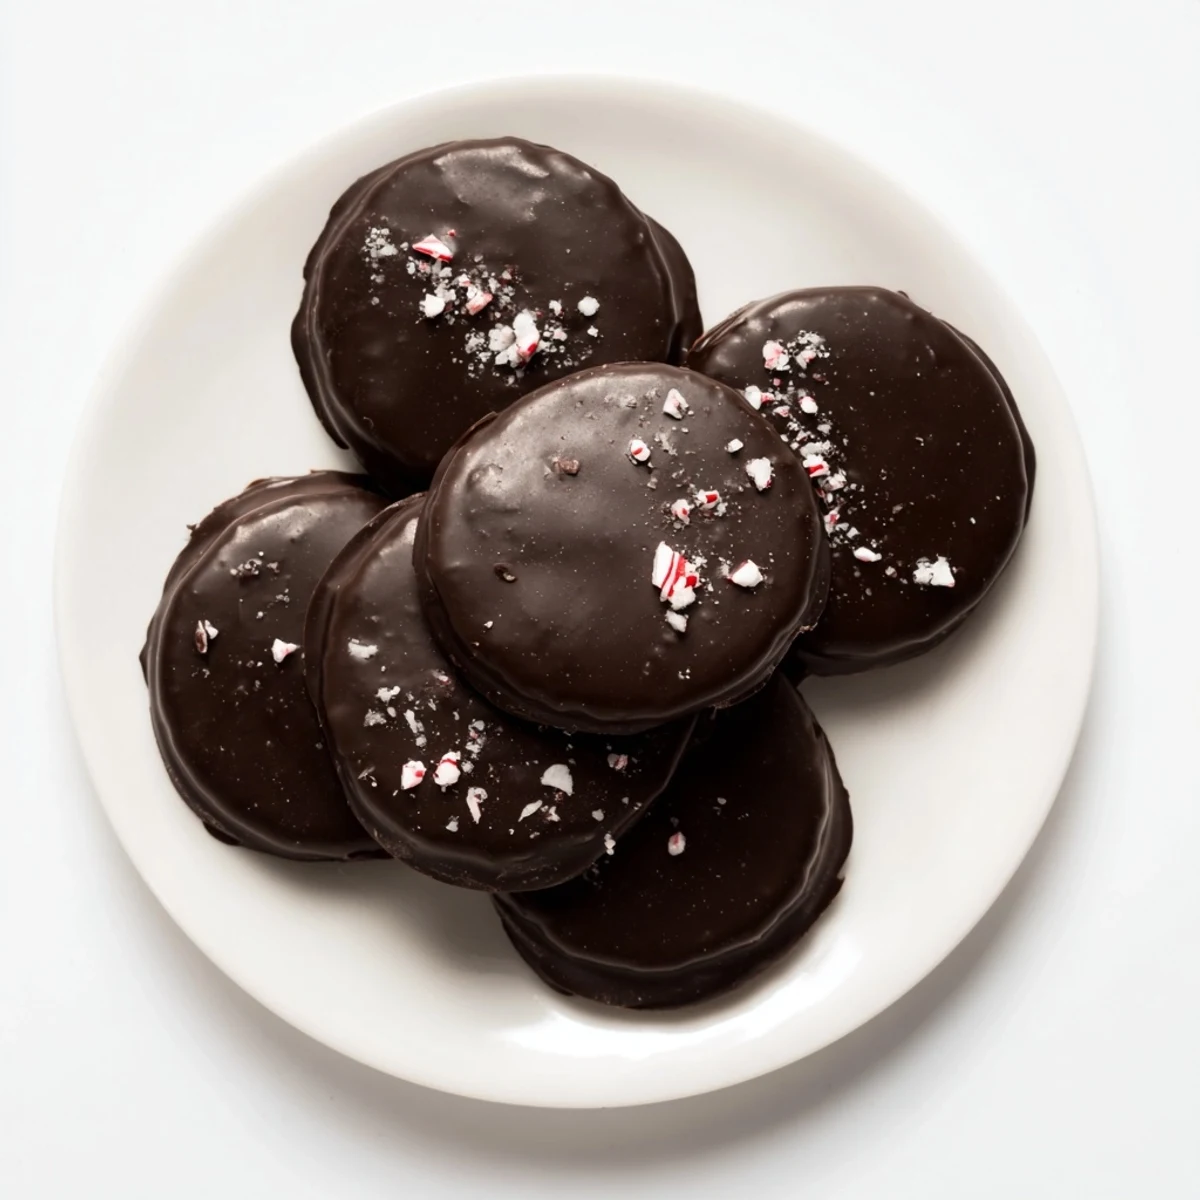
Swap the dark chocolate for white or milk if you prefer sweeter bites, or go half and half for a marbled look. I once crushed candy canes over the tops before the chocolate set and it looked like something out of a magazine, plus it added a satisfying crunch.
What If You Dont Have a Double Boiler
Use a microwave instead, heating the chocolate in 20 second bursts and stirring between each until smooth. I do this more often than I admit because it saves a pot and works just as well if you watch it carefully.
Serving and Gifting Ideas
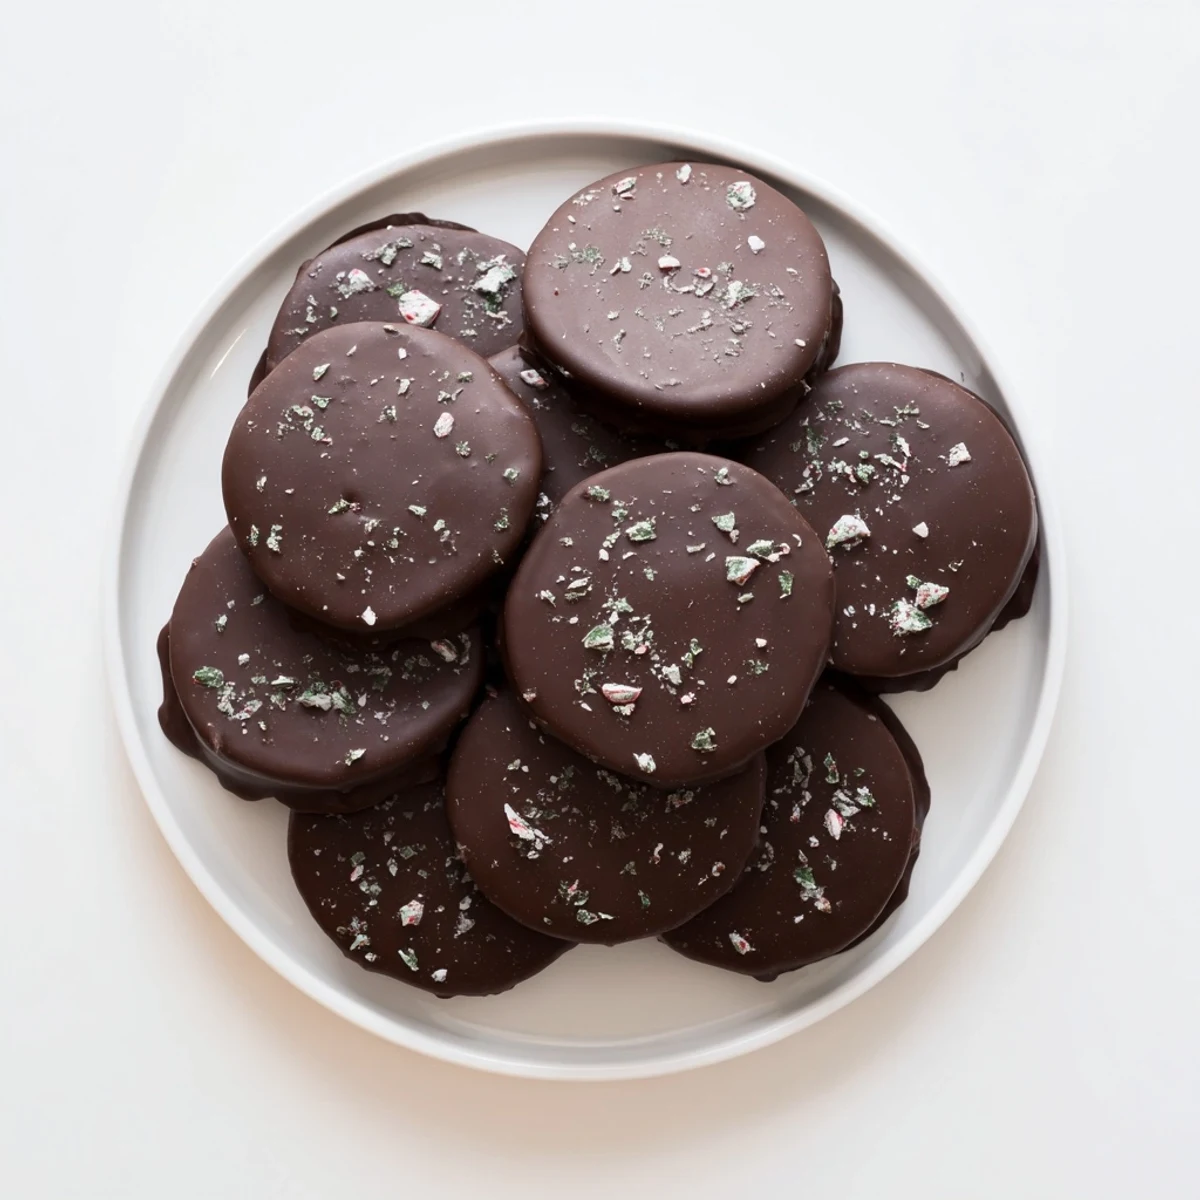
These look beautiful in a small box lined with tissue paper, or tucked into cellophane bags tied with ribbon. Serve them straight from the fridge for the best texture, and warn people theyre richer than they look.
- Dust with cocoa powder for a fancy finish.
- Pair with coffee or a cold glass of milk.
- Make a double batch because they disappear faster than you think.
 Save
Save Theres something quietly satisfying about pulling a tray of homemade chocolates out of the fridge and knowing they taste better than anything you could buy. Keep a batch around and youll always have a reason to celebrate small moments.
Recipe FAQs
- → What is the best chocolate type for coating?
-
Dark chocolate with 60-70% cocoa is ideal, as it offers a rich flavor and smooth melting texture that complements the peppermint center.
- → Can I make these chocolates vegan?
-
Yes, by using plant-based butter, dairy-free cream, and vegan dark chocolate, you can create a vegan-friendly version.
- → How long should the chocolates chill before serving?
-
Chill the chocolates for at least 20 minutes to allow the coating to set firmly and the flavors to meld.
- → What storage conditions maintain freshness?
-
Store chocolates in an airtight container in the refrigerator for up to two weeks to keep them fresh and flavorful.
- → Are crushed peppermint candies suitable as a topping?
-
Yes, sprinkling crushed peppermint candies before the chocolate coating sets adds a festive crunch and enhanced mint flavor.
