 Save
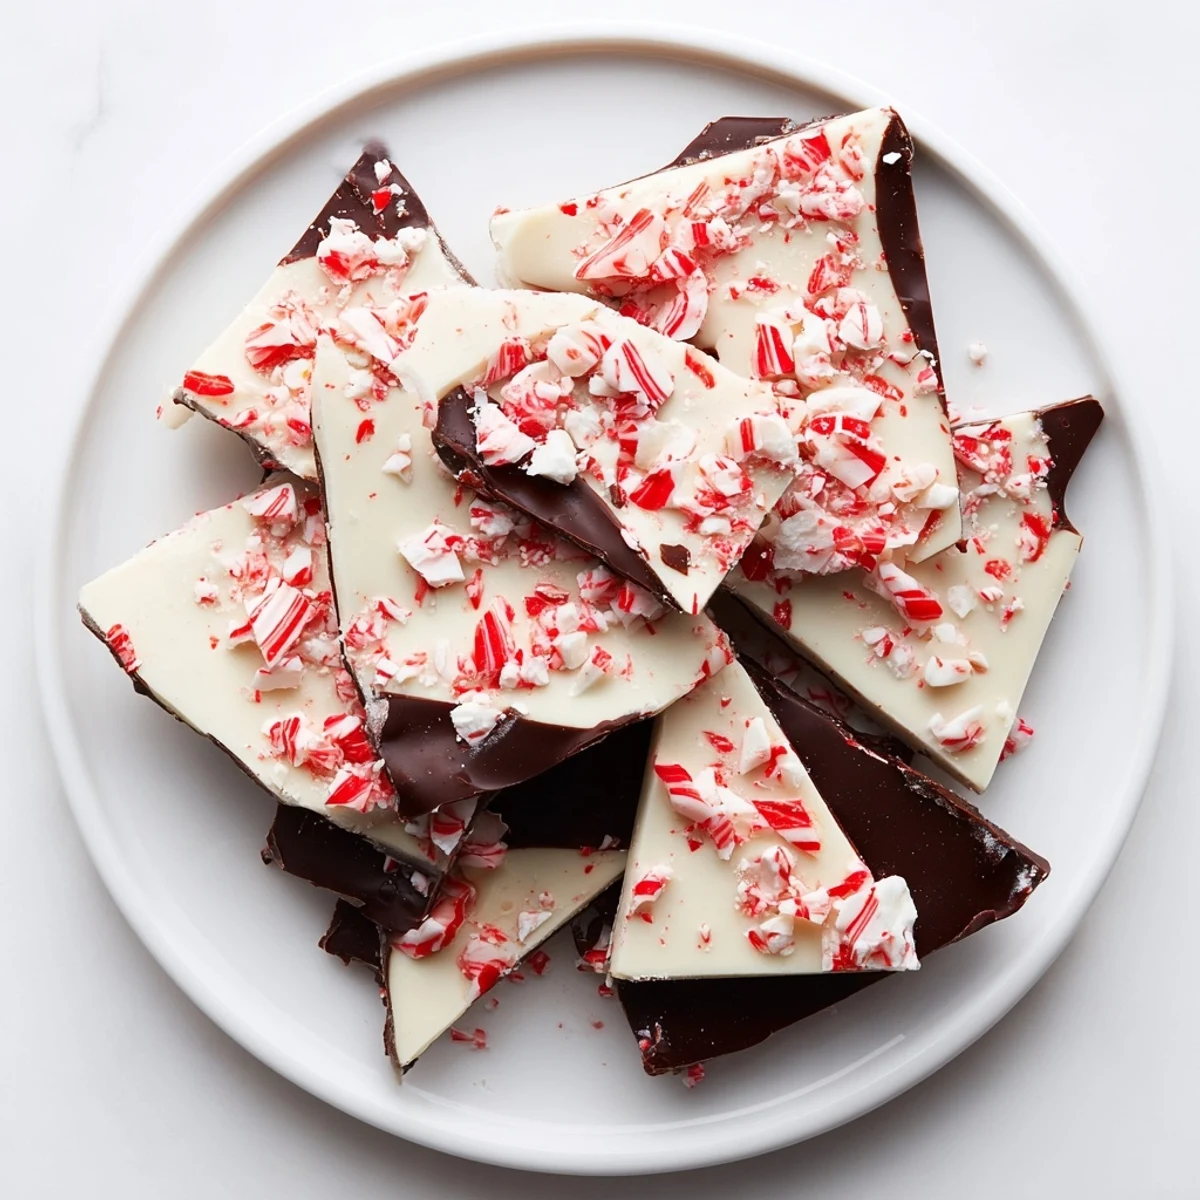
Save This treat features smooth layers of semisweet and white chocolate combined with crushed peppermint candies for a refreshing twist. The chocolate is melted and chilled separately, then layered and topped with peppermint pieces, which gently adhere to the surface. After chilling until firm, it’s broken into pieces and ready to enjoy or gift. Simple tools and quick steps create a delightful, festive confection with a creamy, minty flavor perfect for holiday occasions.
The first time I made peppermint bark, I was stressed about a last-minute holiday party and convinced I needed something impressive. My aunt casually mentioned hers was always ready within an hour, and something clicked—I didn't need to bake or fuss, just layer, chill, and snap. That simple revelation changed how I approach holiday cooking, and now this bark shows up on every December table I'm invited to.
I remember bringing a batch to my neighbor's book club and watching people's faces light up—not because the recipe was complicated, but because it tasted like someone had genuinely cared. That's when I realized bark isn't just candy; it's a love language wrapped in foil and ribbons.
Ingredients
- Semisweet or dark chocolate, chopped: Use real chocolate bars, not chips—they melt smoother and taste infinitely better, trust me on this.
- White chocolate, chopped: This creates that gorgeous marbled look and balances the darker layers with sweetness.
- Peppermint candy canes or hard candies, crushed: Crushing them yourself releases more aroma and gives better texture than pre-crushed versions.
- Pure peppermint extract (optional): A half teaspoon tucked into the white chocolate layer amplifies the minty flavor without making it taste medicinal.
Instructions
- Set your stage:
- Line your baking sheet with parchment paper—this saves so much frustration when it's time to break apart the finished bark. You'll thank yourself.
- Melt the dark chocolate:
- Use a double boiler if you have patience, or microwave in 30-second bursts, stirring between each one. Either way, aim for smooth without overheating, which makes it grainy and impossible to work with.
- Spread and chill the first layer:
- Pour it onto the sheet and spread about a quarter-inch thick using an offset spatula or the back of a spoon. Fifteen to twenty minutes in the fridge gets it set enough to hold the next layer without sliding everywhere.
- Melt the white chocolate:
- Use a clean bowl so no dark chocolate bits sneak in. Stir in the peppermint extract if you're using it, letting the warmth carry that minty scent through the kitchen.
- Layer and crown with peppermint:
- Spread the white chocolate over your chilled dark layer, then immediately shower it with crushed candy canes. Gently press them down so they stay put instead of sliding off later.
- Final chill and break:
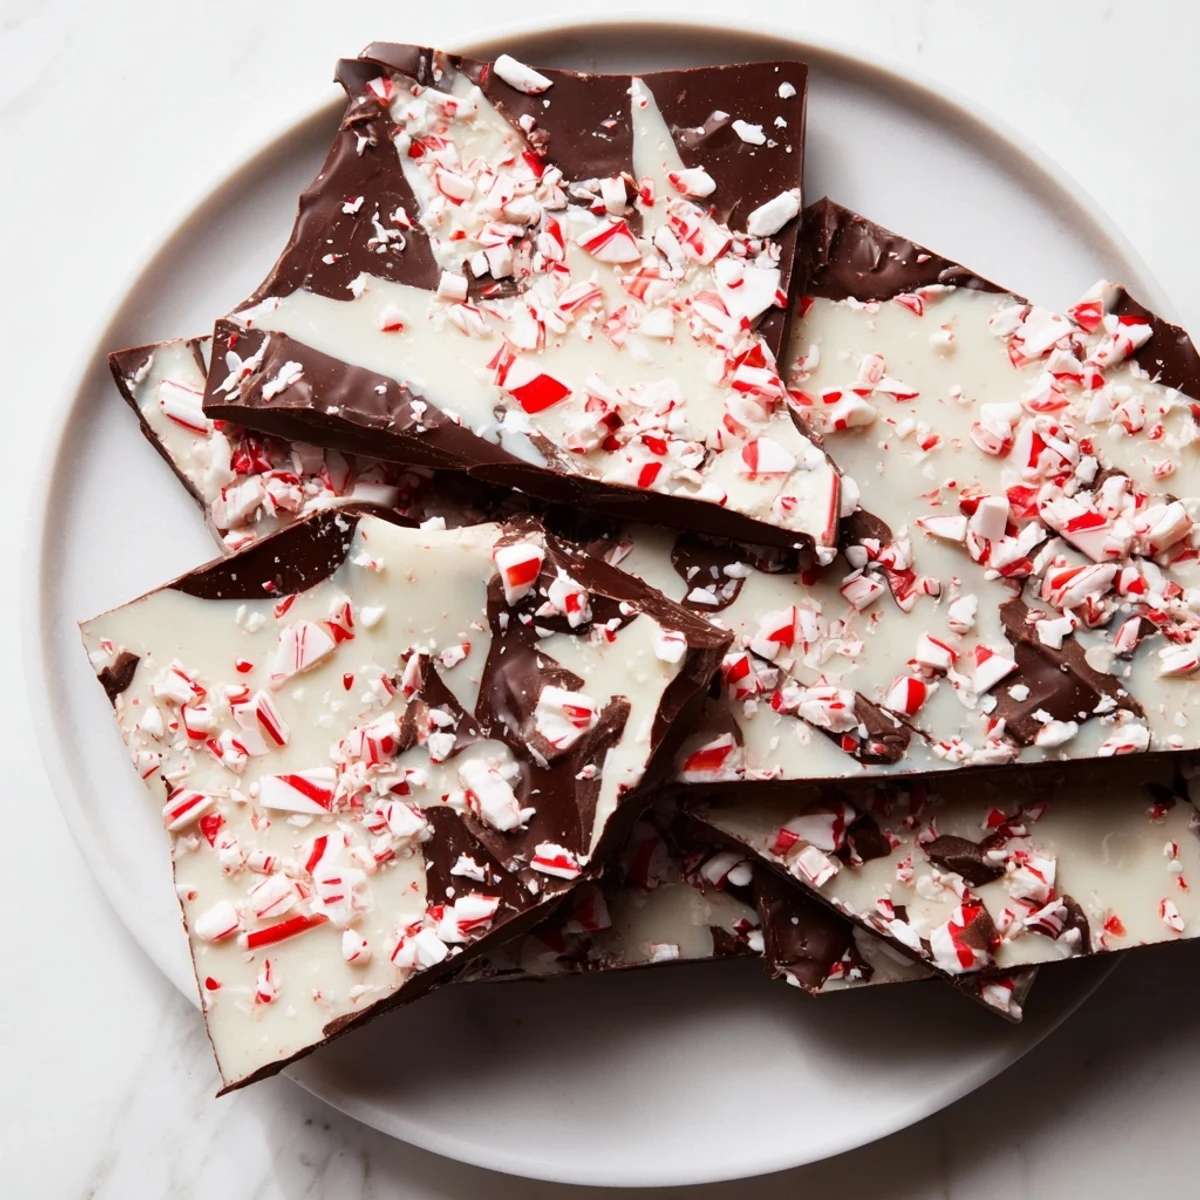
- Give it a full thirty minutes in the fridge this time. Once set, snap it into rustic pieces by hand or use a sharp knife dipped in hot water for cleaner cuts.
 Save
Save One year I brought this to a work potluck and ended up swapping recipes with three different people—not because I had some secret ingredient, but because watching something simple become beautiful right in front of people reminds them why they love homemade gifts in the first place.
Flavor Tweaks Worth Trying
Milk chocolate swaps in beautifully if you prefer things sweeter, and I've seen people add a pinch of sea salt to the dark layer for a sophisticated twist that nobody expects. Some years I'll toast chopped almonds or pecans and scatter them over the dark chocolate before the white layer goes on—it adds texture and makes the whole thing feel a little more special.
Storage and Gifting
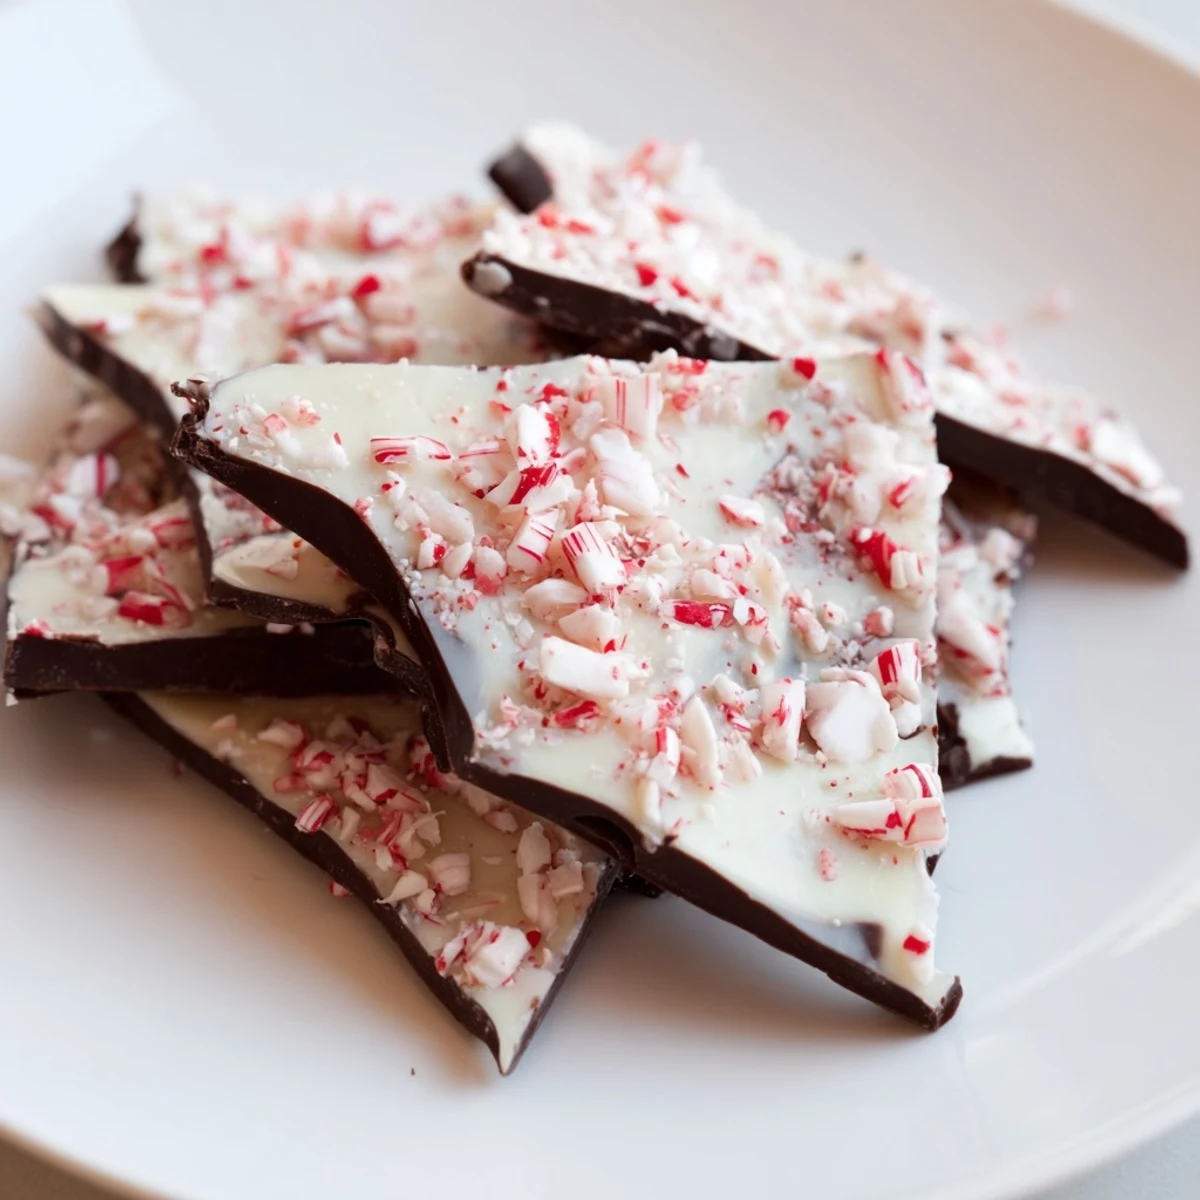
Peppermint bark keeps for weeks in an airtight container, though it rarely lasts that long in my house. If you're gifting it, arrange pieces in a pretty box with parchment between layers so they don't stick together, then tie it with ribbon.
Making It Your Own
The beauty of bark is how forgiving it is—this is your playground for creativity. Once you nail the basic technique, you'll find yourself experimenting with flavor combinations and textures that match your mood or your audience.
- Try a sprinkle of finely crushed pretzels mixed into the peppermint topping for salty-sweet magic.
- Drizzle a thin line of contrasting chocolate across the top for visual drama before the final chill.
- Make it ahead and freeze for weeks, or assemble it the day-of for the freshest snap and taste.
 Save
Save This bark has become my go-to when I want to show up somewhere with something homemade that tastes like care. It's proof that the most memorable treats don't have to be complicated.
Recipe FAQs
- → What chocolate types work best for this treat?
-
Semisweet or dark chocolate works well for the base layer, while white chocolate forms the creamy top. High-quality bars give the best texture and flavor.
- → Can I adjust the peppermint flavor?
-
Yes, adding peppermint extract intensifies the mint flavor, but using just crushed candy canes also provides a refreshing taste and crunchy texture.
- → How should I store the peppermint bark pieces?
-
Store them in an airtight container at room temperature or refrigerate for longer freshness. Avoid humid environments to keep the texture crisp.
- → Is it possible to add nuts to this confection?
-
Absolutely. Toasted chopped nuts can be sprinkled over the dark chocolate layer before the white chocolate is poured to add a nutty flavor and crunch.
- → What is the best method to melt the chocolate?
-
The double boiler method is preferred to prevent burning, but short bursts in the microwave with stirring also work well for melting chocolate smoothly.
