 Save
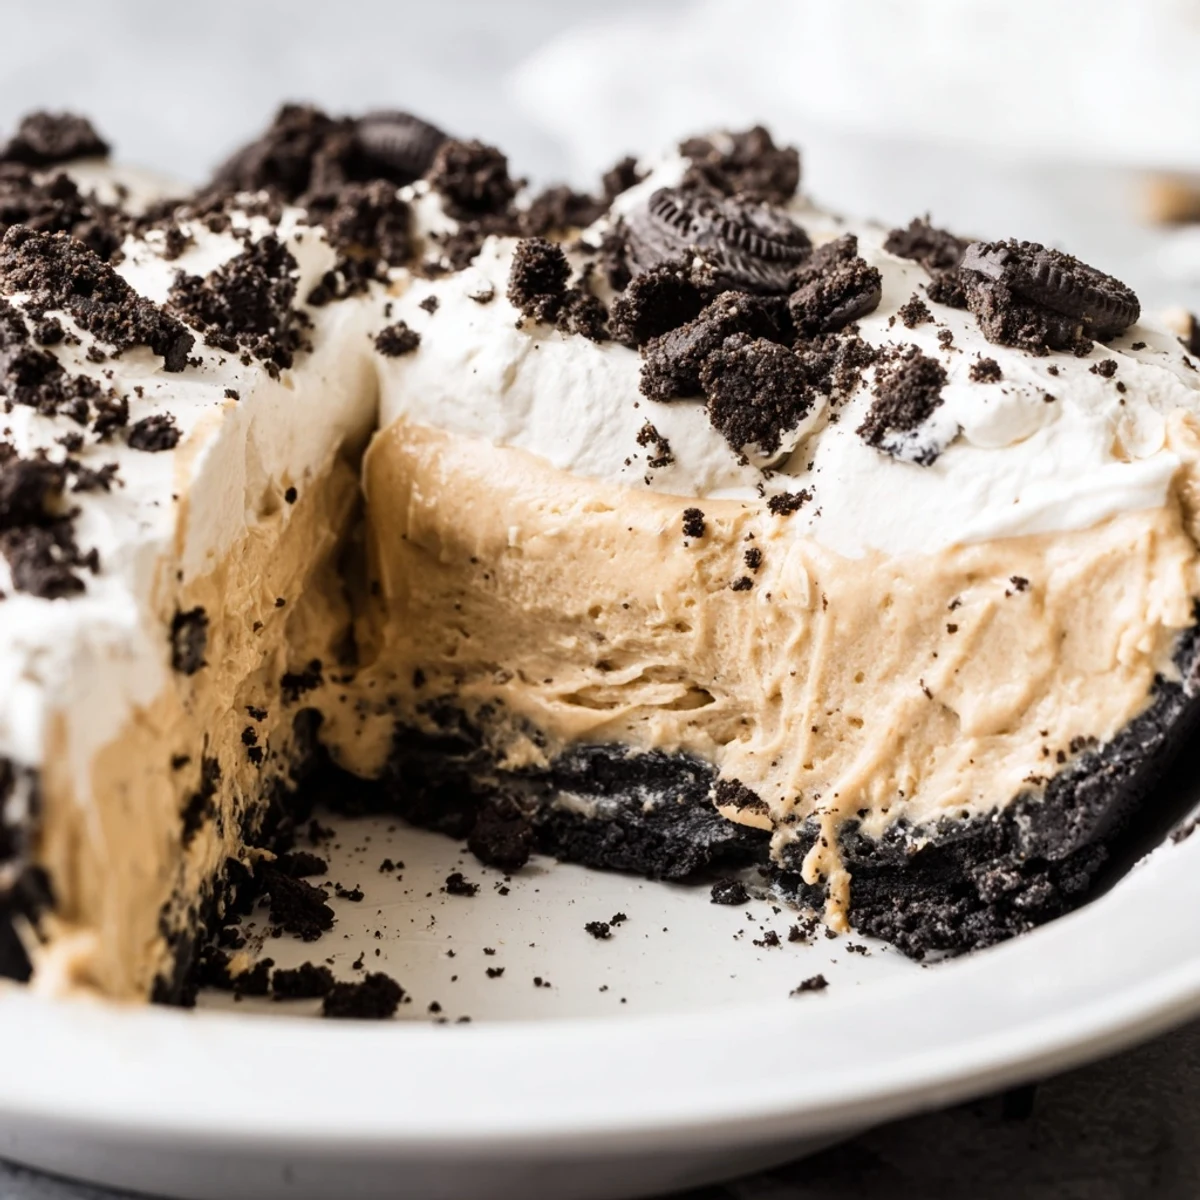
Save This indulgent dessert features a velvety smooth peanut butter filling made with cream cheese and whipped cream, all resting on a buttery chocolate Oreo crust. The combination creates the ultimate balance of salty-sweet flavors and creamy-crunchy textures. Best served chilled, each slice delivers pure satisfaction with minimal effort.
The first time I made this peanut butter Oreo pie, my roommate walked into the kitchen and literally stopped mid sentence. The smell of toasted Oreos mixing with creamy peanut butter had backed up into the hallway. I realized halfway through that I hadn't actually made dinner yet, but somehow dessert felt like the only logical choice.
I brought this to a potluck last summer and watched my friend Molly take her first bite. Her eyes went wide and she immediately asked for the recipe. Three people later that same day had already texted me about it. Now it is my go to when I need something that looks impressive but barely requires any actual effort.
Ingredients
- Oreo cookies: I have tried generic brands and they just do not crush the same way. The filling inside helps bind everything together when mixed with butter.
- Unsalted butter: Melt it completely and let it cool slightly before mixing with the crumbs. This prevents the crust from becoming greasy.
- Creamy peanut butter: Room temperature makes all the difference here. Cold peanut butter will leave you with tiny lumps that never quite smooth out.
- Cream cheese: Soften this on the counter for at least an hour. I once tried microwaving it and ended up with hot spots that curdled the filling.
- Powdered sugar: Sift it if you have the patience. I rarely do and nobody has ever complained about a slightly textured filling.
- Heavy whipping cream: Very cold whips up faster and holds its shape better. Stick the bowl in the freezer for ten minutes if you have the time.
Instructions
- Build your chocolate crust foundation:
- Crank your oven to 350°F and pulverize those Oreos in a food processor until they look like black sand. Stir in the melted butter until every crumb is coated then press the mixture into your pie dish using the bottom of a measuring cup. Bake for exactly ten minutes and let it cool completely while you make the filling.
- Create the silkiest peanut butter filling:
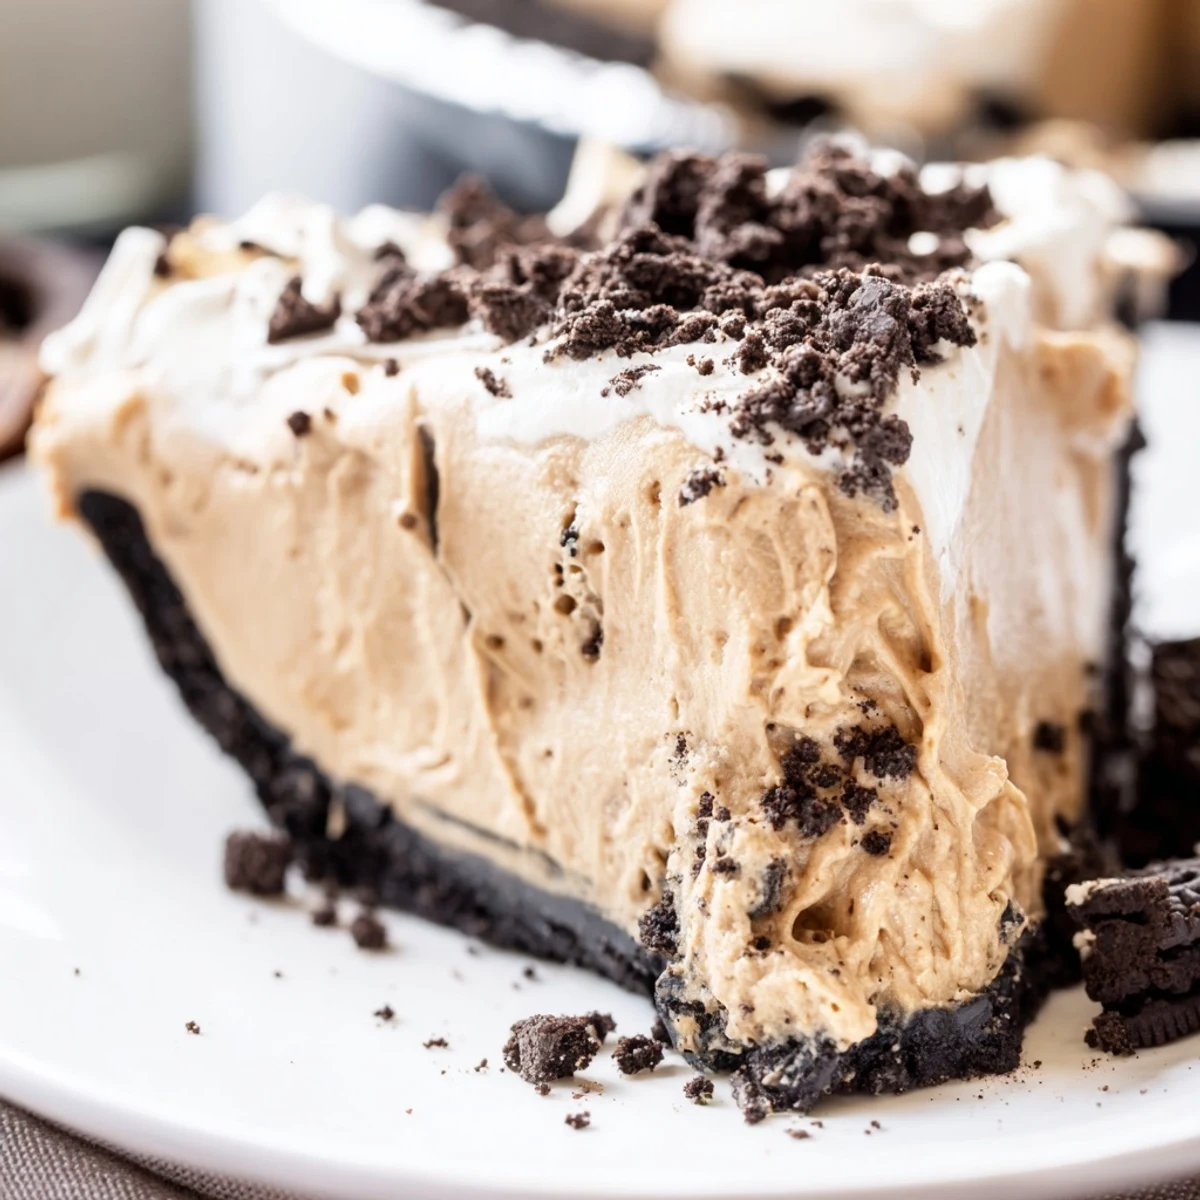
- Beat the peanut butter and cream cheese together until you cannot tell where one ends and the other begins. Add the powdered sugar and mix until incorporated. In a separate bowl whip that heavy cream until stiff peaks form then fold it gently into the peanut butter mixture until everything is blended and fluffy.
- Layer it all together:
- Spread that gorgeous peanut butter cloud evenly over your cooled Oreo crust. Pop the whole thing in the fridge for at least two hours. I have served it after one hour and it was delicious but still slightly soft. Patience pays off here.
- Top it with clouds of cream:
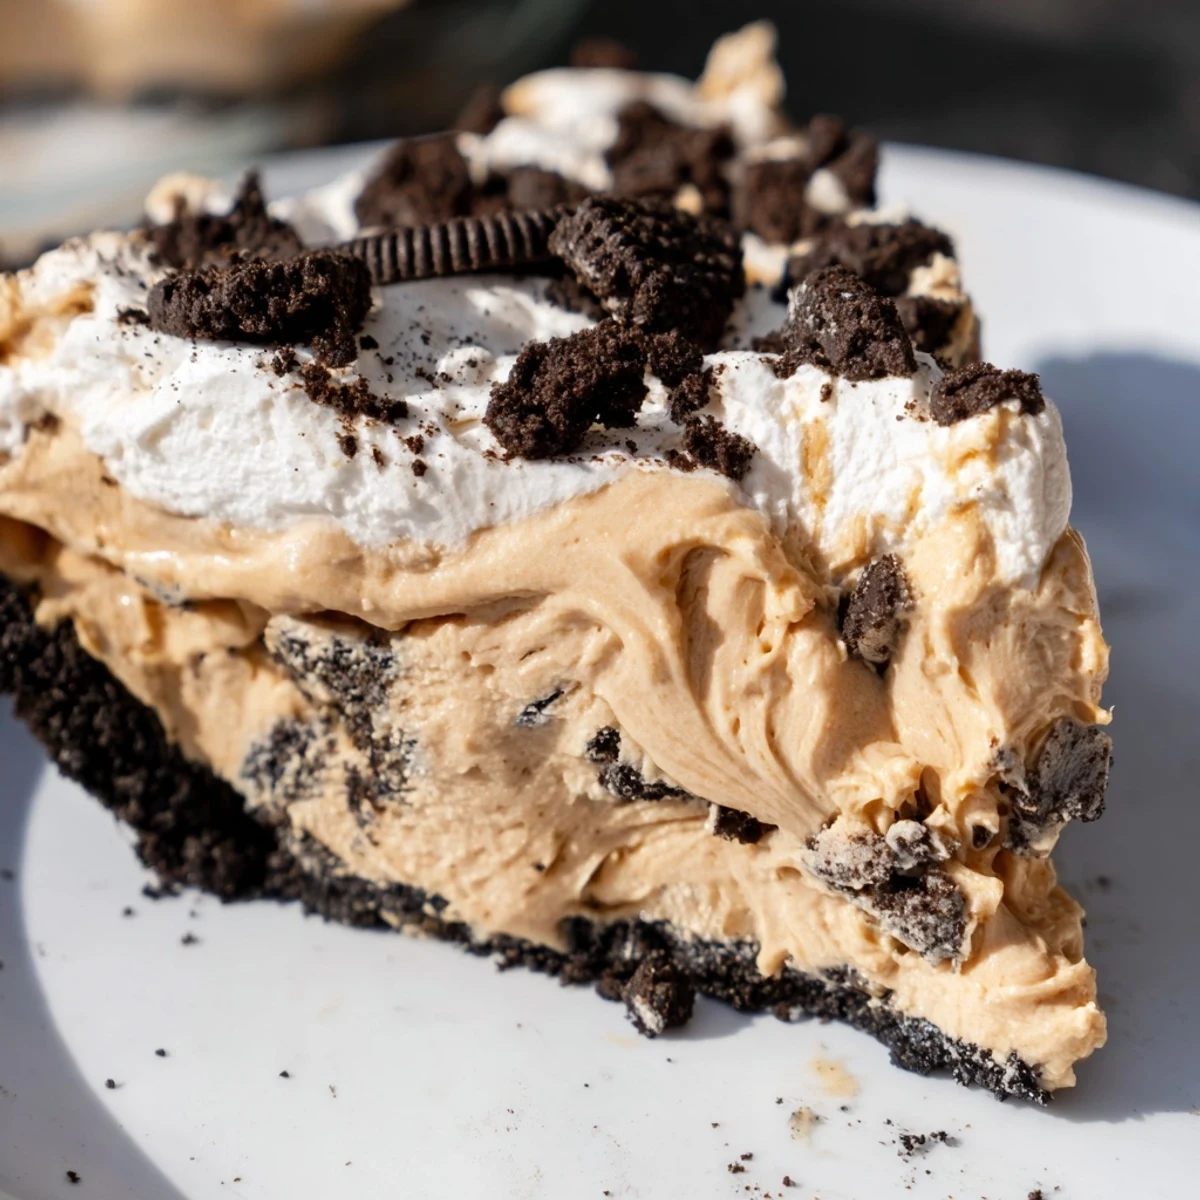
- Whip the remaining heavy cream with powdered sugar until it holds stiff peaks. Spread or pipe this over your completely chilled pie. Crush a few extra Oreos over the top right before serving so they stay crunchy and do not get weirdly soft.
 Save
Save My sister requested this for her birthday instead of cake this year. That is when I knew this pie had officially graduated from random Tuesday dessert to special occasion territory. Watching my nephew lick peanut butter off his plate was just bonus entertainment.
Making It Your Own
I have swapped in crunchy peanut butter when I wanted extra texture and it was fantastic. Sometimes I add a layer of chocolate ganache between the crust and filling for people who claim they need more chocolate in their lives. The basic recipe is forgiving enough to handle all sorts of experiments.
Getting Ahead
You can make the crust up to two days ahead and store it wrapped tightly at room temperature. The filling actually tastes better after sitting overnight. I have assembled the entire pie the day before a party and it was absolutely perfect. Just save the whipped cream topping for the day of so it stays fresh and fluffy.
Serving Suggestions
A tiny drizzle of salted caramel over the whipped cream takes this into restaurant quality territory. I have also added mini peanut butter cups on top for birthdays when more is somehow not enough. Keep slices thin because this pie is incredibly rich.
- Let the pie sit at room temperature for ten minutes before serving for the creamiest texture
- A dusting of sea salt over the whipped cream makes all the flavors pop
- Store any leftovers covered in the fridge though they rarely last past day two
 Save
Save There is something deeply satisfying about a dessert that makes people pause mid conversation to appreciate their first bite. This pie has become my answer to every dinner party invitation and birthday request.
Recipe FAQs
- → Can I make this ahead of time?
-
Absolutely. This actually tastes better when made a day ahead, allowing flavors to meld and the filling to fully set. Simply cover and refrigerate for up to 3 days before serving.
- → What if I don't have a food processor?
-
No problem. Place Oreo cookies in a sturdy zip-top bag and crush with a rolling pin or heavy pan until you achieve fine crumbs. Works just as well.
- → Can I freeze this pie?
-
Yes, freeze whole or individual slices wrapped tightly for up to 2 months. Thaw overnight in the refrigerator before serving for best texture.
- → Do I have to bake the crust?
-
Baking helps set the crust and creates a sturdier base, but you can skip it and chill for 1 hour instead. The crust may be slightly more crumbly when slicing.
- → Can I use natural peanut butter?
-
Natural peanut butter will work but may result in a softer, slightly oily filling. For best results, use commercial creamy peanut butter like Jif or Skippy.
- → How do I get clean slices?
-
Dip your knife in hot water and wipe clean between cuts. Run the knife under hot water, wipe dry, then slice through the chilled pie for perfect portions.
