 Save
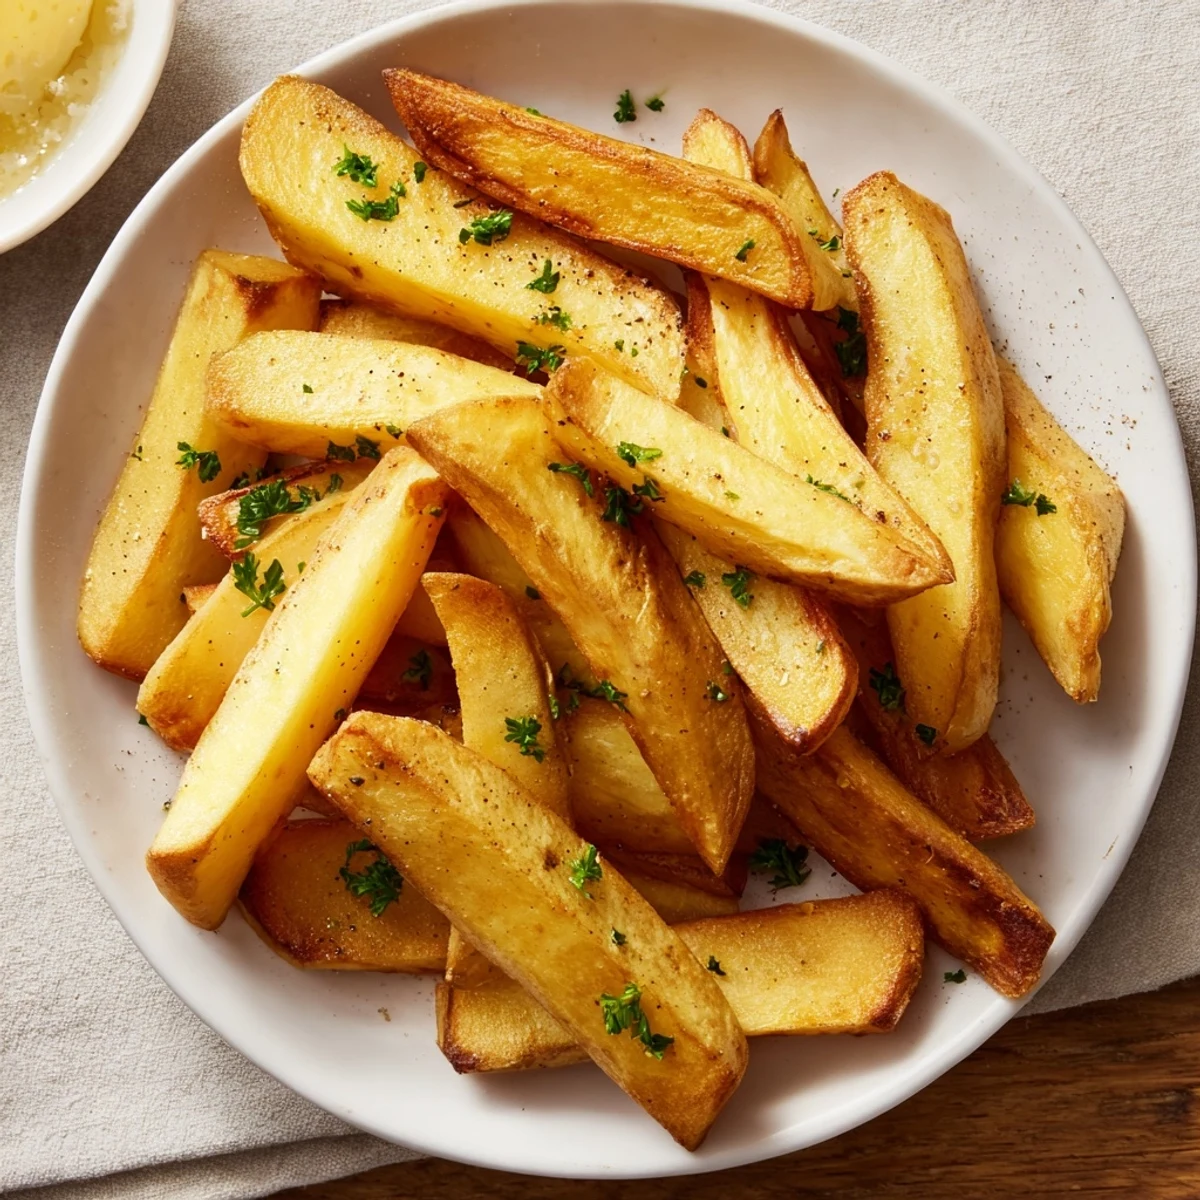
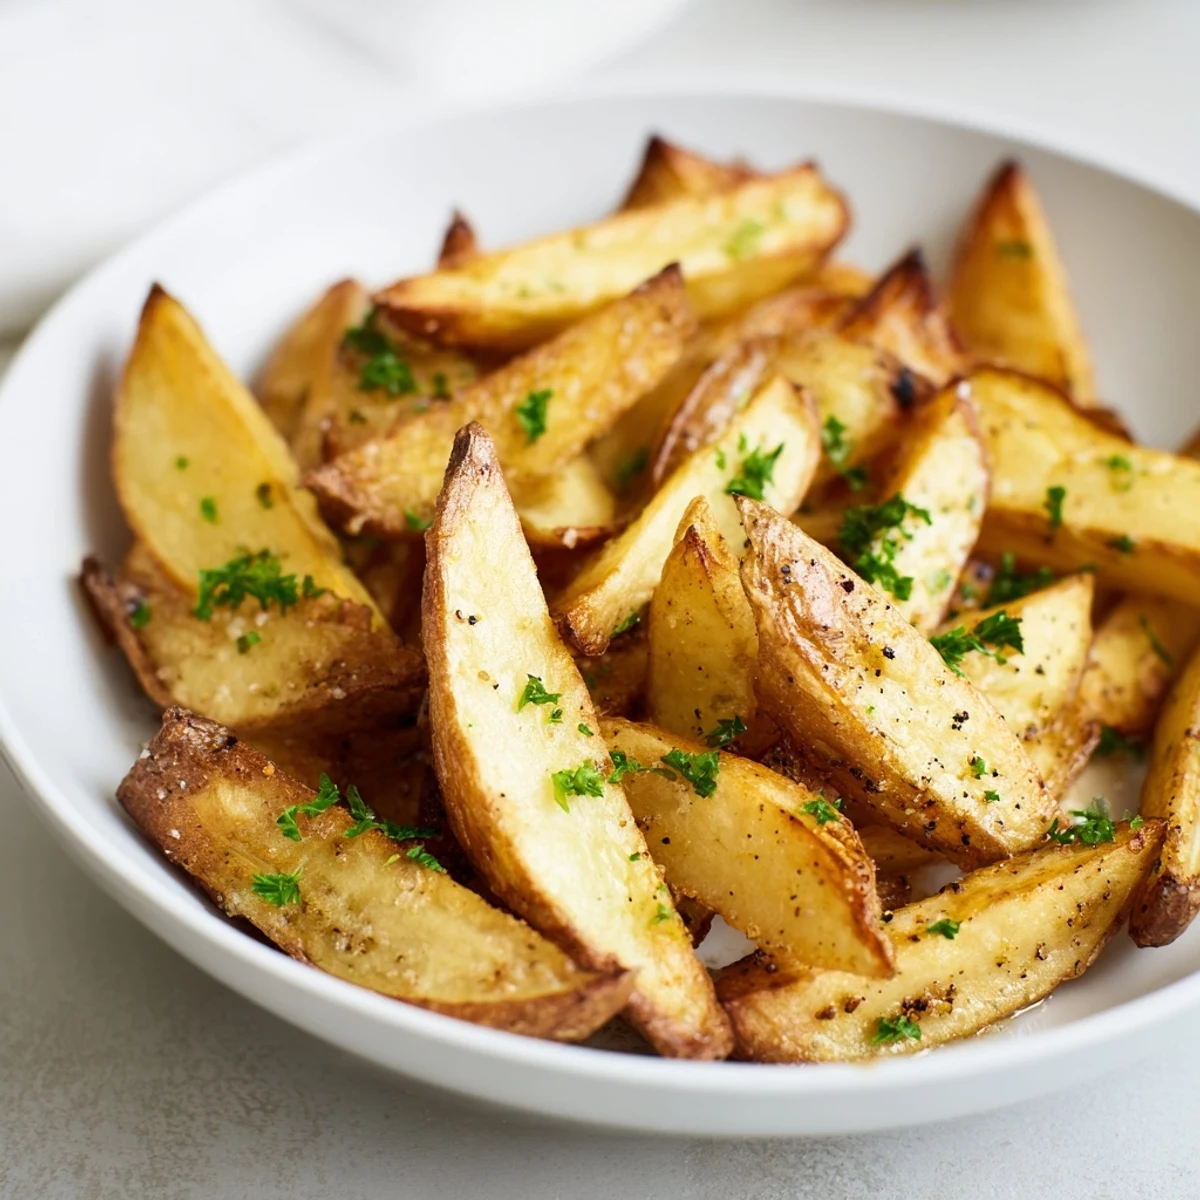
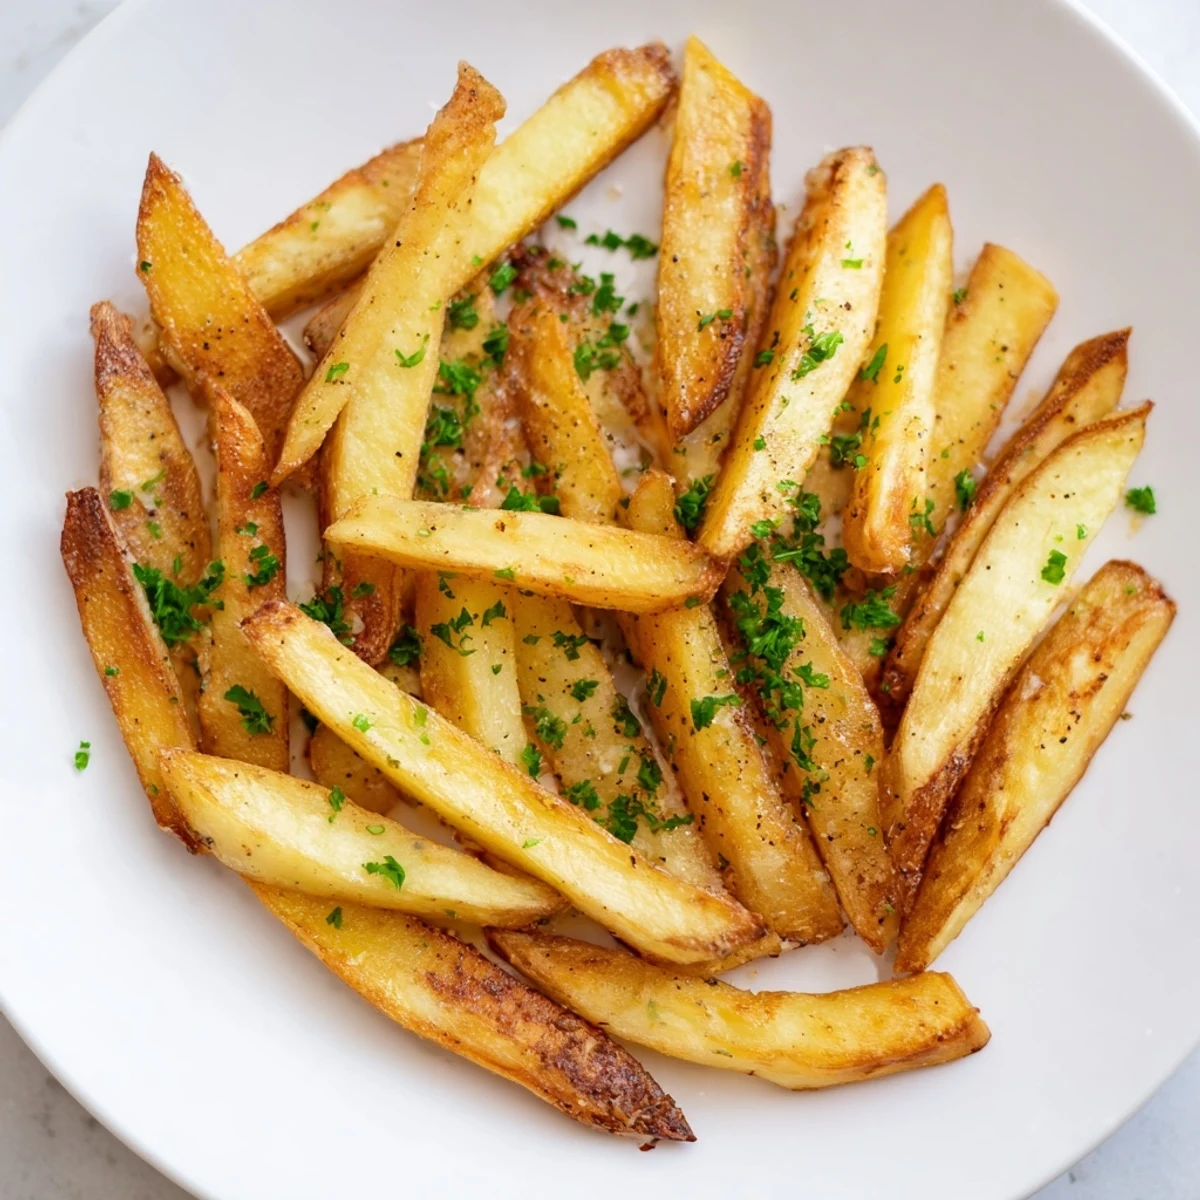
Save These oven fries deliver a perfect balance of crispiness on the outside and tenderness within. Russet potatoes are cut evenly, tossed with olive oil and a hint of smoked paprika, black pepper, and sea salt, then baked until golden. For extra crispiness, soaking the fries before baking is recommended. These versatile fries serve well as a flavorful side or a satisfying snack. Garnish with fresh parsley for a fresh touch of color and taste.
I still remember the first time I made oven fries at home—I was convinced they could never match the crispy, golden perfection of deep-fried versions, but I was determined to try. There's something magical about pulling a baking sheet from a hot oven and finding that your potatoes have transformed into something absolutely irresistible. That moment changed how I think about cooking. Now, whenever someone asks me for a healthier side dish that doesn't taste like a compromise, these are always my answer.
I'll never forget cooking these for my roommate's surprise birthday dinner. She came home to the smell of smoked paprika and golden potatoes, and her face just lit up. It turned what could have been just another side dish into the thing she talked about for weeks. Sometimes the simplest foods create the biggest memories.
Ingredients
- Russet Potatoes (4 large): These are your foundation—their starchy nature creates that perfect contrast between crispy exterior and fluffy interior. Look for potatoes that are roughly the same size so they cook evenly.
- Olive Oil (2 tablespoons): This is your secret weapon for crispiness. It distributes heat beautifully and helps the paprika and seasonings cling to every fry. Don't skip it or substitute it with spray.
- Sea Salt (1 teaspoon): Use fine sea salt rather than table salt—it seasons more evenly and tastes cleaner. You can always add more at the end if needed.
- Black Pepper (½ teaspoon): Freshly cracked pepper adds so much more character than pre-ground. It creates little flavor bursts throughout.
- Smoked Paprika (½ teaspoon): This is where the magic happens. It gives that subtle BBQ-like depth that makes people ask what your secret ingredient is.
- Garlic Powder (½ teaspoon, optional): I always include this because it adds an umami richness that makes simple potatoes taste restaurant-quality.
- Fresh Parsley (2 tablespoons, optional): A finishing touch that adds freshness and makes the fries look like they belong on a real plate.
Instructions
- Prep Your Oven and Sheet:
- Set your oven to 220°C (425°F) and line a baking sheet with parchment paper. This step matters more than you think—the parchment prevents sticking and allows heat to circulate, creating even browning.
- Clean and Cut Your Potatoes:
- Scrub each potato under cold running water to remove any soil. Cut them into fries about 1 cm thick—aim for consistency here because thinner fries will crisp faster while thicker ones might stay soft. Don't peel them; the skin holds moisture inside and adds texture.
- Coat Everything Evenly:
- Pour the olive oil into a large bowl and add all your seasonings. Toss the cut potatoes in this mixture, making sure every single fry gets coated. This is where patience pays off—take your time and make sure nothing is left plain.
- Arrange on the Sheet:
- Spread the fries in a single layer, leaving space between each one. Crowding the pan creates steam, which prevents crisping. If you don't have enough room, use two sheets and rotate them midway through cooking.
- First Bake:
- Bake for 20 minutes without touching them. Resist the urge to peek constantly—opening the door lets heat escape. You'll notice the edges starting to turn golden.
- The Flip (The Game Changer):
- This is the move that separates good fries from great fries. Flip each fry so the other side can get golden and crispy. It takes two minutes and changes everything.
- Final Bake and Finish:
- Bake for another 15 minutes or until they're as golden as you like them. Pull them out while they're still a bit soft in the center—they'll continue crisping as they cool. Sprinkle with fresh parsley and sea salt while they're hot.
 Save
Save There's a particular quiet joy that happens when you pull a sheet of perfect oven fries from the oven and realize you've created something that tastes just as good as anything fried, but without the guilt. That moment when someone bites into one and their eyes light up—that's when you know you've nailed it.
Flavor Variations That Work
Once you master the basic technique, you can build on it in so many directions. I've experimented with everything from adding grated Parmesan and fresh rosemary to dusting them with curry powder or cajun spice. The beauty of oven fries is that the base technique stays the same—you're just playing with the seasoning layer. Start with small amounts of anything new, taste as you go, and trust your instincts. Sometimes my best discoveries come from 'what if I added just a little bit of this?'
Dipping Sauces That Elevate Everything
Fries are only as good as their dipping sauce, and I've learned this the hard way. Classic ketchup is wonderful, but once you start exploring, you find that simple aioli (mayo mixed with garlic and lemon) completely changes the game. I also love a Greek yogurt-based dip with herbs, or even just melting a little cheddar and mixing it with sour cream. The key is something that adds moisture and flavor contrast to all that crispy goodness.
Storing and Reheating Secrets
Life rarely allows us to eat oven fries immediately after they come out, so knowing how to handle leftovers makes all the difference. Store them in an airtight container in the refrigerator for up to three days, though honestly they're best within 24 hours. When you're ready to eat them again, here's the magic: reheat them in a 180°C oven for about 10 minutes rather than the microwave, which turns them soggy. Spread them on a baking sheet in a single layer and they'll regain most of their crispiness.
- Never microwave leftover fries—the oven is always your friend for revival.
- If you're meal prepping, you can cut and soak the potatoes the night before, then season and bake them fresh when you need them.
- Experiment with dipping sauces to keep things interesting through the week.
 Save
Save Oven fries have taught me that sometimes the healthier choice doesn't mean sacrificing flavor or satisfaction. They've become my go-to when I want something comforting and real, and I hope they become yours too.
Recipe FAQs
- → How do I achieve the best crispiness on oven fries?
-
Soak the cut potatoes in cold water for at least 30 minutes before baking, then dry them thoroughly. This removes excess starch and helps create a crispier texture.
- → Can I add other seasonings to these fries?
-
Yes, feel free to experiment with herbs like rosemary or spices such as cayenne for added flavor depth.
- → What type of potatoes works best for oven fries?
-
Russet potatoes are ideal because their starchy texture crisps well while remaining fluffy inside.
- → Should the fries be flipped during baking?
-
Flipping halfway through baking ensures even browning and crispness on all sides.
- → How can I make these fries gluten-free and vegan?
-
Using simple ingredients like potatoes, olive oil, and spices ensures they remain gluten-free and vegan-friendly.
