 Save
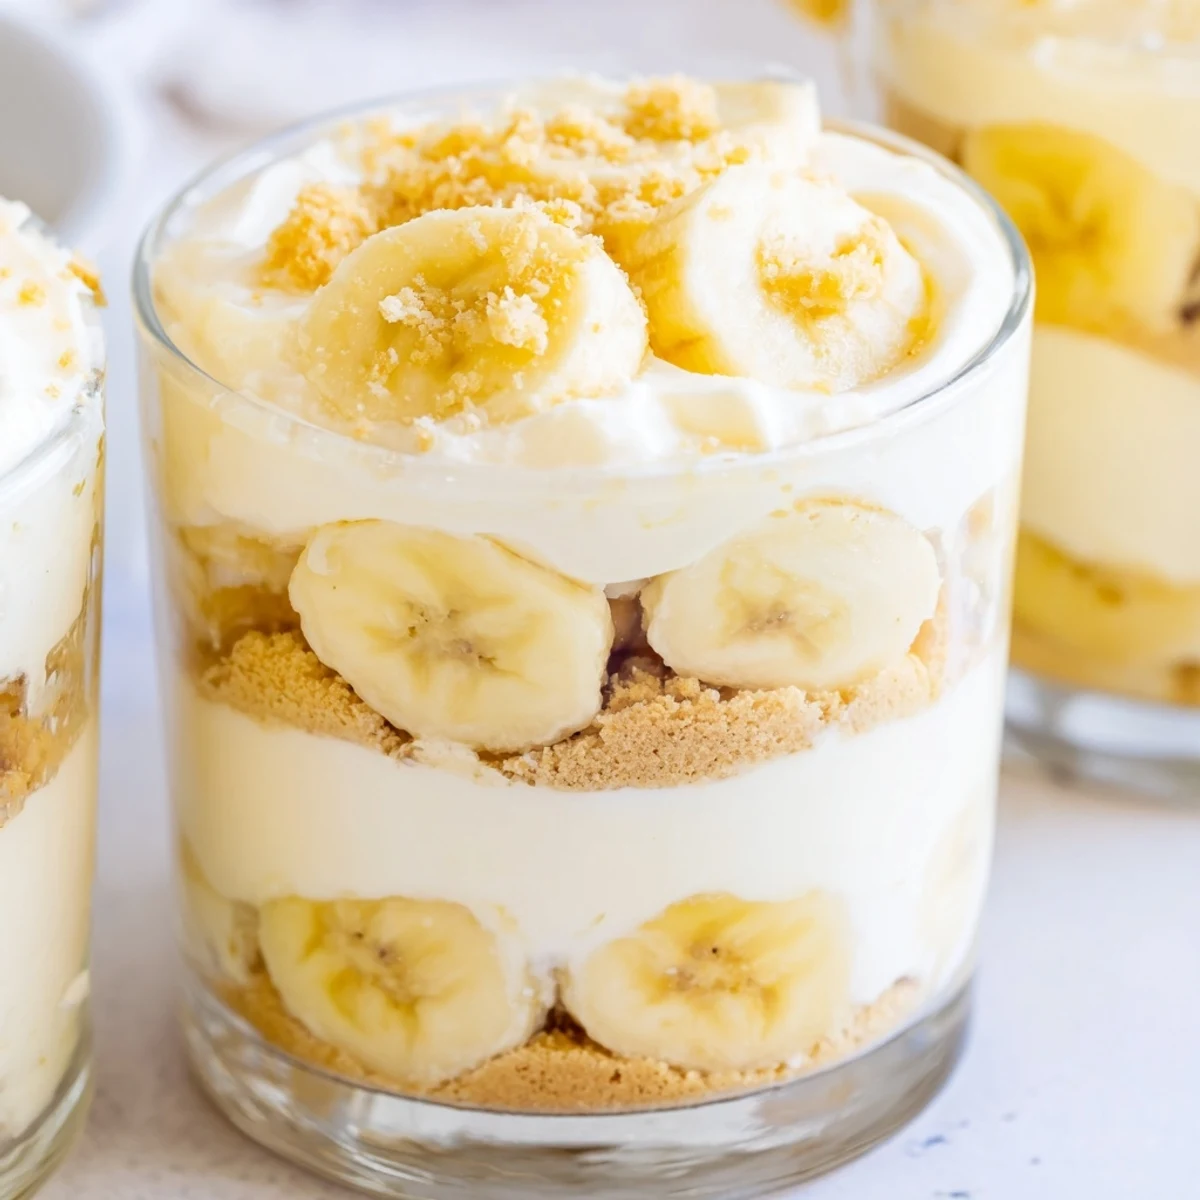
Save These individual banana pudding cheesecake cups combine the best of two classic desserts in one convenient, no-bake format. A crunchy vanilla wafer crust forms the base, followed by layers of velvety cream cheese filling, fresh banana slices, and luscious banana pudding. Each cup is finished with a final layer of cheesecake topping, additional wafer crumbs, and fresh banana garnish.
The entire assembly requires just 20 minutes of active prep time—no oven needed. After a brief chill in the refrigerator, you're rewarded with perfectly portioned treats featuring contrasting textures and rich banana flavor throughout. Ideal for parties, potlucks, or whenever you want an impressive dessert without heating up the kitchen.
My youngest daughter discovered these at a birthday party last summer and came home raving about the lady who made individual cheesecakes in cute little glasses. She begged me to recreate them, and honestly, the way her eyes lit up when I finally nailed the recipe made all the testing worth it.
We made twelve of these for my sister's baby shower, arranged on a pretty tiered stand, and I swear every single person asked for the recipe. The best part was how I could assemble them the night before and actually enjoy the party instead of being stuck in the kitchen.
Ingredients
- 1 cup vanilla wafer cookies, crushed: These little cookies are the secret to that nostalgic banana pudding flavor we all love
- 2 tbsp unsalted butter, melted: Just enough to bind the crumbs together without making them soggy
- 8 oz cream cheese, softened: Room temperature is non negotiable here or you will end up with lumpy filling
- 1/3 cup granulated sugar: Adds just the right sweetness without overpowering the delicate banana flavor
- 1 tsp pure vanilla extract: Always use pure extract—imitation vanilla can taste strangely metallic in no bake desserts
- 1 cup heavy whipping cream, cold: The colder the cream, the faster it whips and the more stable your cheesecake layer becomes
- 1 package instant banana pudding mix: Do not try to make homemade pudding here—the instant stuff sets up perfectly for layered desserts
- 1 1/4 cups cold whole milk: Whole milk creates a creamier pudding that holds its layers better than low fat versions
- 2 ripe bananas, sliced: Look for bananas with some brown spots—they are sweeter and mash better against your tongue
Instructions
- Build the Crunchy Foundation:
- Mix crushed vanilla wafers with melted butter until every crumb is coated like wet sand. Spoon two tablespoons into each serving cup and press down firmly with the back of a spoon to create a solid crust that will not crumble when you dig in.
- Whip the Cheesecake Base:
- Beat softened cream cheese, sugar, and vanilla until completely smooth—no lumps allowed. In a separate bowl, whip cold heavy cream until stiff peaks form, then gently fold it into the cream cheese mixture until no white streaks remain.
- Prepare the Pudding Layer:
- Whisk instant banana pudding mix with cold milk for exactly two minutes. The mixture will thicken dramatically, creating the perfect consistency to layer over your cheesecake filling.
- Assemble the Layers:
- Spoon half the cheesecake mixture over the crust, followed by banana slices, then the pudding layer. Finish with remaining cheesecake filling, topping each cup with extra wafer crumbs and fresh banana slices.
- Chill and Serve:
- Refrigerate for at least two hours, but overnight is even better. The layers meld together and the flavors deepen, making each spoonful taste like it came from an old fashioned soda fountain.
 Save
Save These became our go to dessert for summer potlucks after my neighbor asked for the recipe three separate times. There is something about individual servings that makes people feel special, like you put extra thought into their dessert.
Choosing the Right Serving Cups
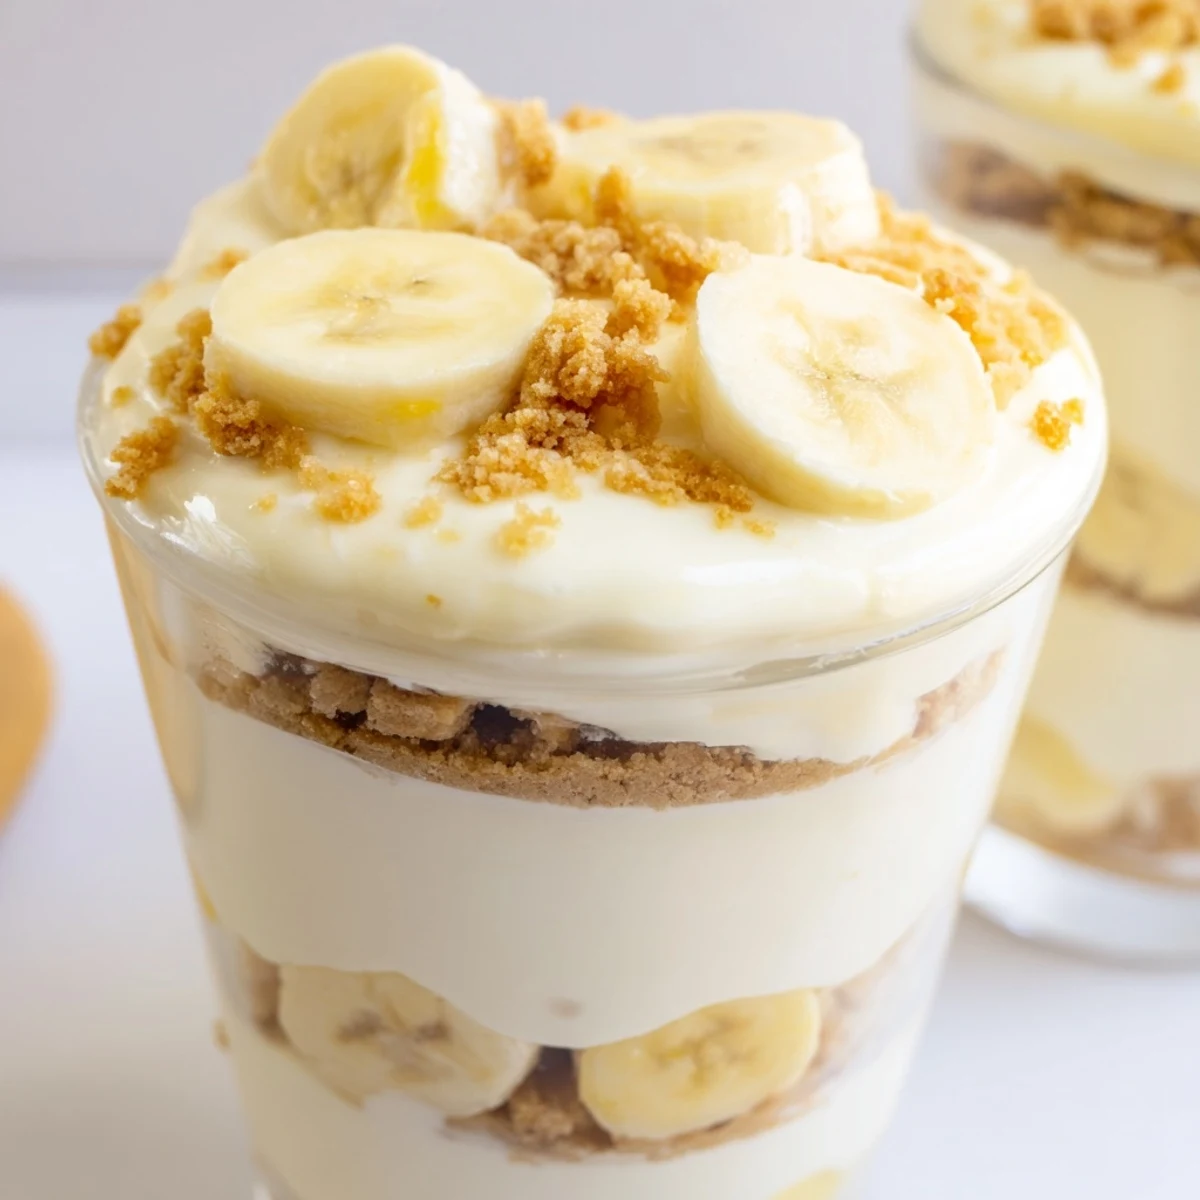
Clear glass cups or mason jars work best because you can see all those beautiful layers. I found some inexpensive parfait glasses at a thrift store that are perfect—about six ounces each gives you three distinct layers without overwhelming portions.
Make Ahead Strategy
The entire recipe can be assembled 24 hours in advance, but wait to add fresh banana slices and topping until right before serving. I once topped them too early and ended up with slightly brown bananas that still tasted fine but did not look as photogenic.
Flavor Variations
Sometimes I add a teaspoon of cinnamon to the crust for warmth, especially in cooler months. During summer, a layer of crushed fresh strawberries between the cheesecake and pudding adds brightness that cuts through the richness.
- Try using Nilla wafers that are slightly stale—they crush better and absorb moisture without getting soggy
- A splash of banana liqueur in the cheesecake layer intensifies the banana flavor for adults
- Toasted coconut on top adds a lovely crunch and tropical twist that guests always comment on
 Save
Save These little cups have become my secret weapon for gatherings because they look impressive but come together in under 30 minutes. Watch them disappear faster than any full sized cheesecake I have ever served.
Recipe FAQs
- → Can I make these cups ahead of time?
-
Yes, these cheesecake cups can be prepared up to 24 hours in advance. For best results, add the fresh banana slices and whipped cream topping just before serving to prevent the bananas from browning.
- → How do I prevent the banana slices from turning brown?
-
Toss the sliced bananas lightly in lemon juice before adding them to the cups. This simple step prevents oxidation and keeps the bananas looking fresh and appetizing.
- → Can I use homemade pudding instead of instant?
-
Yes, you can substitute the instant banana pudding mix with homemade custard-style pudding. Allow it to cool completely before layering, and you may need to adjust the chilling time slightly.
- → What size cups work best for this dessert?
-
Use 6-8 ounce clear glass cups, mason jars, or dessert glasses. Clear vessels showcase the beautiful layered presentation, though any small individual serving dishes will work perfectly.
- → Can I freeze these cheesecake cups?
-
Freezing is not recommended due to the fresh bananas and pudding texture. These cups are best enjoyed fresh from the refrigerator within 1-2 days of preparation for optimal texture and flavor.
- → What can I substitute for vanilla wafers in the crust?
-
Graham cracker crumbs, digestive biscuits, or vanilla sandwich cookies all work well as alternatives. The flavor profile will shift slightly, but the texture remains equally delicious.
