 Save
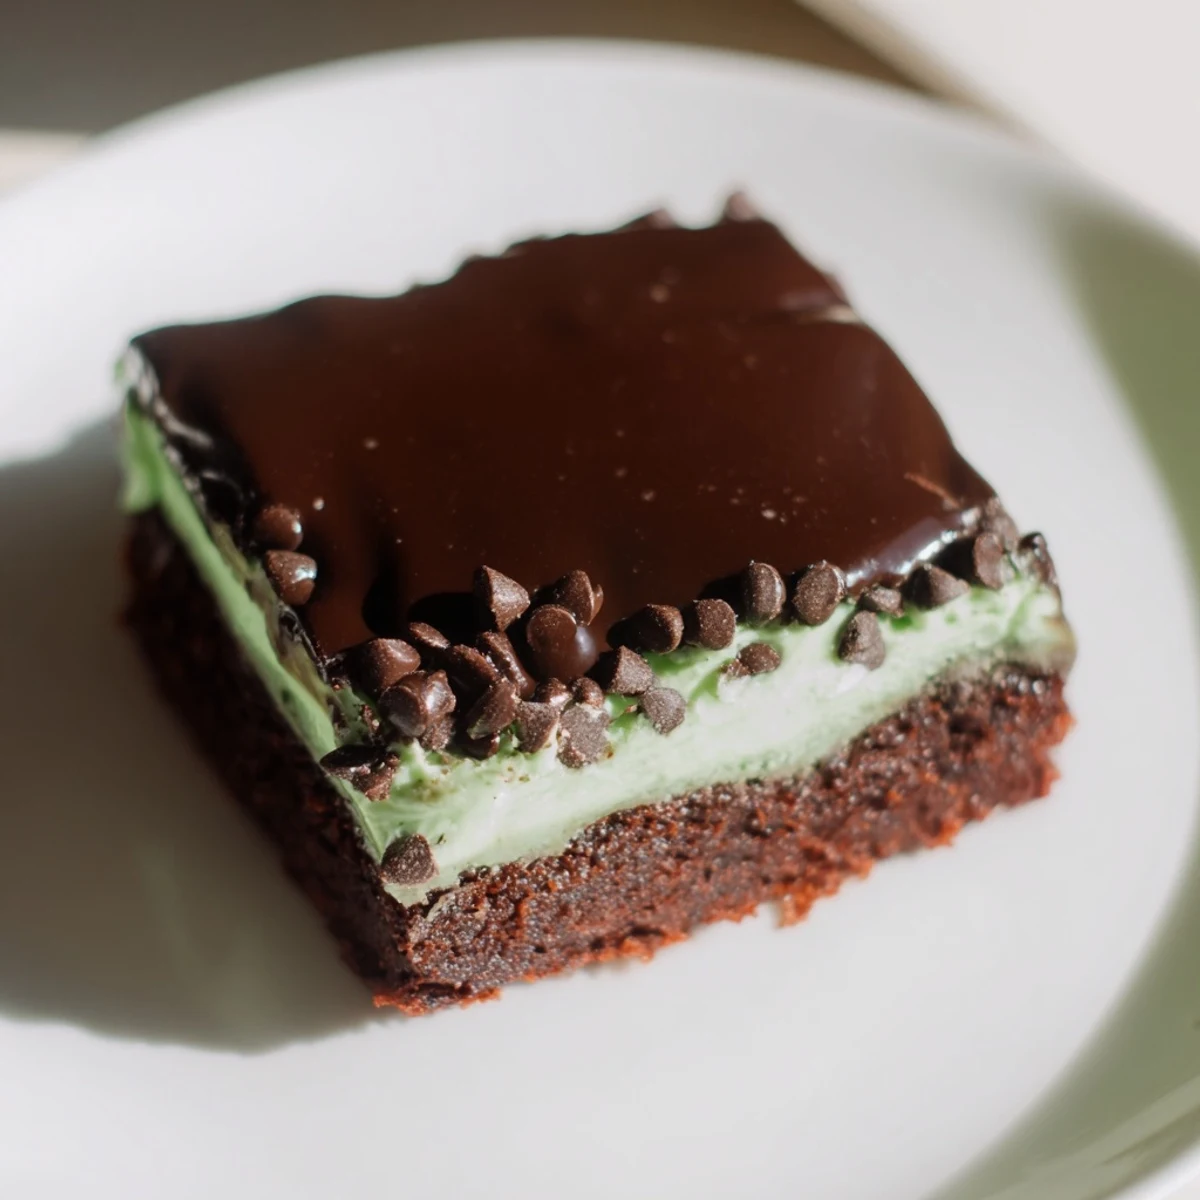
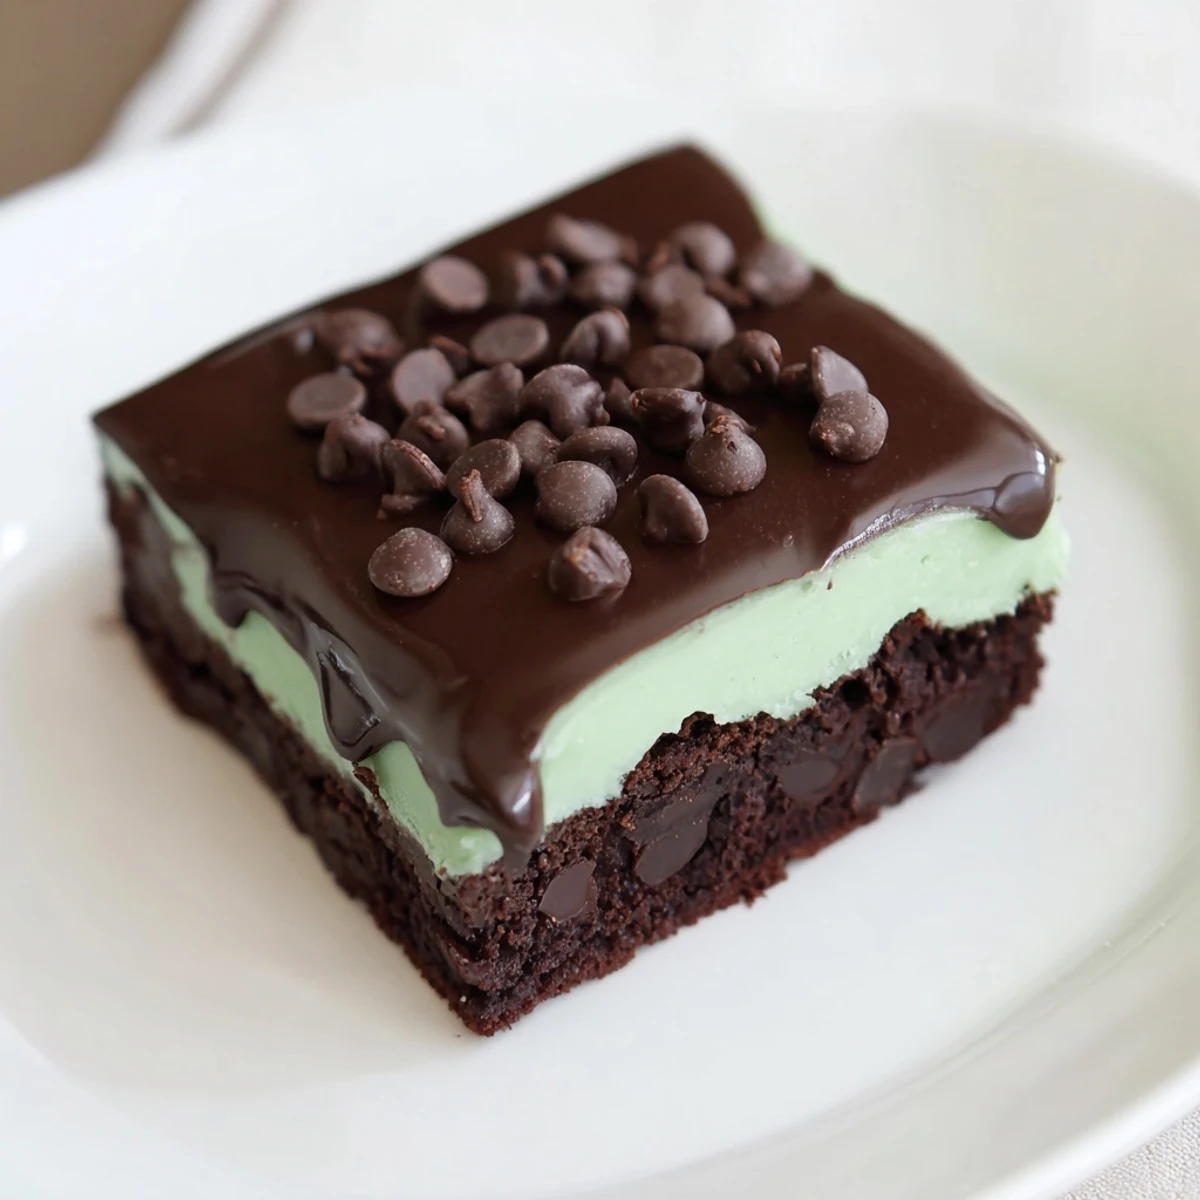
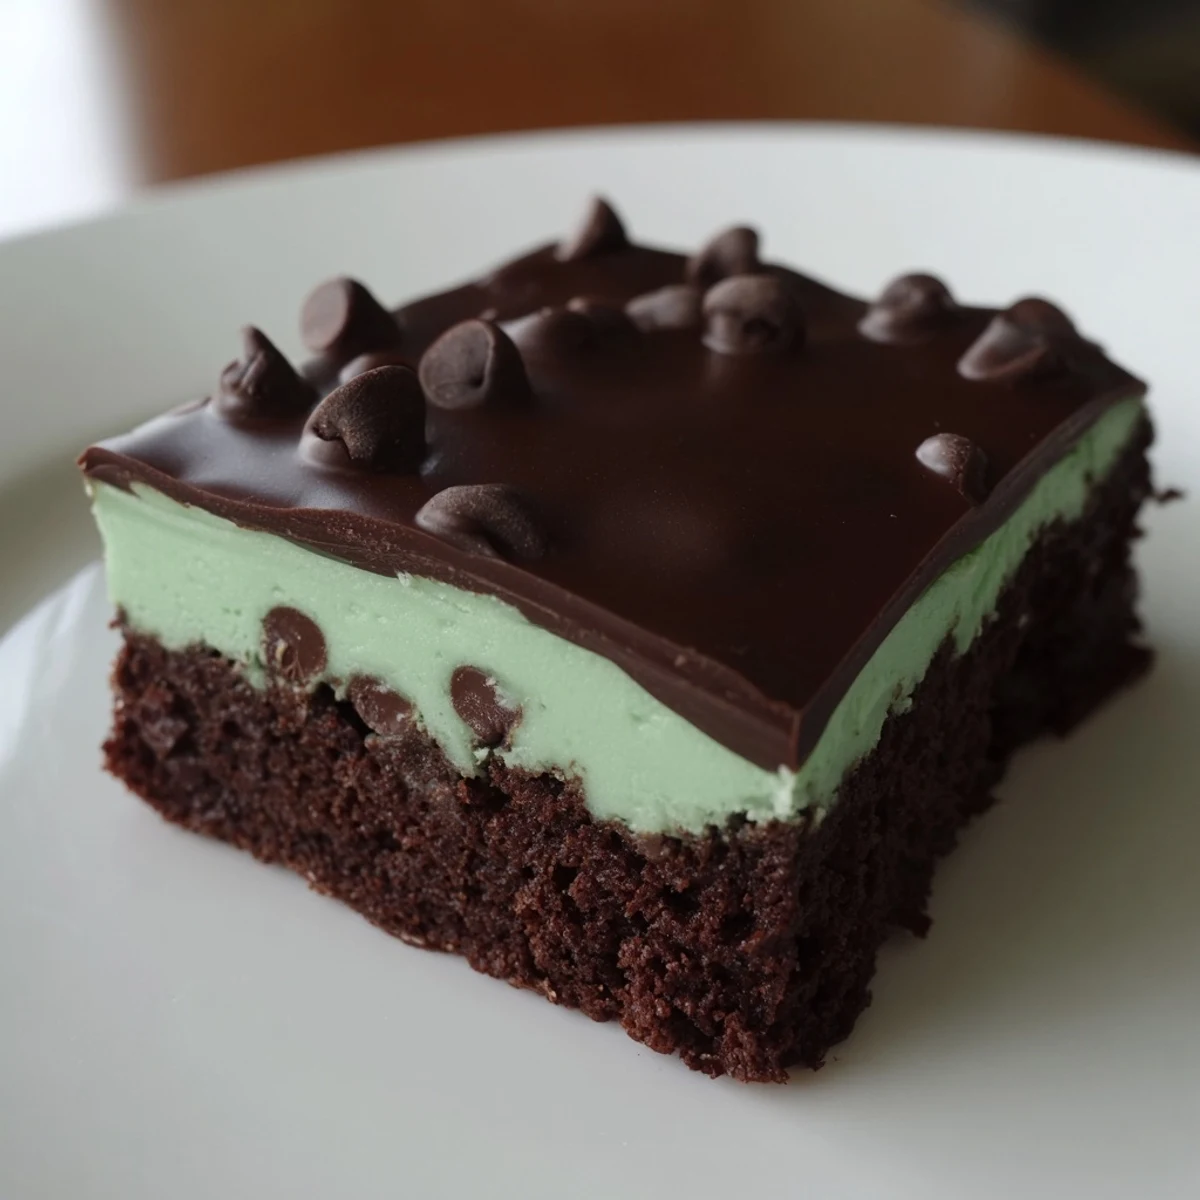
Save These fudgy brownies combine a rich cocoa base with a refreshing mint topping and chocolate chip layers. Baking takes about 35 minutes, with additional time to cool and chill for perfect texture. The mint layer uses peppermint extract and powdered sugar, creating a smooth, sweet contrast to the dense brownie. Finished with a melted chocolate topping, these treats are ideal served chilled or at room temperature. Variations include adjusting mint intensity or chocolate type to suit taste.
My sister accidentally ordered peppermint extract instead of vanilla one winter, and what started as a kitchen mistake turned into our family's most requested holiday treat.
I brought these to a potluck last summer and watched three different people ask for the recipe before they even finished their first square.
Ingredients
- Unsalted butter: Room temperature butter beats into the mint filling like silk creating that creamy texture that sets up perfectly in the fridge
- Granulated sugar: The sugar not only sweetens but helps create that crackly, shiny top on brownies that signals fudgy perfection underneath
- Large eggs: I always use room temperature eggs they incorporate better and prevent the batter from seizing when you add the warm melted butter
- Vanilla extract: Pure vanilla makes all the difference here since the mint flavor is so pronounced you want that warm vanilla base underneath
- Unsweetened cocoa powder: Dutch process cocoa gives the deepest chocolate flavor without making things too bitter or dry
- All-purpose flour: Just enough flour to hold everything together without turning these into cakey brownies which would completely miss the point
- Salt: Even a quarter teaspoon wakes up the chocolate flavor and balances the sweet mint layer beautifully
- Semisweet chocolate chips: I fold chips into the batter for pockets of melted chocolate and use more in the topping for that snappy finish
- Powdered sugar: Powdered sugar dissolves instantly into the butter creating that smooth frosting texture without any graininess
- Milk: Just enough whole milk makes the mint layer spreadable without turning it into a thin glaze that slides right off
- Peppermint extract: A little goes a long way start with half a teaspoon and add more if you want that really intense mint experience
- Green food coloring: Totally optional but that mint green layer against the dark brownie makes these instantly recognizable
Instructions
- Getting Ready:
- Preheat your oven to 350°F and line an 8-inch square pan with parchment paper letting the edges hang over for easy removal later
- Mixing the Brownie Base:
- Melt the butter in a large bowl then whisk in the sugar until it dissolves before beating in the eggs and vanilla until everything looks glossy
- Adding Dry Ingredients:
- Sift in your cocoa powder flour and salt folding gently until just combined do not overmix or you will lose that fudgy texture
- The Chocolate Chips:
- Fold in the chocolate chips last then scrape every bit of batter into your prepared pan spreading it into an even layer
- Baking Time:
- Bake for 25 to 30 minutes until a toothpick comes out with moist crumbs but not wet batter then let cool completely
- Making the Mint Layer:
- Beat the softened butter until creamy then gradually add powdered sugar milk peppermint extract and food coloring until smooth and spreadable
- Spreading the Mint:
- Drop spoonfuls of the mint mixture over the cooled brownie and gently spread to the edges then refrigerate for 20 minutes to set
- Preparing the Topping:
- Melt the chocolate chips and butter together in the microwave stopping to stir every 20 seconds until completely smooth
- Final Assembly:
- Pour the chocolate over the chilled mint layer spread quickly and evenly then refrigerate until set about 30 minutes before cutting
 Save
Save My daughter now requests these for her birthday instead of cake and watching her carefully peel back the parchment to reveal those perfect layers never gets old.
Making Ahead
These brownies actually improve after a day in the fridge as the flavors meld together and the texture becomes even more fudgy. I often make them the night before a party and store them in the pan covered with foil cutting them just before serving.
Storage Secrets
Keep these refrigerated in an airtight container and they will last up to a week though they rarely make it past day three in my house. The chocolate topping stays snappy and cold when chilled but you can let them sit at room temperature for 30 minutes before serving if you prefer a softer texture.
Serving Ideas
A warm square topped with vanilla ice cream creates this incredible hot cold contrast that makes the mint flavor sing even more. These also pair beautifully with a glass of cold milk or for the adults a chocolate stout brings out the deeper cocoa notes while cutting through the sweet mint layer.
- Use a sharp knife rinsed in hot water between cuts for perfectly clean slices
- Let the chocolate topping set completely before slicing or you will get messy edges
- Serve these cold straight from the fridge for the best snappy chocolate texture
 Save
Save These brownies have become my go-to for everything from school bake sales to holiday parties and I always keep the ingredients handy just in case someone drops by unexpectedly.
Recipe FAQs
- → How do I get the mint layer to set properly?
-
Ensure the brownie base is fully cooled before spreading the mint mixture evenly. Refrigerate for at least 20 minutes to allow it to firm up before adding the chocolate topping.
- → Can I use dark chocolate instead of semisweet chips?
-
Yes, swapping semisweet for dark or milk chocolate chips will adjust sweetness and richness to your preference.
- → What is the best way to melt the chocolate topping?
-
Use a microwave in short bursts or a double boiler, stirring frequently until smooth to avoid burning.
- → How can I enhance the mint flavor?
-
Add extra peppermint extract to the mint mixture gradually until the desired strength is reached.
- → What pans and tools are recommended for baking?
-
An 8-inch square baking pan lined with parchment paper works best, along with mixing bowls, a whisk or mixer, and a spatula.
