 Save
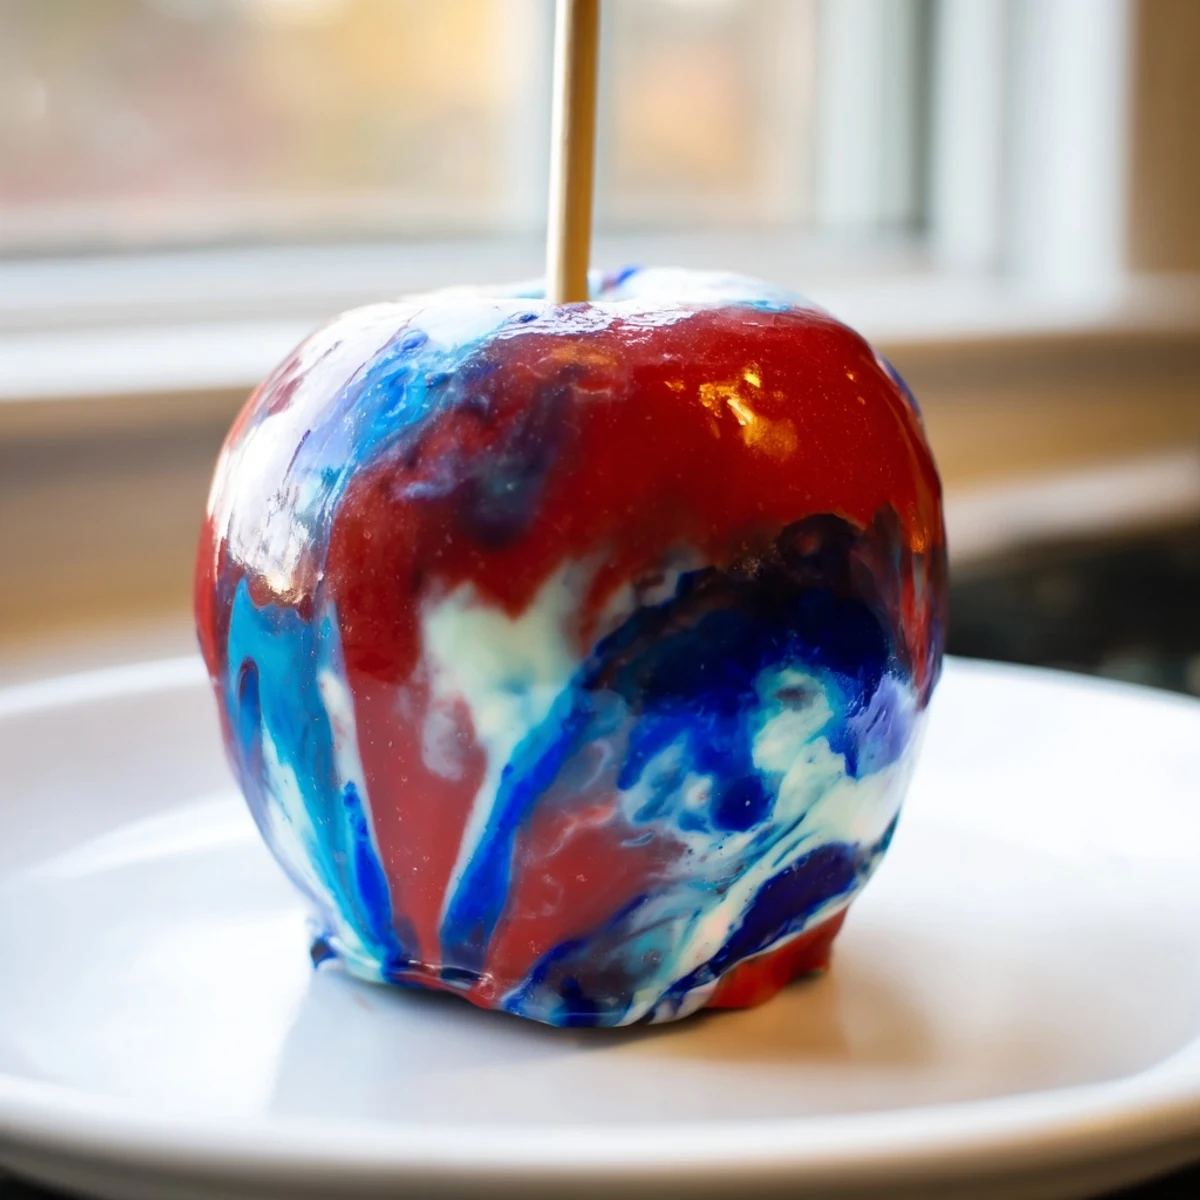
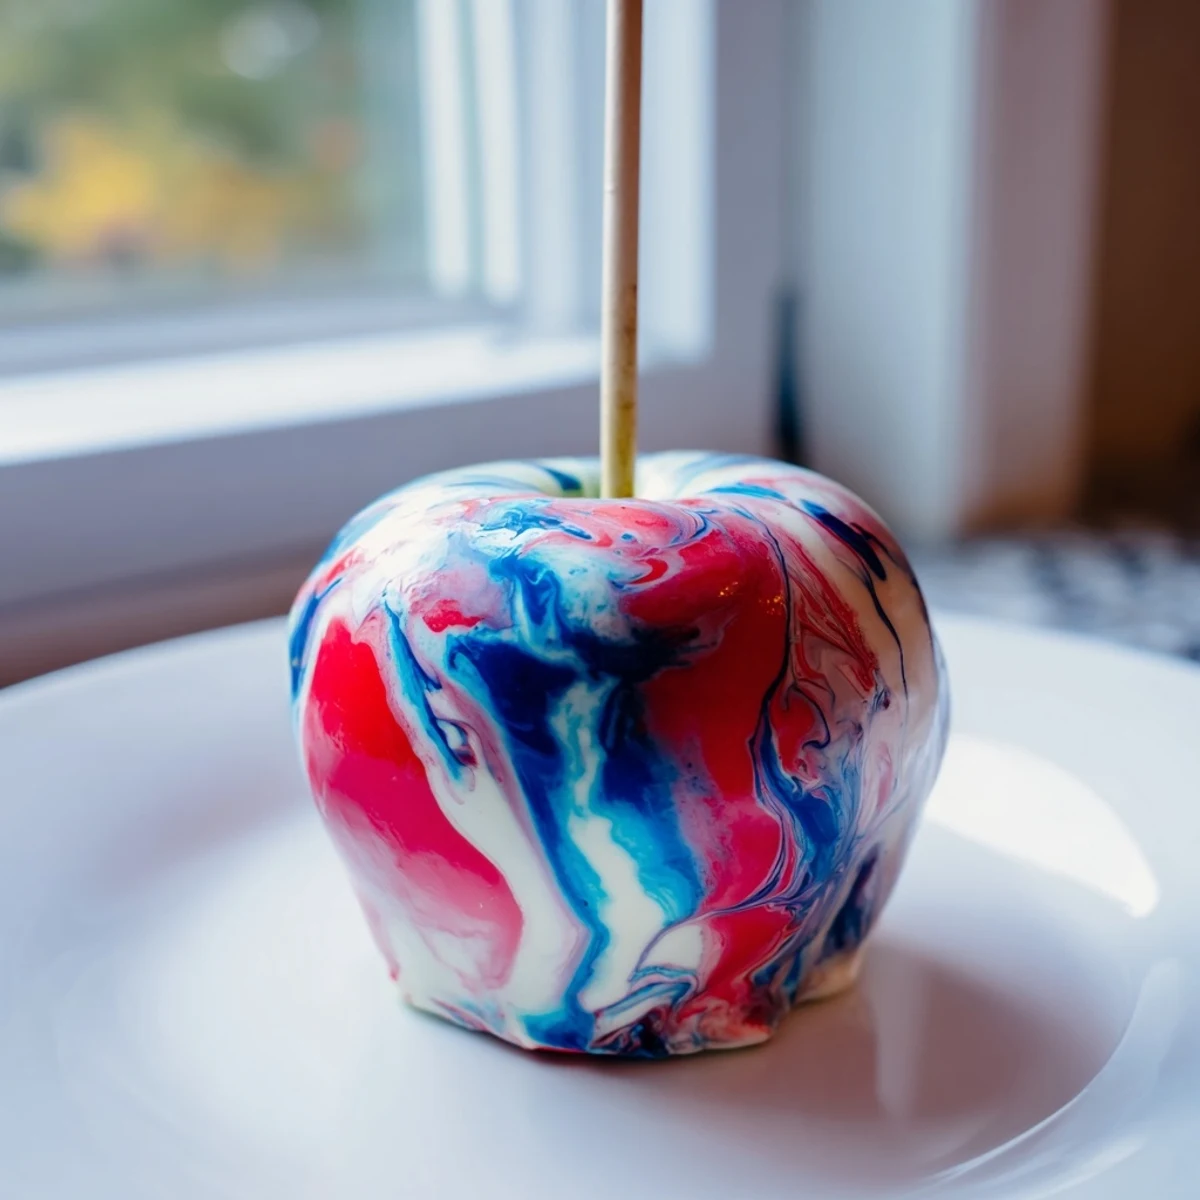
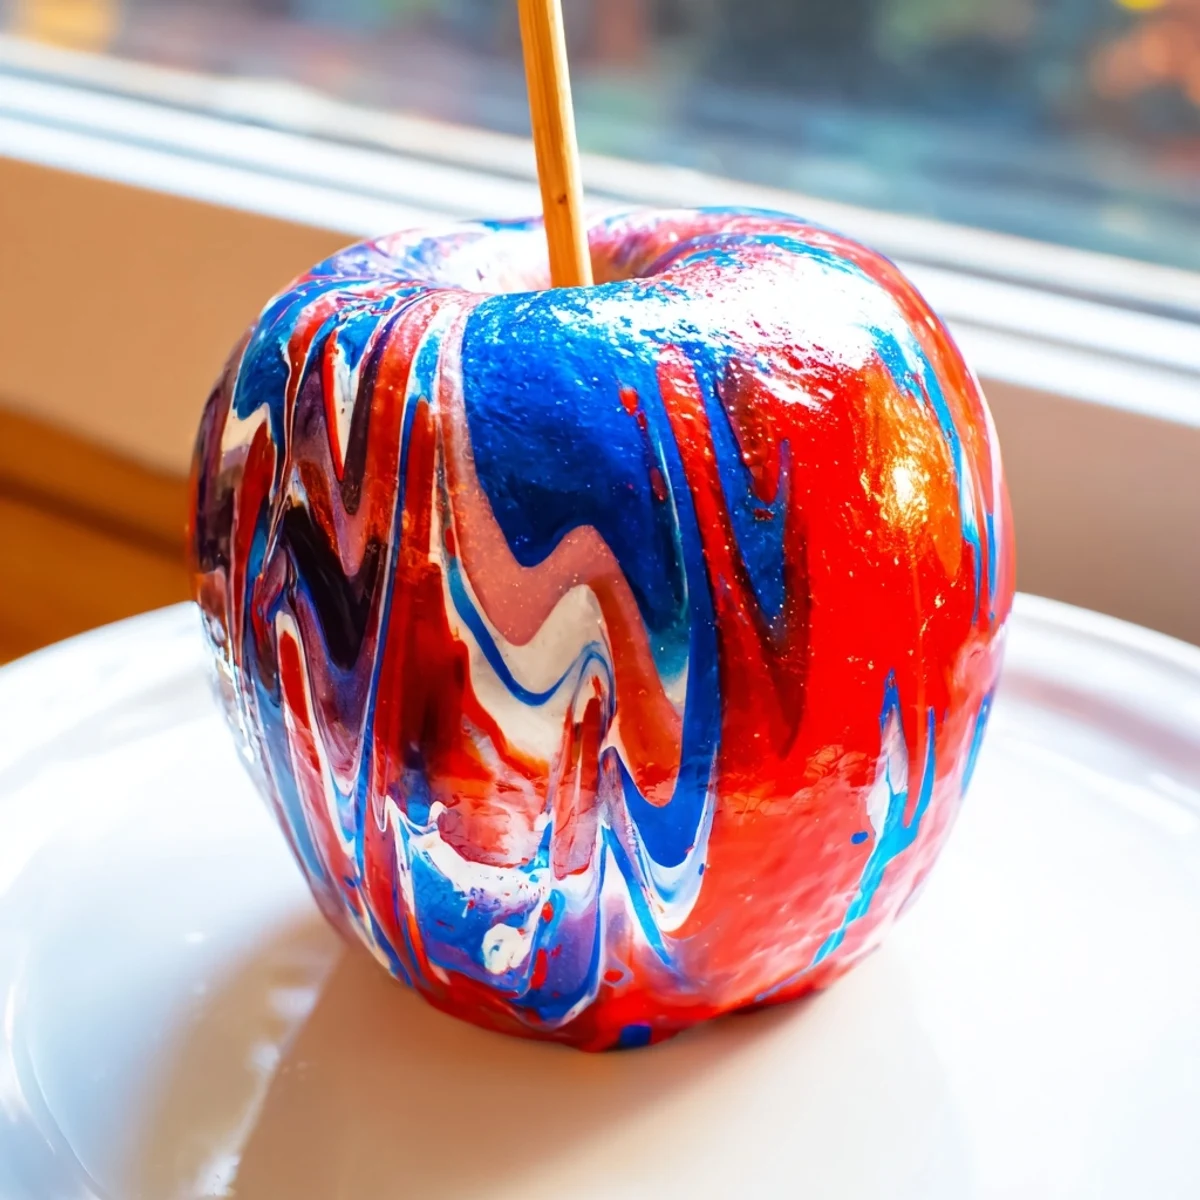
Save Discover a delightful way to enjoy crisp apples coated with a glossy, marbled candy shell that adds both sweetness and visual appeal. This treat features vibrant swirls created by carefully blending red, blue, and white food colorings into a hot sugar syrup cooked to the hard crack stage. Each apple is evenly dipped and set to harden, resulting in a stunning finish perfect for festive occasions. Easy to prepare with basic ingredients and simple techniques, these marbled candy apples bring a whimsical touch to any dessert table.
The first time I attempted marbled candy apples, I stood over that bubbling pot of sugar syrup like it might explode at any second. My kitchen smelled like caramel and anxiety, but when that first apple emerged with swirling rivers of crimson and pearl white, I actually gasped out loud. Now they are my go-to party trick because nobody believes they are homemade until I demonstrate the technique.
Last Halloween, I made a batch for my niece's classroom party and had to make a second batch immediately because the parent volunteers kept stealing them. The kids were equally delighted, though I did learn the hard way that you need to remind everyone to tap the apples gently before the first bite to check for loose candy shards.
Ingredients
- 8 medium apples: Granny Smith or Fuji work beautifully because their tartness balances the intense sweetness
- 8 sturdy wooden sticks: I have snapped many flimsy sticks trying to push them into dense apples
- 2 cups granulated sugar: Do not reduce this or the candy will not reach proper temperature
- 3/4 cup water: Helps dissolve the sugar evenly before the boiling stage
- 1/2 cup light corn syrup: Prevents crystallization and keeps the coating glossy
- 1/2 tsp vanilla extract: Optional but adds lovely depth to the sugar
- Gel food coloring: Liquid coloring will ruin your syrup, gel is absolutely non-negotiable
Instructions
- Prepare your workstation:
- Line a baking sheet with parchment paper or a silicone mat, then insert wooden sticks into the stem end of each apple until they feel secure.
- Make the sugar base:
- Combine sugar, water, and corn syrup in a heavy-bottomed saucepan over medium heat, stirring just until the sugar dissolves completely.
- Reach hard crack stage:
- Increase heat to high and boil without stirring until a candy thermometer reads exactly 300°F, then remove from heat immediately.
- Create the marble effect:
- Add vanilla if using, then drop in small amounts of red, blue, and white gel colorings and swirl gently with a skewer.
- Coat the apples:
- Quickly dip each apple, turning to coat while letting excess drip off, then place on the prepared sheet.
- Set completely:
- Let apples cool undisturbed for about 15 minutes until the candy shell feels hard to the touch.
 Save
Save My friend's daughter requested these for her art-themed birthday party, and we spent a happy afternoon experimenting with purple and gold combinations. There is something deeply satisfying about food that looks like edible jewelry.
Getting the Marbling Right
I used to over-mix the colors and end up with muddy purple apples instead of distinct swirls. Now I barely touch the surface with my skewer, just three or four gentle passes through the syrup. The trick is adding the coloring in small blobs rather than trying to distribute it evenly.
Apple Selection Secrets
After dozens of batches, I have learned that the waxy coating on store-bought apples interferes with candy adhesion. A quick wipe with vinegar followed by thorough drying solves this completely. I also skewer the apples before I start cooking so I am not rushing with hot candy.
Saving a Sticky Situation
There is nothing more frustrating than having your syrup thicken halfway through dipping. I keep a small saucepan of warm water nearby and set my main pot over it for just thirty seconds if needed. This technique has saved many batches from the compost bin.
- If bubbles form on the coating, gently tap them with your skewer while the candy is still warm
- Apples with any bruising will release juice and create dark spots under the candy
- These are best served the same day but can be stored in a cool, dry place for 24 hours
 Save
Save There is pure magic in that first crack through the marble coating, revealing crisp apple beneath. These never fail to make people smile.
Recipe FAQs
- → What apples work best for candy coating?
-
Firm apples like Granny Smith or Fuji are ideal since they hold their shape well and offer a crisp bite beneath the candy shell.
- → How is the marbled effect created?
-
The syrup is quickly mixed with drops of red, blue, and white food coloring, then lightly swirled to form vibrant streaks without fully blending.
- → What is the significance of cooking syrup to 300°F?
-
Reaching the hard crack stage ensures the candy coating hardens properly and delivers a crisp texture once cooled.
- → Can the candy coating be reheated if it thickens?
-
Yes, gently warming the syrup over low heat restores its consistency for dipping remaining apples.
- → How should coated apples be stored?
-
Keep at room temperature up to 24 hours to maintain the coating’s shine and crunch without becoming sticky.
