 Save
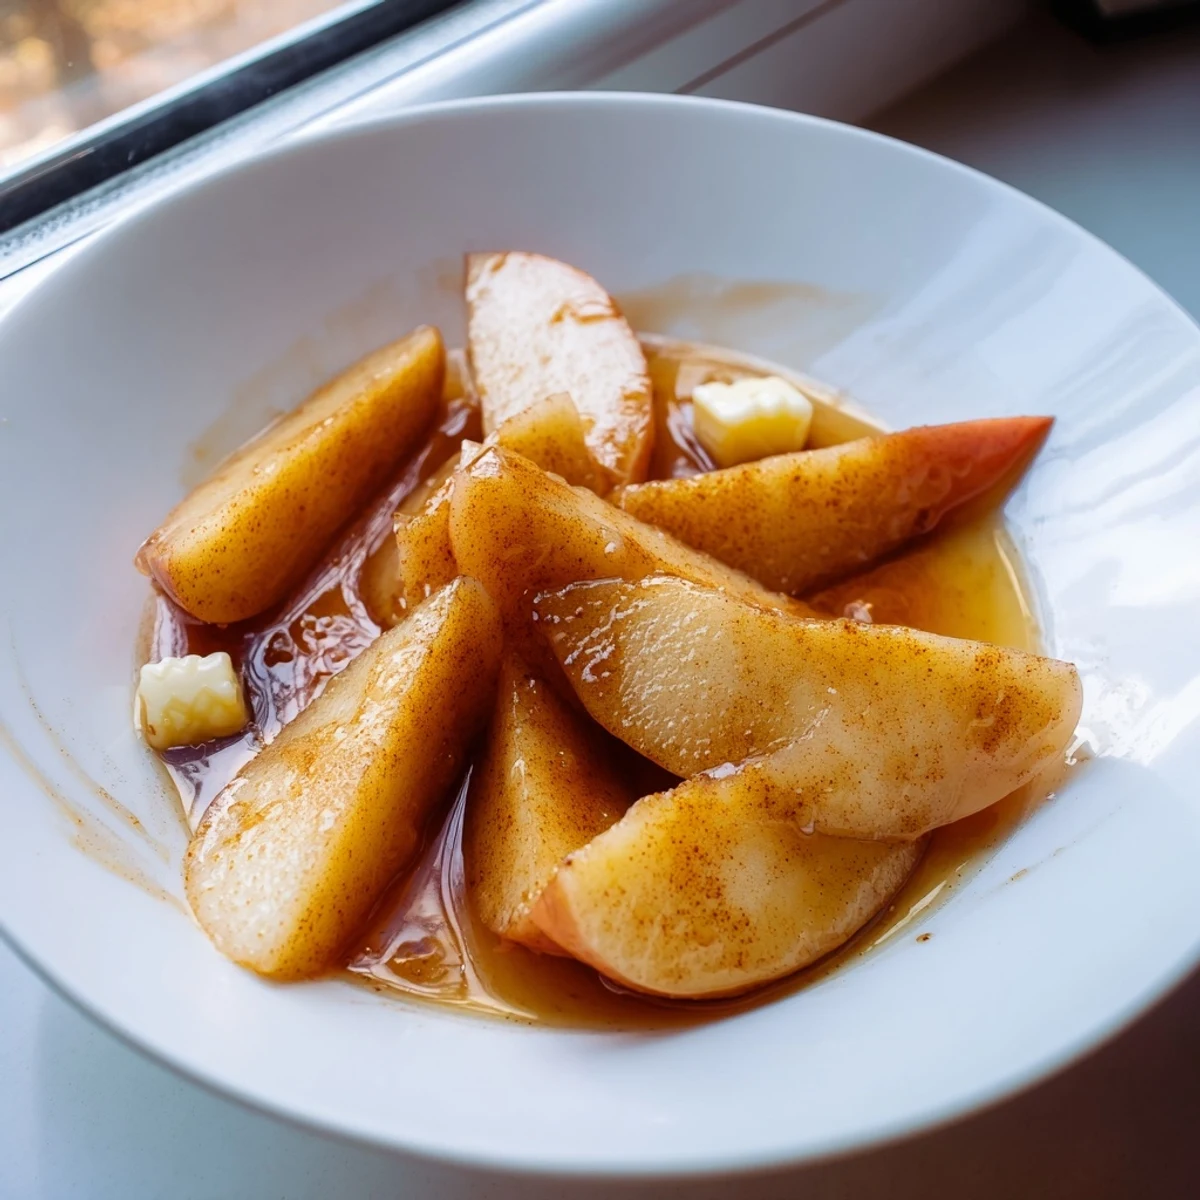
Save These warm, tender apple slices are infused with cinnamon and brown sugar, cooked to perfection in your Instant Pot. The natural pressure cooking method creates soft, flavorful apples in their own sweet syrup. Ready in just 20 minutes, they make an incredible topping for oatmeal, pancakes, or vanilla ice cream. The optional maple syrup adds depth while nutmeg provides warm undertones. This versatile dish works equally well as a cozy dessert or hearty breakfast addition.
The smell of cinnamon hitting warm apples is one of those kitchen moments that stops me in my tracks every single time. I stumbled onto pressure cooker apples purely by accident one autumn afternoon when I had too many apples from orchard picking and zero patience for a pie. Now it is my go-to for something that tastes like comfort but takes almost no effort at all.
Last Thanksgiving I made three batches back to back because my family kept eating them straight from the pot before I could even get them to the serving bowl. My niece asked if I could make them every single morning now, and honestly, I cannot blame her one bit.
Ingredients
- 6 medium apples: Honeycrisp and Gala hold their shape beautifully while Fuji gets softer and sweeter
- 1/3 cup brown sugar: Dark brown gives a deeper molasses flavor but light works perfectly fine
- 2 tbsp maple syrup or honey: This is entirely optional if your apples are naturally sweet enough
- 1/4 cup water or apple juice: Apple juice intensifies the flavor but water keeps it simple and lets the fruit shine
- 1 1/2 tsp ground cinnamon: Freshly opened spice containers make a huge difference here
- 1/4 tsp ground nutmeg: Optional but adds that cozy baked goods background note
- 2 tbsp unsalted butter: Cut these pieces small so they melt evenly over everything
- 1 tsp vanilla extract: Stir this in after cooking so the high pressure does not cook away the flavor
- Pinch of salt: Just enough to wake up all the other flavors
Instructions
- Prep your apples:
- Peel, core, and slice into half-inch wedges so they cook evenly and still hold their shape
- Layer everything in the pot:
- Add the apples first, then sprinkle the sugar and spices evenly before adding the liquid and butter pieces
- Pressure cook on high:
- Seal the lid and cook for just 2 minutes, then let the pressure release naturally for 3 minutes before quick releasing the rest
- Finish with vanilla:
- Open the pot, stir in the vanilla extract, and use the sauté function for a few minutes if you want a thicker syrup
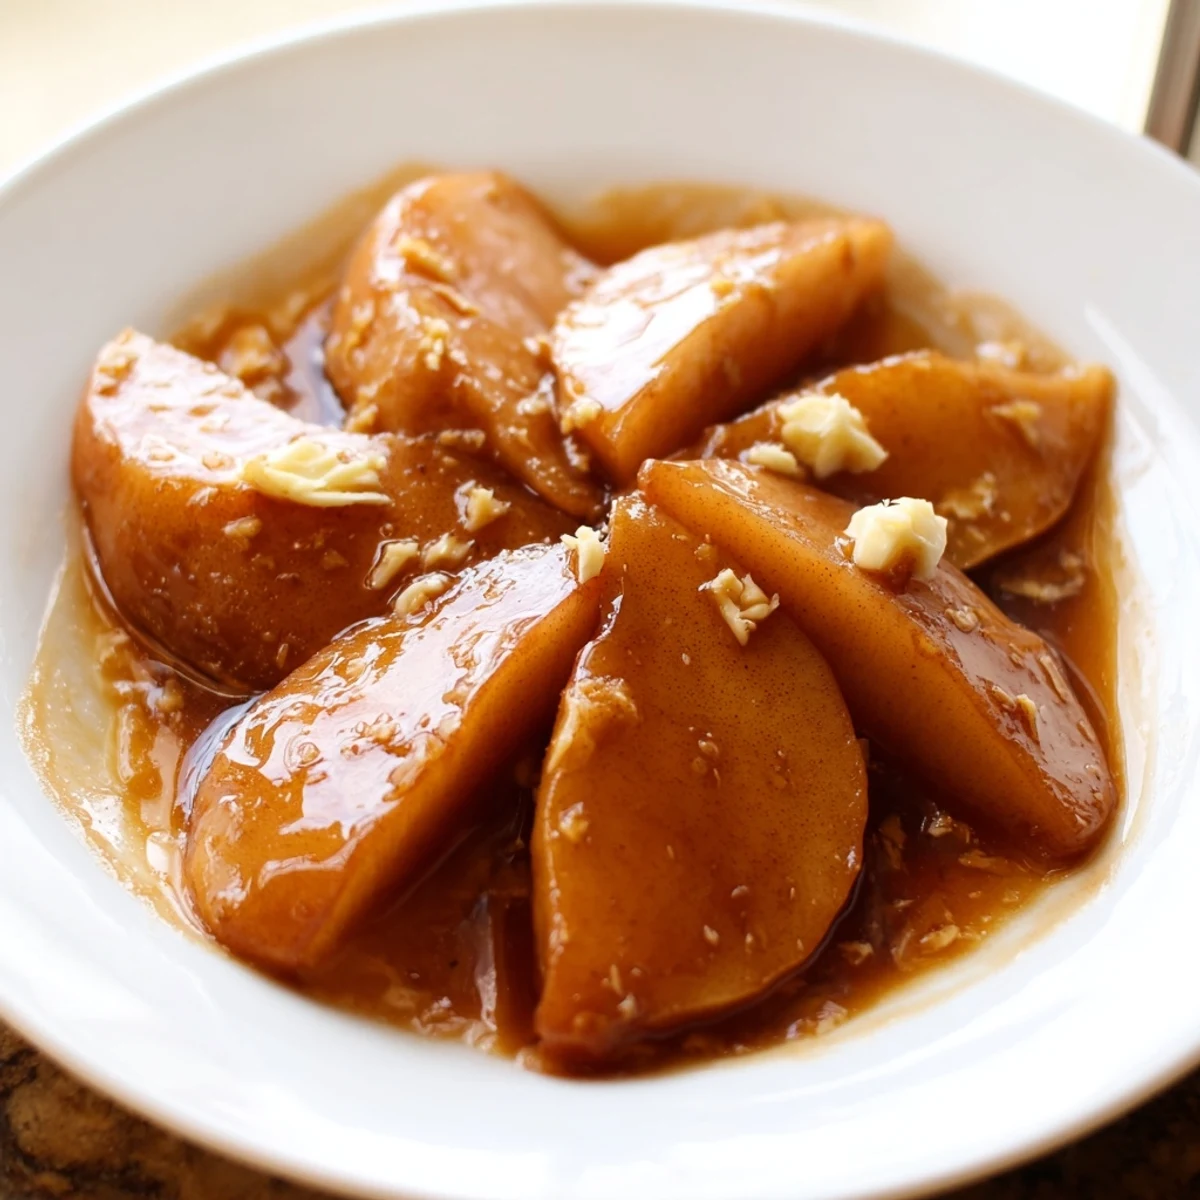 Save
Save These became our Sunday morning staple after my daughter discovered them over vanilla ice cream one snowy weekend. Now the smell of cinnamon means the week is starting right.
Serving Ideas
I love spooning warm apples over steel cut oats while the coffee brews, or topping pancakes that are still sizzling in the pan. Greek yogurt gets a dessert upgrade and vanilla ice cream becomes something entirely special.
Make It Your Own
Raisins plump up beautifully during pressure cooking and chopped walnuts add just the right crunch. Sometimes I toss in a handful of dried cranberries for tart contrast or add a pinch of cardamom when I want something different.
Storage And Prep
These keep surprisingly well in the refrigerator for up to five days and actually taste even better after the flavors meld overnight. The texture softens slightly but they still hold together beautifully.
- Reheat gently in the microwave with a splash of water to loosen the syrup
- Double the recipe easily in a 6 quart Instant Pot without changing the cooking time
- Freeze portions in small containers for quick weekday breakfasts
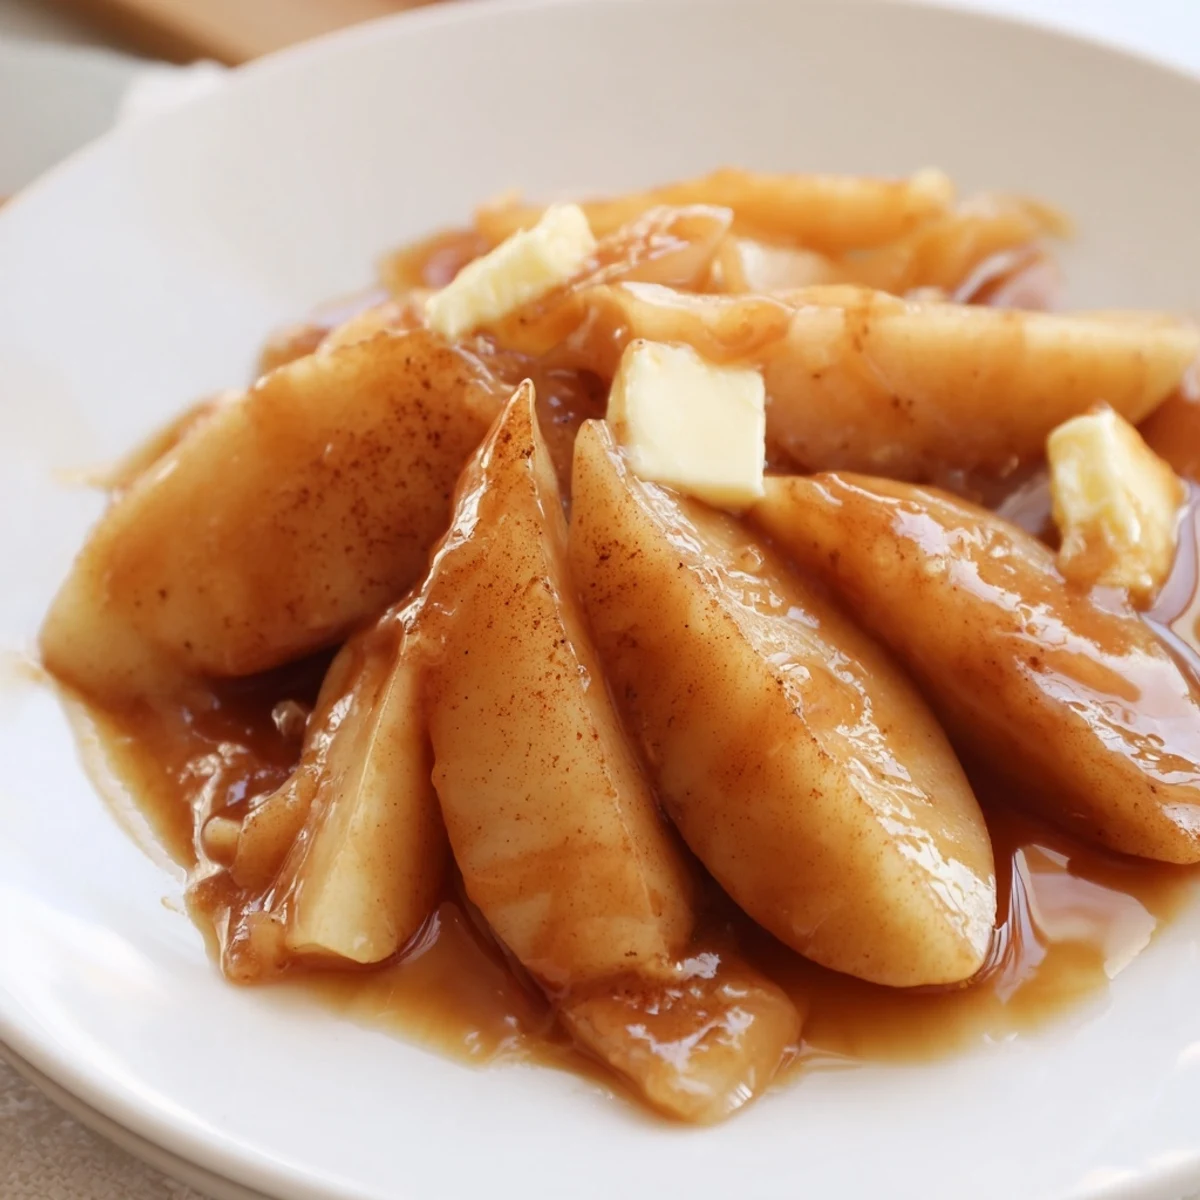 Save
Save There is something almost magical about having a dessert this comforting ready in less time than it takes to brew a pot of coffee.
Recipe FAQs
- → What type of apples work best?
-
Honeycrisp, Gala, and Fuji apples are excellent choices because they hold their shape well during pressure cooking while becoming tender. Avoid very soft varieties that might turn mushy.
- → Can I make this without an Instant Pot?
-
Yes, you can cook sliced apples with the same ingredients on the stovetop over medium-low heat for 15-20 minutes, covered, stirring occasionally until tender.
- → How should I store leftovers?
-
Store cooled apples in an airtight container in the refrigerator for up to 5 days. Reheat gently in the microwave or on the stovetop with a splash of water.
- → Can I freeze these cooked apples?
-
Absolutely. Place cooled apples in freezer-safe bags or containers, removing as much air as possible. They'll keep well for 3-4 months. Thaw overnight in the refrigerator before reheating.
- → What can I serve these with?
-
These warm apples pair beautifully with vanilla ice cream, Greek yogurt, oatmeal, pancakes, waffles, or even as a filling for crepes and French toast.
- → How do I make this dairy-free?
-
Simply substitute the butter with vegan margarine or coconut oil. The flavor and texture remain delicious while making this suitable for dairy-free diets.
