 Save
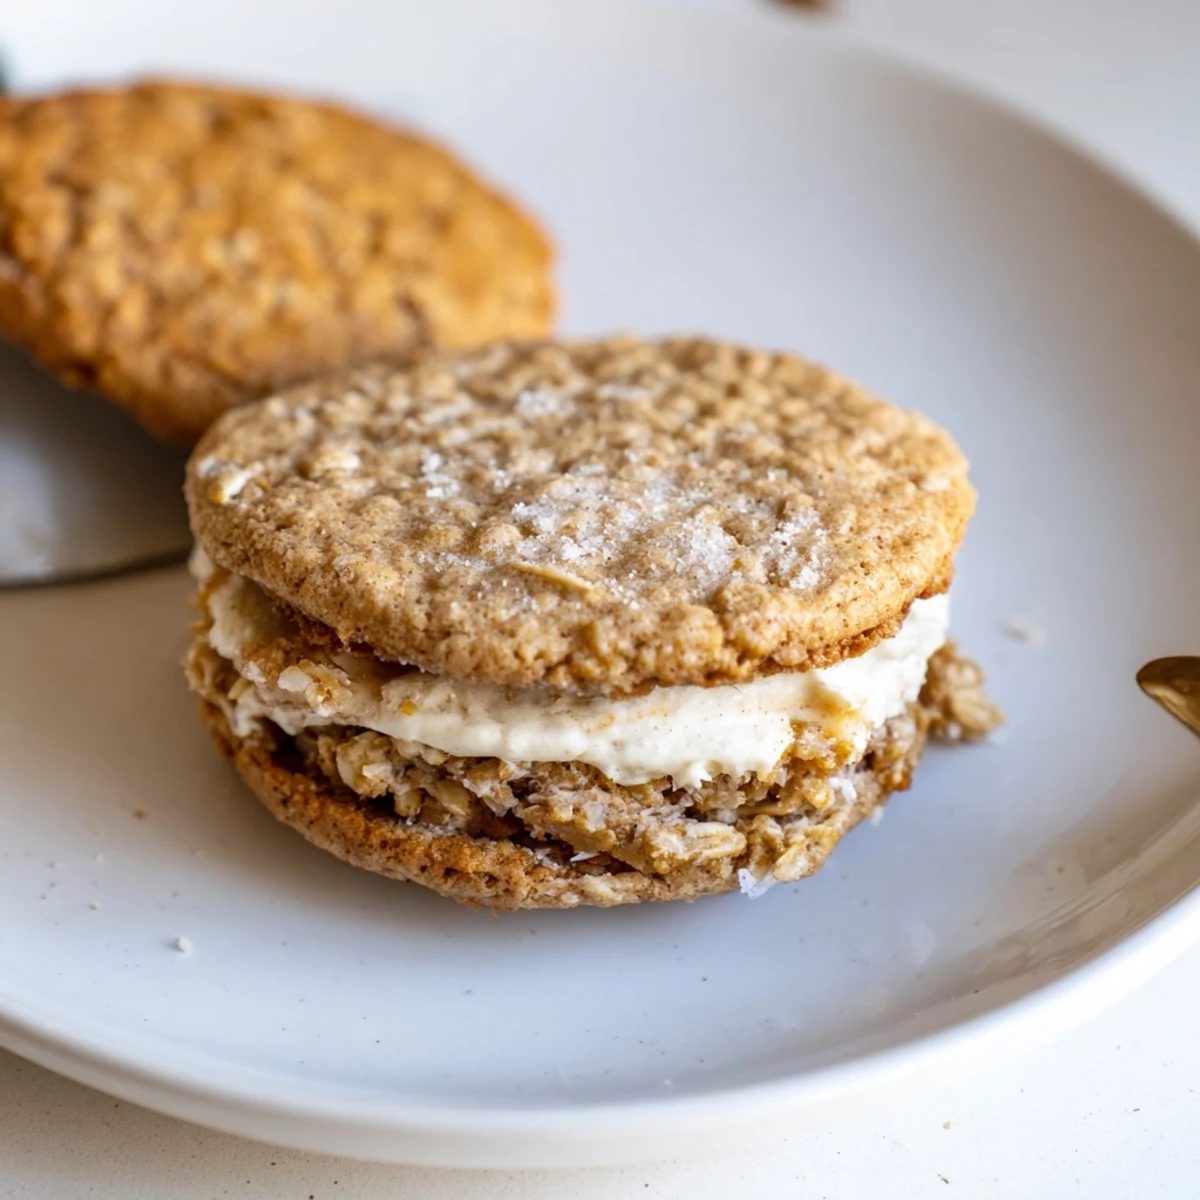
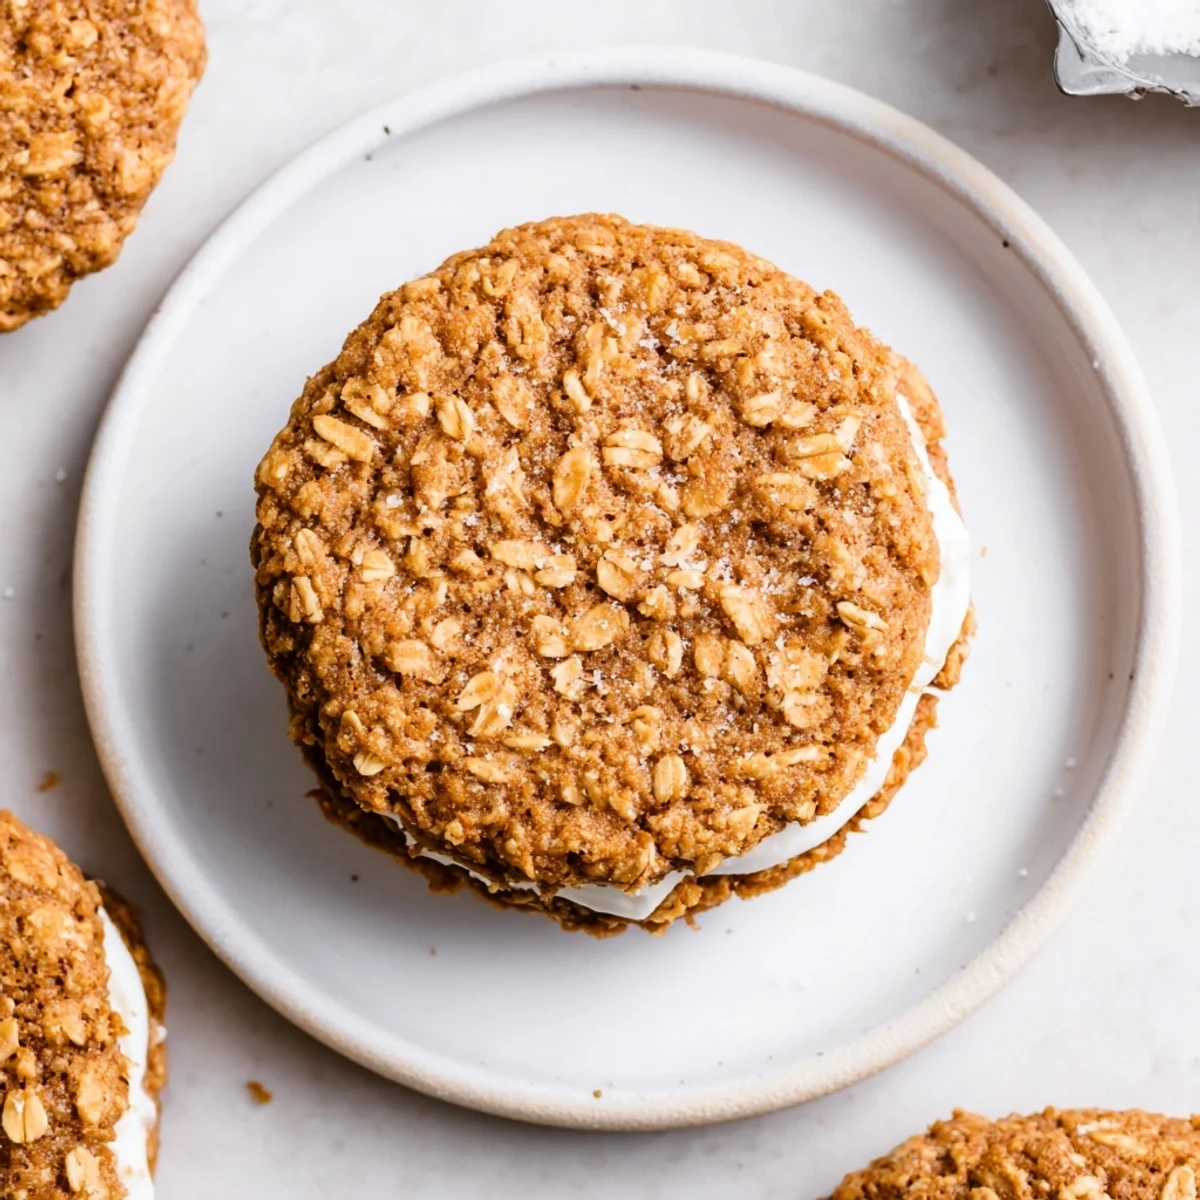
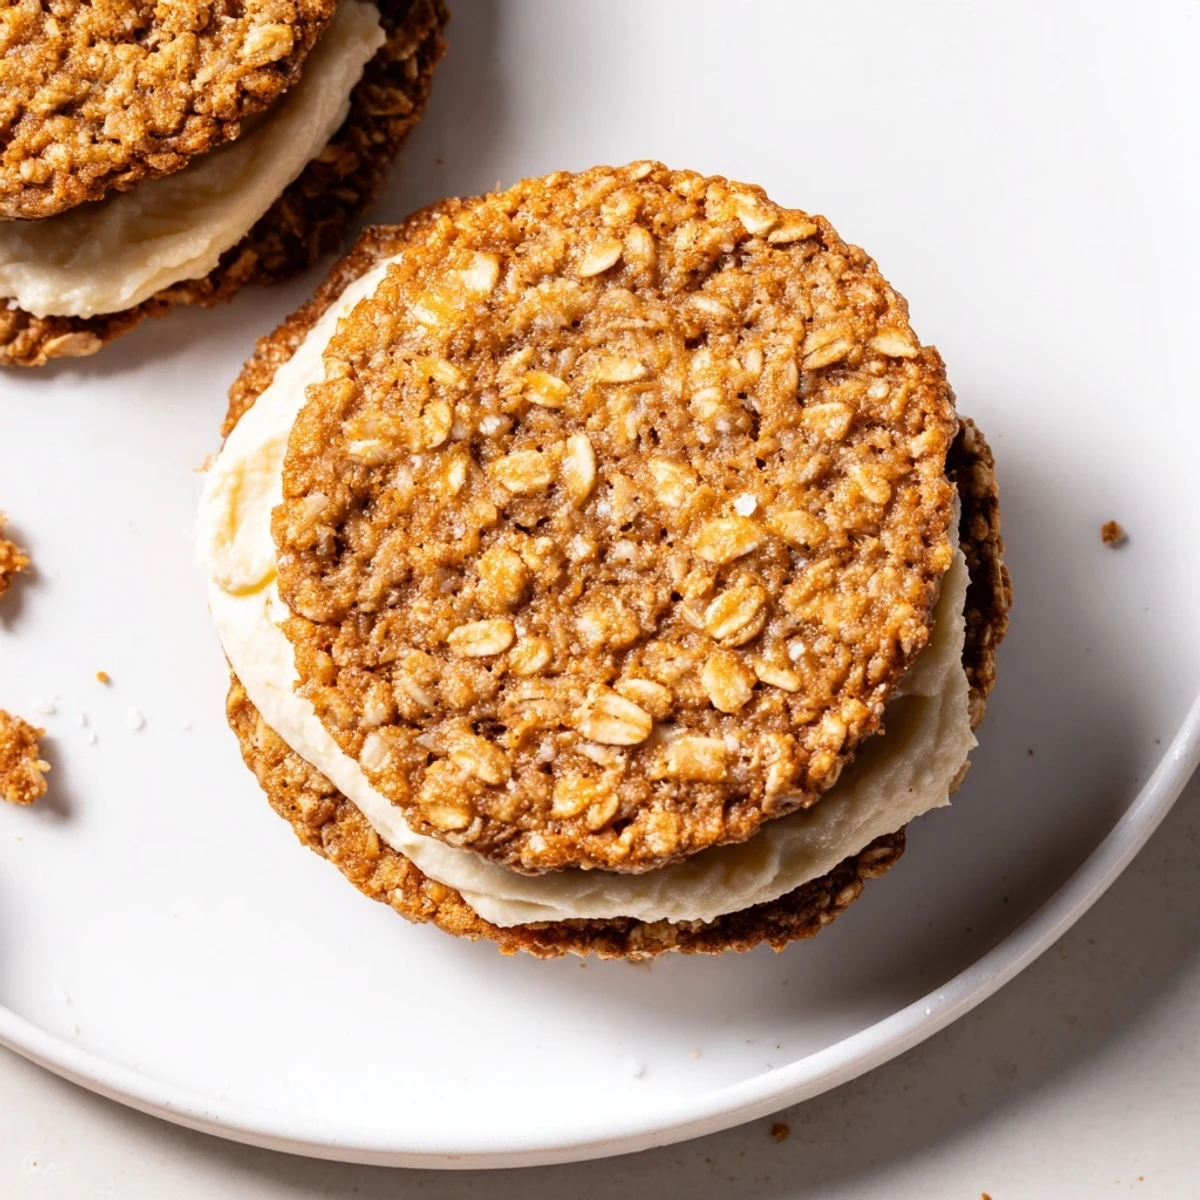
Save Soft, chewy gluten‑free oatmeal cookies are baked until edges are set and sandwiched with a fluffy vanilla creme filling. Yield: about 10 sandwiches. Prep time ~20 minutes, bake 10–12 minutes per batch. Use certified gluten‑free oats and flour, cream butter with sugars, fold in dry mix, portion ~1 tbsp per cookie and cool completely before filling. For dairy‑free swaps use plant butter and non‑dairy milk; chill filling for a firmer texture.
My sister showed up to a rainy Sunday gathering with a box of those famous oatmeal creme pies, and my gluten-intolerant nephew just sat there watching everyone else dig in. That quiet disappointment on his face was all it took. I spent the next three weeks testing batch after batch until these soft, sandwiched cookies were every bit as good as the ones from the foil wrapper.
The moment my nephew bit into one and immediately grabbed a second, powdered sugar dusting his shirt, I knew this recipe had earned a permanent spot in my binder. He now requests them for every birthday and random Tuesday he can get away with.
Ingredients
- Gluten-free old-fashioned rolled oats (100 g): These give the cookies their signature chew. Always check the label to confirm they are certified gluten free, as cross-contamination is surprisingly common.
- Gluten-free all-purpose flour blend (90 g): A good blend with xanthan gum already included saves you from guessing. This is the backbone that holds everything together without turning dense.
- Coconut sugar or light brown sugar (70 g): Either works beautifully, but brown sugar gives a deeper, more classic caramel note that pairs perfectly with the oats.
- Granulated sugar (70 g): This keeps the edges crisp and balances the molasses tones from the brown sugar.
- Baking soda and baking powder (1/2 tsp each): Using both gives the cookies a slight lift without turning them cakey, which is the sweet spot for sandwich cookies.
- Ground cinnamon (1/4 tsp): Just a whisper of warmth. Any more and it overpowers the delicate vanilla filling.
- Fine sea salt (1/2 tsp for cookies, pinch for filling): Salt is the quiet hero here. It makes the sugar taste more complex and keeps everything from tasting flat.
- Unsalted butter, softened (115 g for cookies, 100 g for filling): Room temperature butter is non-negotiable. If it is too cold, the dough will not cream properly, and if it is melted, the cookies will spread into sad puddles.
- One large egg: This binds the dough and adds richness. Let it come to room temperature for the most even mixing.
- Pure vanilla extract (1 tsp for cookies, 1 tsp for filling): Use the real stuff here. With so few ingredients, artificial vanilla stands out in all the wrong ways.
- Powdered sugar, sifted (120 g): Sifting is the step most people skip, and it is the reason their filling feels gritty. Take the extra minute.
- Heavy cream or milk (2 tbsp): This thins the filling just enough to make it spreadable without turning it runny. Heavy cream gives the silkiest result.
Instructions
- Preheat and prepare:
- Set your oven to 180 degrees Celsius (350 degrees Fahrenheit) and line two baking sheets with parchment paper. The parchment is not optional because these cookies love to stick if you forget it.
- Whisk the dry together:
- In a medium bowl, combine the oats, gluten-free flour, baking soda, baking powder, cinnamon, and salt. Give it a good whisk until everything is evenly distributed and no streaks of cinnamon remain.
- Cream the butter and sugars:
- In a large bowl, beat the softened butter with both sugars until the mixture turns pale, fluffy, and smells like warm caramel. Scrape down the sides of the bowl because that is where all the sugar likes to hide.
- Add the egg and vanilla:
- Beat in the egg and vanilla extract until the mixture looks glossy and smooth. The dough should smell like a bakery at this point.
- Bring it all together:
- Gradually add the dry ingredients to the wet and mix until just combined. Stop the moment you no longer see dry flour because overmixing makes these cookies tough instead of tender.
- Scoop and shape:
- Drop rounded tablespoons of dough onto the prepared sheets, leaving about 5 centimeters (2 inches) between each one. They will spread, so give them room to breathe.
- Bake until golden:
- Bake for 10 to 12 minutes until the edges are set and lightly golden but the centers still look slightly soft. Let them rest on the sheet for 5 minutes before moving to a cooling rack.
- Make the filling:
- Beat the butter and powdered sugar together until light and fluffy, then mix in the cream, vanilla, and a pinch of salt until everything is silky smooth. If the filling feels too soft, pop it in the fridge for 15 minutes.
- Assemble the pies:
- Spread or pipe a generous dollop of filling onto the flat side of one completely cool cookie, then sandwich a second cookie on top. Repeat until every cookie has a partner.
 Save
Save Last winter, I packed a tin of these for a friend who had just moved across the country and was feeling homesick. She called me that night, mid-bite, saying they tasted exactly like the ones from her school lunchbox, and that small comfort meant more than any housewarming gift could.
Storing and Making Ahead
These sandwich pies stay beautifully soft in an airtight container at room temperature for up to two days. Beyond that, move them to the fridge where they will keep for about a week, though honestly they rarely last that long in my kitchen.
Swaps and Variations
For a dairy-free version, plant-based butter and any milk alternative work surprisingly well in both the cookie and the filling. A pinch of nutmeg added to the dry ingredients gives a cozy, unexpected warmth that makes these taste like autumn, even in July.
Serving Suggestions and Final Thoughts
The best way to enjoy these is with a cold glass of milk or a hot cup of coffee, ideally sitting somewhere comfortable with nowhere to be.
- Chill the assembled pies for 20 minutes before serving for a firmer, more structured bite.
- If your dough feels too sticky to scoop, refrigerate it for 15 minutes and it will firm right up.
- Always double-check that your oats and flour are certified gluten free, because labeling can be tricky.
 Save
Save These little oatmeal creme pies are proof that gluten-free baking does not have to mean compromising on nostalgia or flavor. Share them generously, because the smiles they create are worth every minute spent in the kitchen.
Recipe FAQs
- → Can I use regular oats instead of gluten-free oats?
-
Yes, but regular oats may be cross‑contaminated with gluten. For a truly gluten‑free outcome use certified gluten‑free old‑fashioned rolled oats; quick oats will alter texture and produce a softer, less rustic chew.
- → How do I make the creme filling dairy-free?
-
Replace unsalted butter with a plant‑based butter and use a dairy‑free milk alternative for the cream. Beat well and chill briefly if the plant butter is softer to help the filling firm up for piping or spreading.
- → What keeps the cookies soft and chewy?
-
Avoid overbaking: remove when edges are set but centers still slightly soft, then cool on the baking sheet for 5 minutes before transferring to a rack. Proper sugar balance and using old‑fashioned oats help preserve chewiness.
- → Can I store or freeze the assembled sandwiches?
-
Store assembled sandwiches in an airtight container at room temperature for up to 2 days or refrigerate up to 1 week. For freezing, freeze unfilled cookies or fully assembled sandwiches layered with parchment; thaw in the fridge or at room temperature before serving.
- → How can I make the filling firmer for piping?
-
Chill the filling for 10–15 minutes before piping or add a bit more sifted powdered sugar to tighten the consistency. Reducing the cream slightly will also yield a stiffer filling.
- → Are there good sugar substitutions for a different flavor?
-
Yes—swap coconut sugar or light brown sugar for part or all of the granulated sugar to add caramel notes. Note that substitutions can change moisture and browning, so adjust baking time slightly if needed.
