 Save
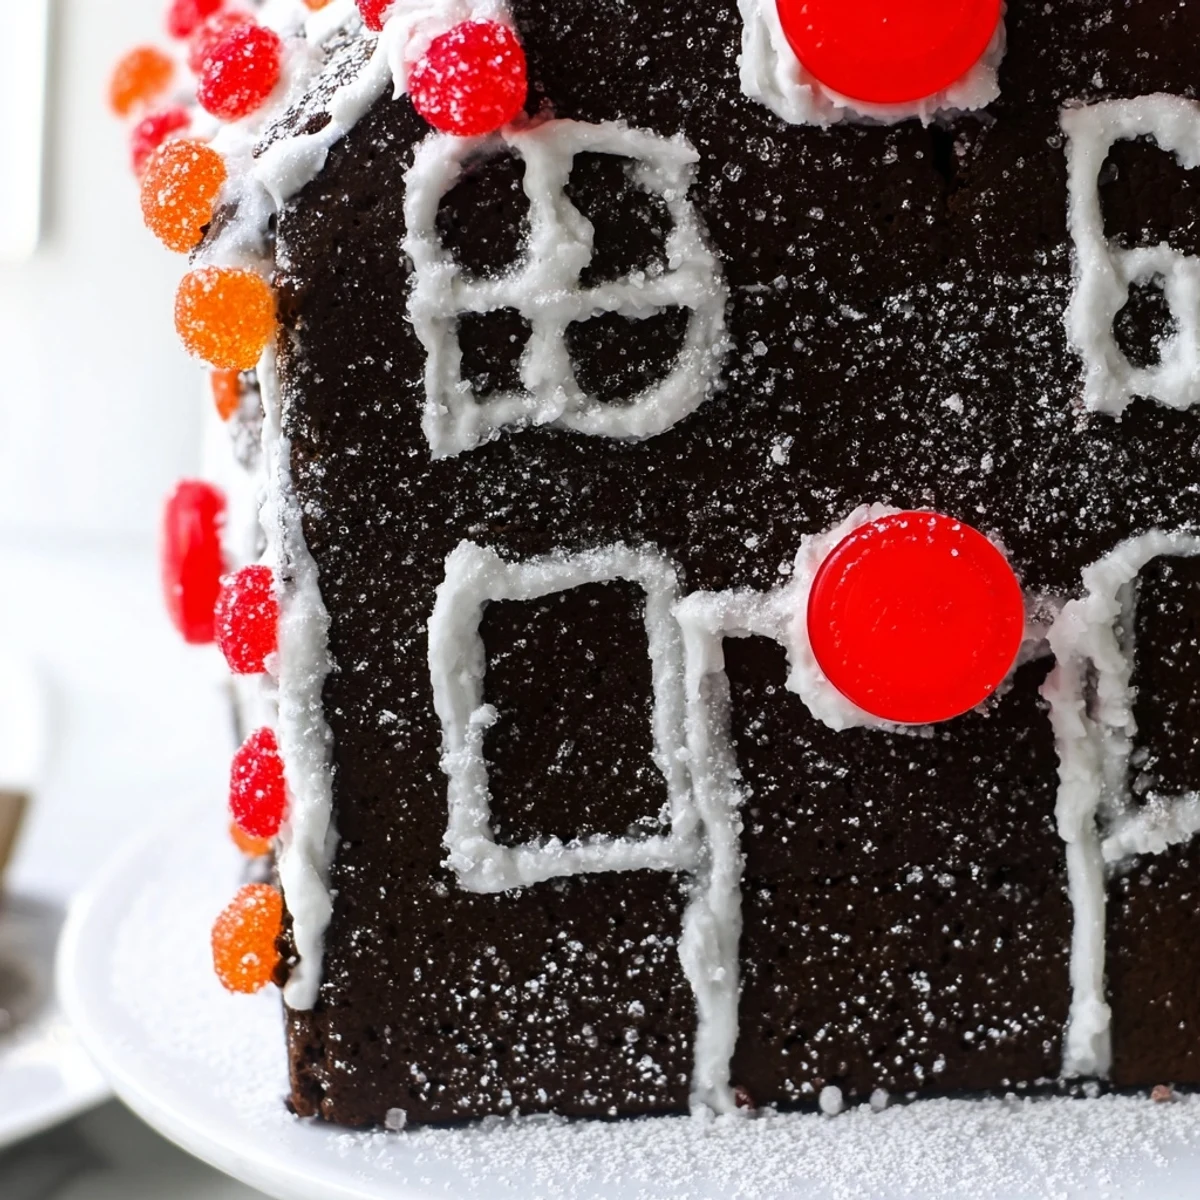
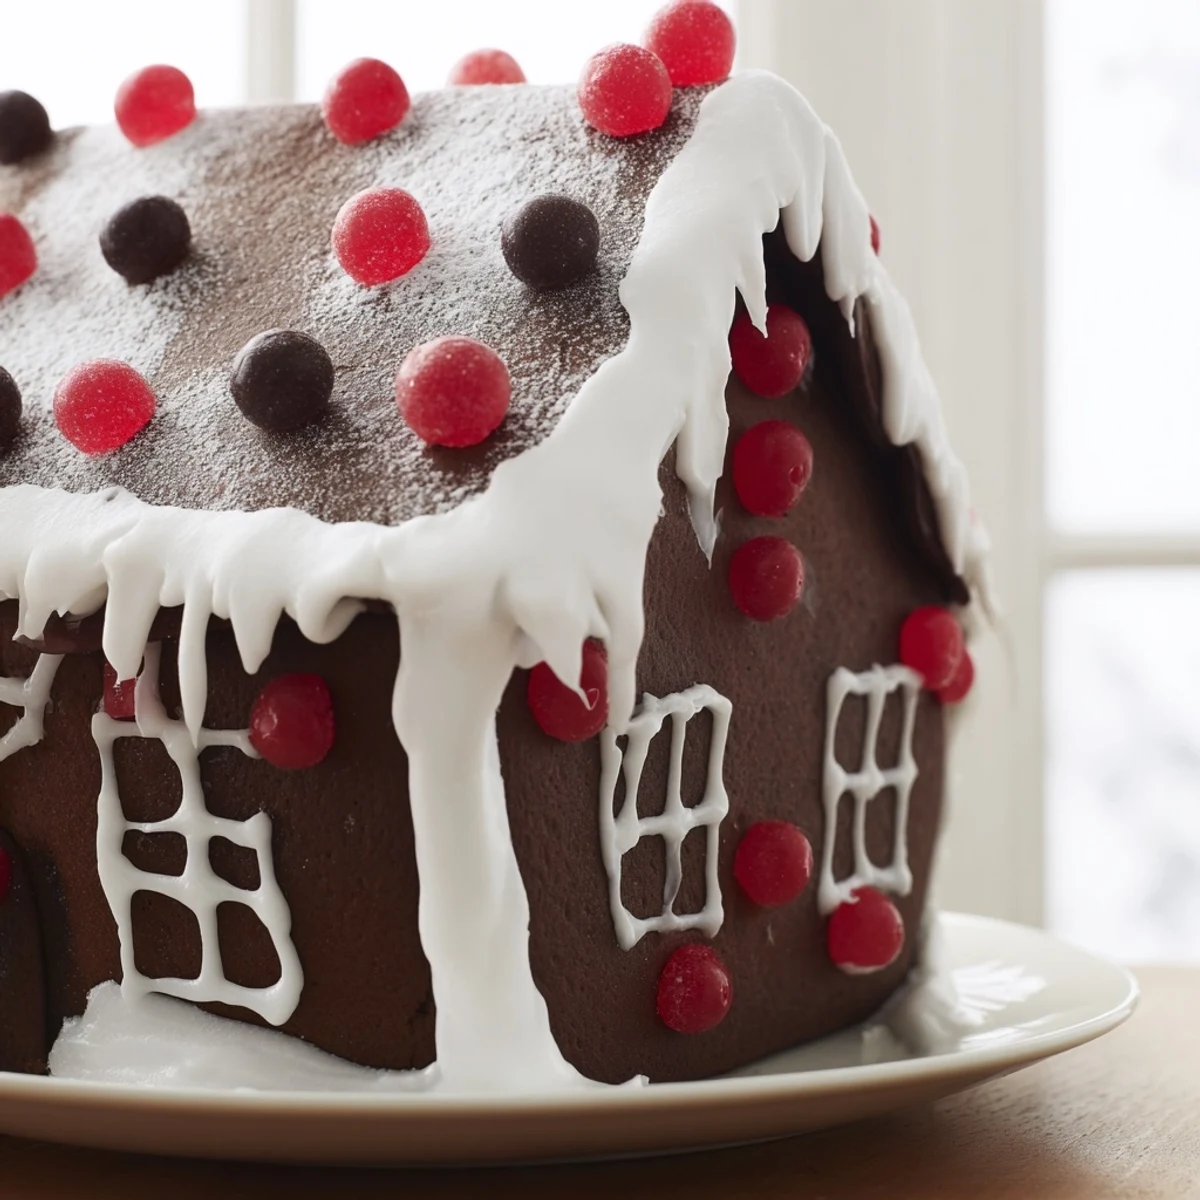
Save This festive village features spiced gingerbread houses characterized by sturdy dough and rich flavors of ginger, cinnamon, and cloves. The dough is rolled and baked into house walls and roofs, then assembled using royal icing for a strong hold. Decorations like assorted candies and powdered sugar snow add whimsical charm. With a preparation time of about 1 hour and baking time per batch, it offers a delightful blend of holiday fun and culinary tradition, perfect for sharing and display.
The first time I built a gingerbread house, I was eight years old in my grandmother's kitchen, flour dusting everything including my hair. She let me pipe the royal icing while she steadied the walls, and I remember the quiet satisfaction of watching something both edible and architectural come together under our hands. Now, decades later, building these little spiced structures feels like holding onto that moment—turning butter, molasses, and patience into something magical enough for children to marvel at and adults to actually want to eat.
I made these with my partner last December, and we ended up laughing so hard we cried when one of the walls tilted like the Tower of Pisa. We reinforced it with extra icing and called it "architectural character." It became the favorite house at our holiday party—proof that perfectionism is overrated and heart is what actually matters.
Ingredients
- All-purpose flour (300 g): The backbone of your dough; it gives the houses structure without making them taste floury or dense.
- Brown sugar (100 g): Use real brown sugar, not the white kind—it carries molasses already and deepens the flavor.
- Unsalted butter (120 g): Room temperature is non-negotiable; cold butter won't cream properly and you'll end up with a grainy dough.
- Dark molasses (120 ml): This is the soul of gingerbread; don't skip it or substitute with honey, or you'll lose that dark, mysterious depth.
- Large egg (1): Binds everything together and adds richness; let it sit at room temperature for a minute before adding.
- Ground ginger (2 tsp): Fresh is better than old; if your spice jar has been sitting for years, use a bit more.
- Ground cinnamon (2 tsp): Warm, comforting, the scent that signals the holidays are here.
- Ground cloves (½ tsp): Cloves are powerful; this amount adds intrigue without taking over.
- Ground nutmeg (½ tsp): Just enough to round out the spice blend and remind you of baked goods.
- Baking soda (1 tsp): Reacts with the molasses to give the dough lift and chewiness.
- Salt (¼ tsp): Brings all the spice flavors into focus.
- Egg whites (2 large): For royal icing; make sure there's no yolk in them or they won't whip properly.
- Powdered sugar (400 g): Sift it before you use it; lumps make lumpy icing.
- Cream of tartar (½ tsp): Stabilizes the egg whites so your icing holds shape longer.
- Lemon juice (1 tsp): Adds brightness and helps the icing firm up faster.
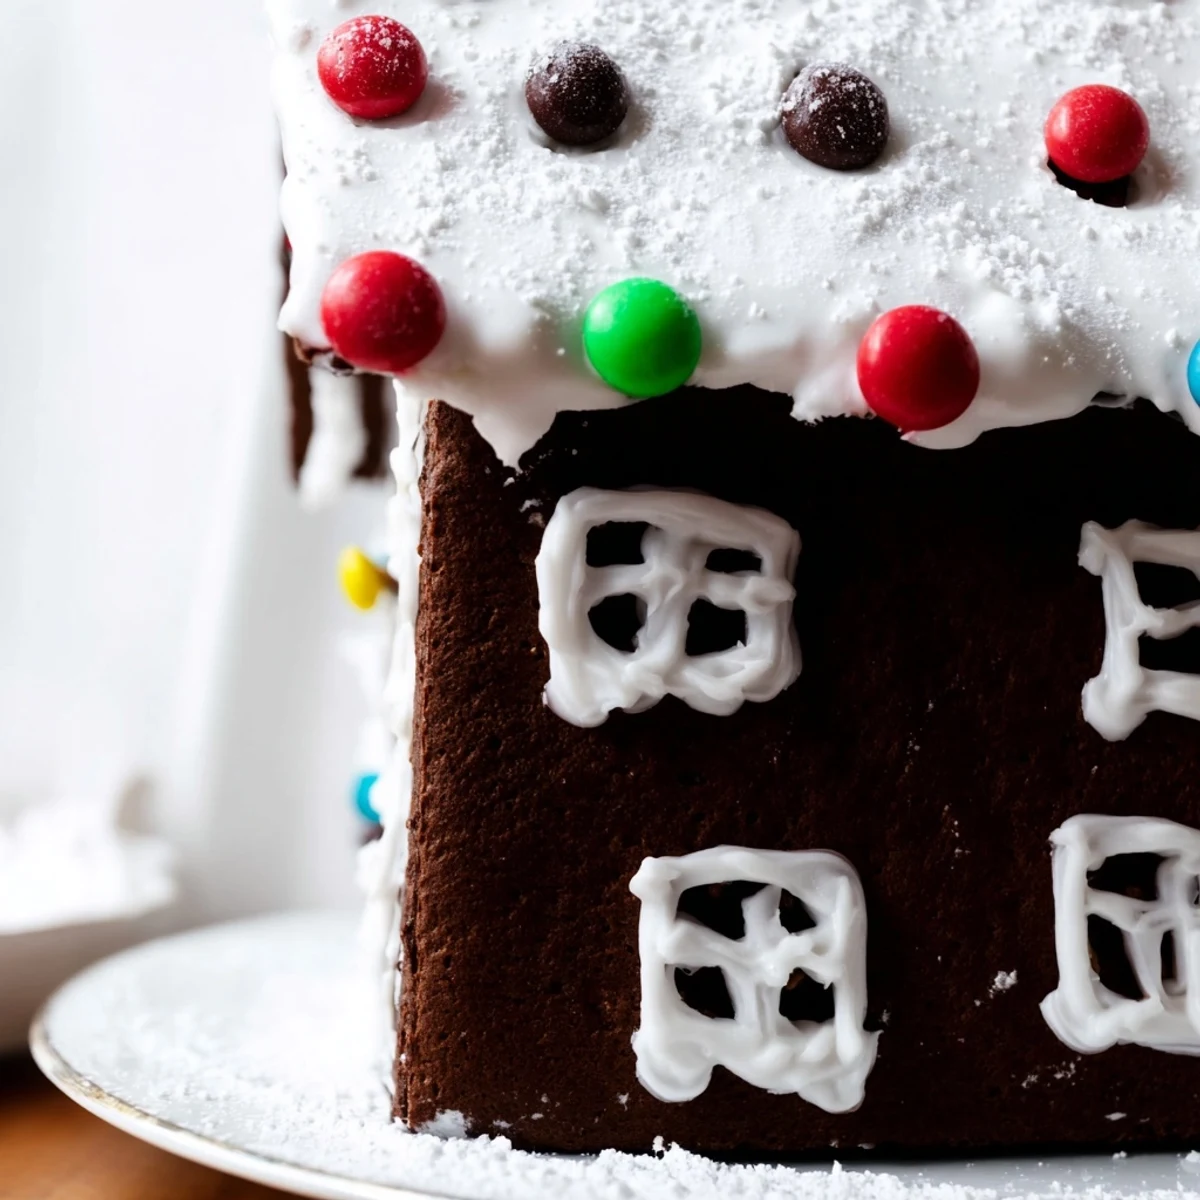
- Assorted candies: Let yourself choose things you actually like eating; this is where personal taste matters most.
- Coconut or powdered sugar (for snow effect): Either works, though coconut feels more tactile and fun to apply.
Instructions
- Make the dough foundation:
- Cream the softened butter and brown sugar together until the mixture is pale and fluffy, which usually takes about three minutes with an electric mixer. This aerates everything and sets you up for tender gingerbread.
- Bring in warmth and moisture:
- Add the molasses and egg, mixing until fully combined and the color deepens to a rich brown. The batter should smell like gingerbread already.
- Combine dry and wet:
- Whisk your flour, spices, baking soda, and salt in a separate bowl first—this distributes the leavening and spices evenly. Gradually add the dry mixture to the wet ingredients, stirring until a dough just comes together; don't overmix or you'll develop gluten and make the gingerbread tough.
- Rest the dough:
- Divide the dough in half, flatten each half into a disc, wrap tightly in plastic wrap, and refrigerate for one hour. This relaxes the gluten and makes rolling easier; cold dough doesn't spring back as much.
- Roll with intention:
- Preheat your oven to 180°C (350°F) and roll the chilled dough to about ¼-inch thickness on a lightly floured surface. Work with one disc at a time and keep the other cold; this prevents stickiness and keeps your pieces crisp.
- Cut your pieces:
- Use cardboard templates to cut walls and roof pieces, pressing firmly but gently so the dough doesn't drag. Transfer pieces carefully to parchment-lined baking sheets with a thin spatula.
- Bake until firm:
- Bake each batch for 12 to 15 minutes, until the edges are lightly browned and the centers feel firm when touched. The gingerbread will continue to firm up as it cools, so don't overbake.
- Cool completely:
- Move the baked pieces to wire racks and let them cool completely before assembly; warm gingerbread is fragile and will break easily.
- Whip the royal icing:
- Beat the egg whites until foamy, then gradually add the sifted powdered sugar and cream of tartar, beating on medium-high speed until stiff peaks form. Add lemon juice last, which helps the icing firm up faster.
- Assemble with patience:
- Pipe icing along the edges of your wall pieces and press them together on a sturdy base, holding for a minute or two while the icing grabs. Attach the roof pieces the same way and let the whole structure sit for at least 30 minutes before decorating.
- Decorate freely:
- Use more royal icing as glue for candies, pressing them in gently so they stay put. Finish with coconut or powdered sugar to look like snow, and let your houses sit uncovered until everything is fully set.
 Save
Save There's something magical about watching a child's face light up when they realize they can eat the house they just admired. A few years ago, my niece took one tiny bite of a gingerbread wall and whispered, "It's spicy and sweet at the same time," like she'd discovered a secret. That moment reminded me why these houses matter—they're proof that beauty and flavor don't have to compete.
Creating Your Templates
Before you start baking, sketch simple house shapes on cardboard—a rectangle for the front and back walls, another for the sides, and two triangles for the roof. The designs don't need to be fancy; a basic four-walled house with a peaked roof is perfect. Make your templates sturdy enough to use multiple times, and tape them together if you want to speed up the cutting process during your actual baking day.
Timing and Planning Your Build
The smartest move I ever made was baking the gingerbread pieces a full day ahead, letting them sit uncovered so they became even more crisp and sturdy. This gave me the luxury of assembling and decorating when I wasn't rushing, which meant I could actually enjoy the process instead of stressing about icing setting too fast. On assembly day, all the pieces are ready to go, the royal icing is quick to whip up, and you can take your time piping and decorating without feeling pressured.
Storage and Display
Once fully assembled and decorated, these houses live best in a cool, dry place—a closed box works fine, or you can display them on a shelf away from direct sunlight. They'll stay delicious and structurally sound for up to two weeks, which gives you plenty of time to show them off or package them as gifts. If you're shipping them, wrap each house carefully in tissue paper and box them with plenty of padding; they're sturdier than they look, but gingerbread still cracks under pressure.
- Keep candies away from humidity; sticky candies will weep and lose their shine.
- Avoid touching the finished houses with bare hands if possible; oils transfer and dull the decorative look.
- If a piece breaks during assembly, you can always glue it back with extra royal icing and let it set overnight.
 Save
Save Building a gingerbread village is less about the final product and more about the hands-on creativity and the smell that fills your kitchen for hours. Whether your houses are perfect or charmingly wonky, they're edible proof that you spent time making something beautiful.
Recipe FAQs
- → How do I ensure the gingerbread walls are sturdy?
-
Baking the walls until firm and slightly browned improves sturdiness. Also, chilling the dough before rolling helps maintain shape during baking.
- → What ingredients give the gingerbread its spiced flavor?
-
Ground ginger, cinnamon, cloves, and nutmeg combine to create the signature warm spices in the dough.
- → Can I prepare and bake the pieces ahead of time?
-
Yes, baking walls and roofs a day before assembly ensures better stability and easier decorating.
- → What is royal icing made from in this preparation?
-
Royal icing is made by beating egg whites with powdered sugar, cream of tartar, and lemon juice until stiff peaks form.
- → How long should the assembled houses dry before decorating?
-
Allow the assembled structures to dry at least 30 minutes to set firmly before adding decorations.
