 Save
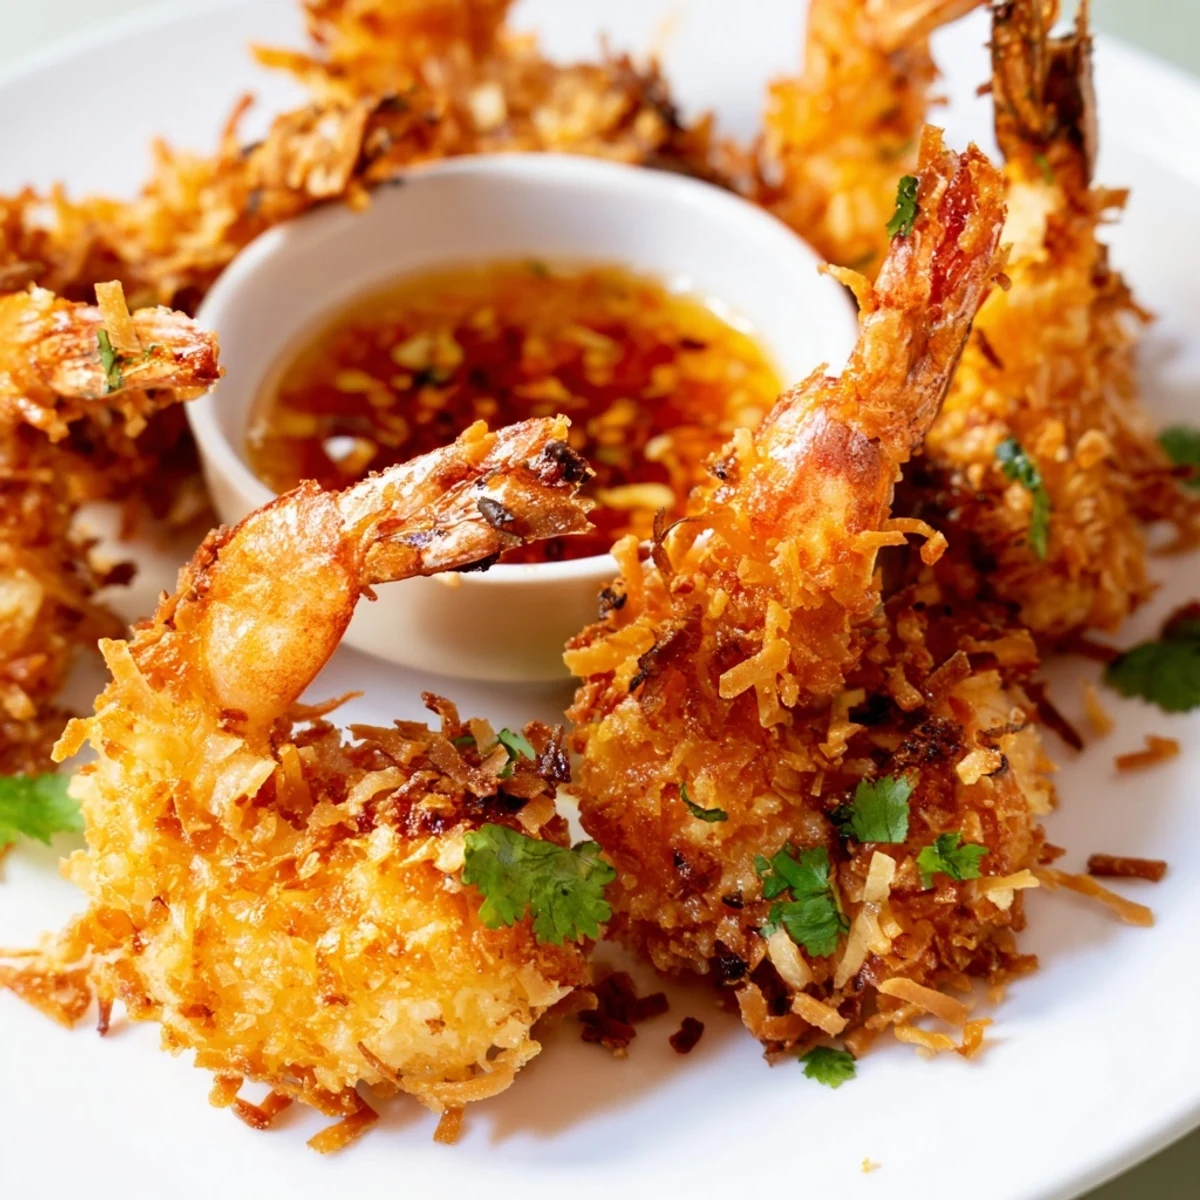
Save Experience succulent shrimp enveloped in a crunchy coconut coating, fried to a crispy golden brown. Each piece is served alongside a vibrant sweet chili sauce infused with lime and fresh cilantro, balancing richness with zesty note. Ideal for gatherings or a flavorful start to any meal, this dish combines savory textures with a delicate touch of sweetness and spice. Preparation involves careful dredging through flour, egg, and coconut-panko mixture before frying to achieve the perfect crunch. A lighter alternative is baking, maintaining crispiness while reducing oil use.
My friend Mei brought these to a summer potluck, and I literally stood guard by the platter until I got her to write down the recipe. The coconut gets all toasty and fragrant while the shrimp stay juicy inside, and that sweet chili sauce has just enough lime to cut through the richness.
Last New Years Eve, I made triple batches for a party and learned the hard way that you need to hide a few for the cook before serving. My brother-in-law ate twelve straight from the cooling rack while I was trying to get everything else on the table.
Ingredients
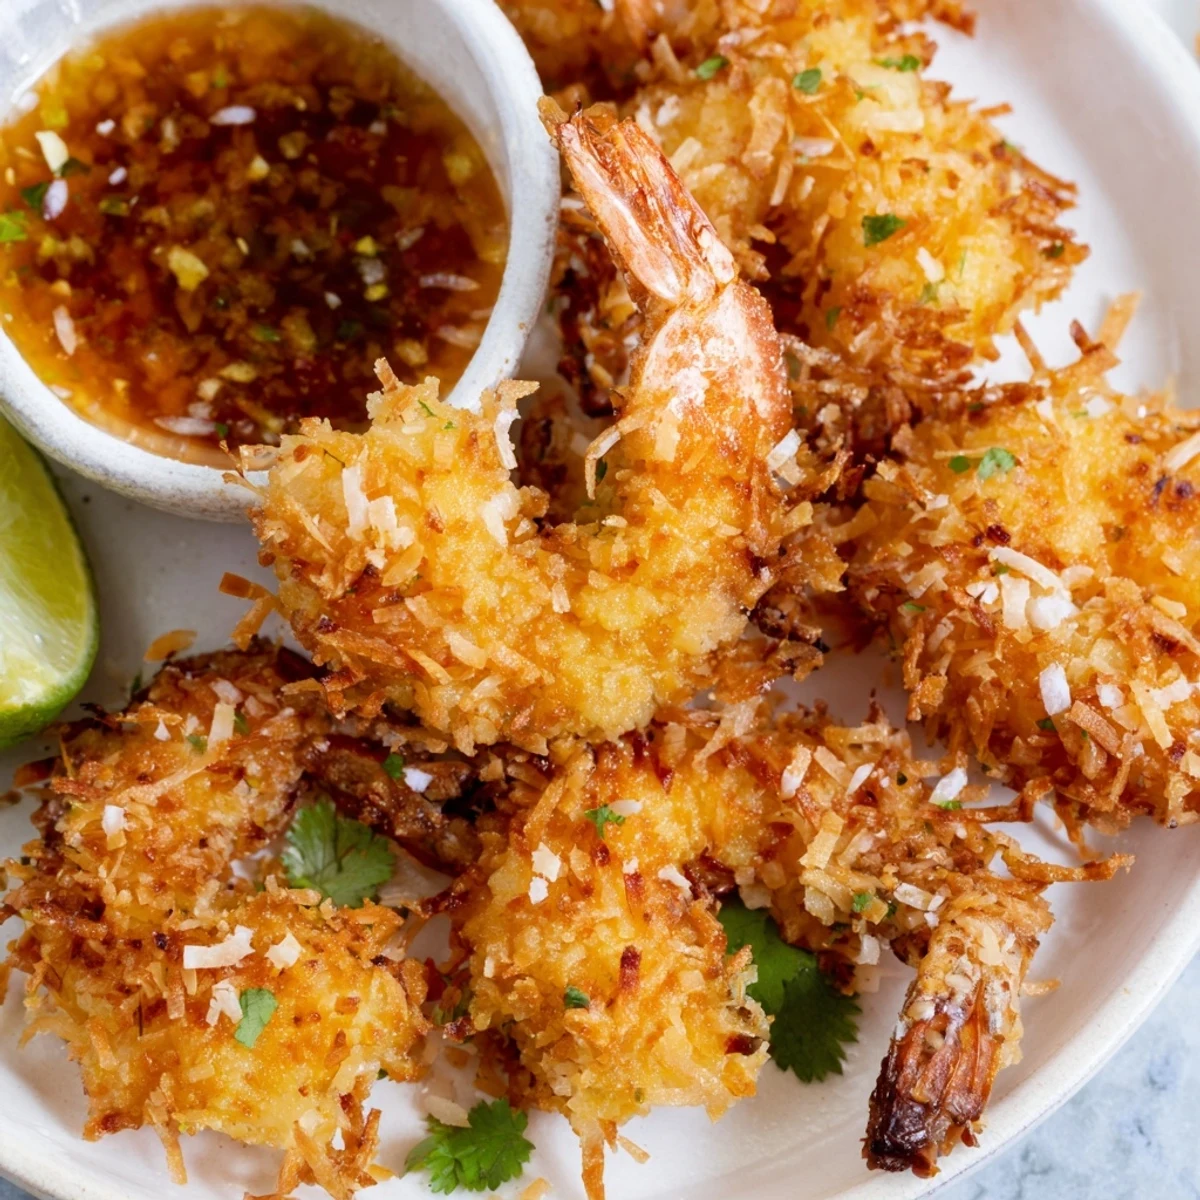
- 1 lb large raw shrimp, peeled and deveined, tails on: Leave those tails on, they become little handles for dipping and make the whole experience feel more elegant
- 1/2 tsp salt and 1/4 tsp black pepper: A simple seasoning goes a long way since the coconut breading brings so much sweetness
- 1/2 cup all-purpose flour: This first dry layer helps the egg wash grab on and keeps the final breading from slipping off during frying
- 2 large eggs, beaten: Room temperature eggs coat more evenly, so take them out of the fridge about 20 minutes before you start
- 1 cup panko breadcrumbs mixed with 1 cup unsweetened shredded coconut: Panko creates that extra light crunch, and unsweetened coconut keeps things balanced so these dont become dessert
- Vegetable oil for frying: You want about 2 inches in the pan, enough that the shrimp can float freely without touching the bottom
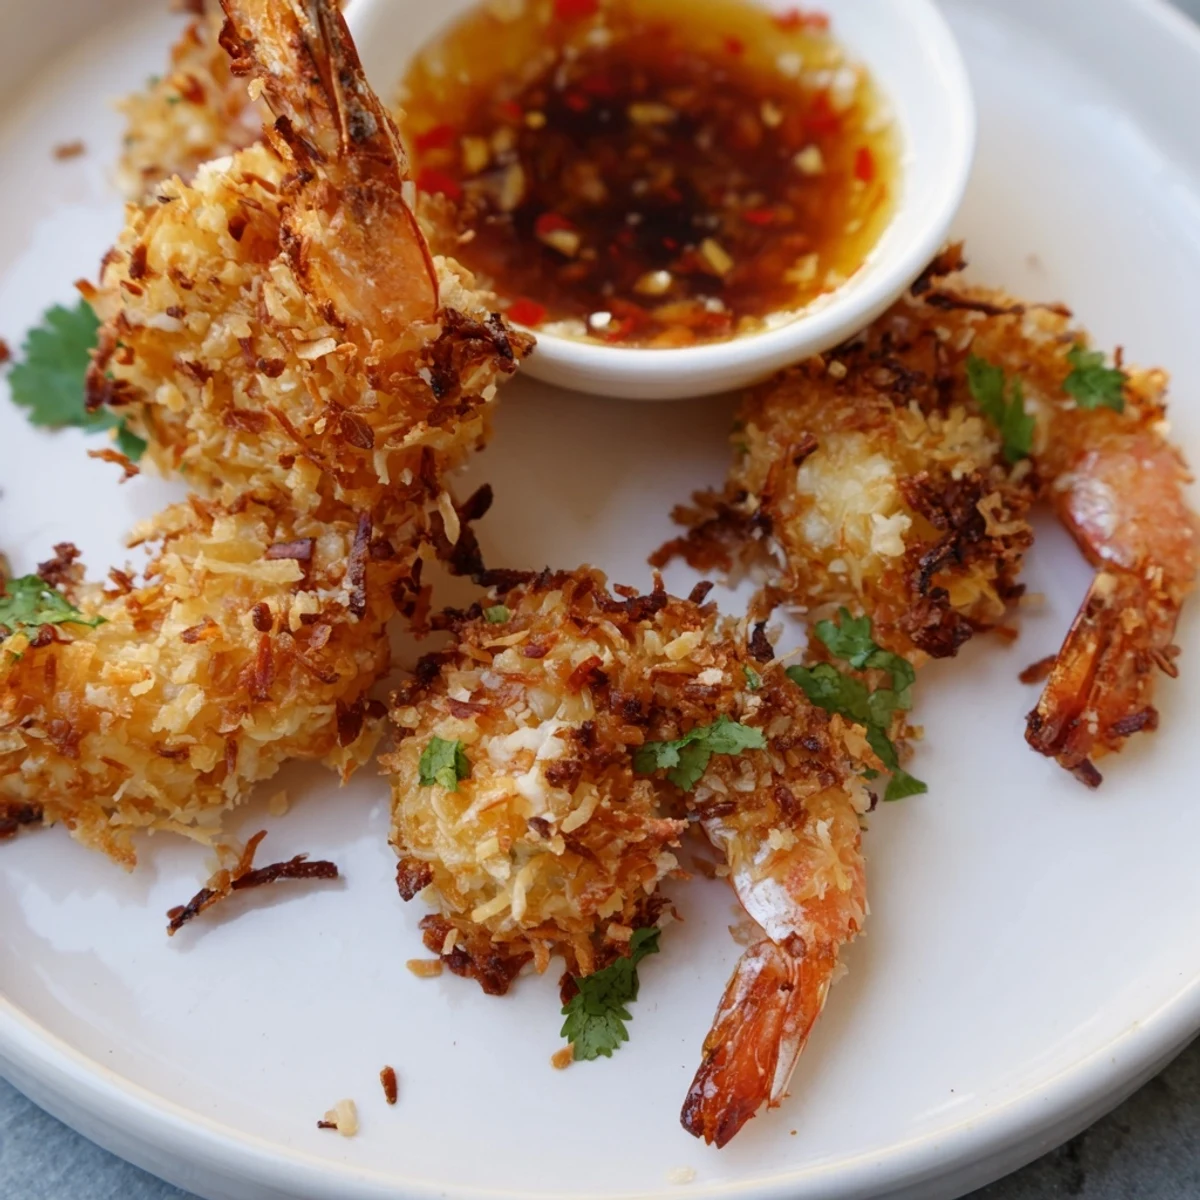
- 1/2 cup sweet chili sauce mixed with 1 tbsp lime juice: The lime juice is non-negotiable here, it cuts the sugary sauce and makes everything taste brighter
- 1 tsp chopped fresh cilantro: Optional but adds this fresh herbal note that makes the sauce feel homemade rather than jarred
Instructions
- Prep your shrimp station:
- Pat those shrimp completely dry with paper towels, then sprinkle them with the salt and pepper. Any moisture on the surface will make the coating slide right off.
- Set up your breading line:
- Get three shallow bowls ready, flour in the first, beaten eggs in the second, and the panko-coconut mixture in the third. This assembly line method keeps things moving smoothly once you start frying.
- Coat each shrimp thoroughly:
- Dredge each shrimp in flour first, shake off the extra, then dip it in the egg, and finally press it firmly into the coconut mixture. Really press it in there so you get a thick, even coating that will get properly crispy.
- Get your oil hot and ready:
- Heat 2 inches of vegetable oil to 350°F, and if you dont have a thermometer, drop in a tiny piece of coconut, it should bubble enthusiastically but not violently. This temperature is crucial because too cool means soggy shrimp and too hot burns the coconut before the shrimp cook through.
- Fry in small batches:
- Cook the shrimp for about 2 to 3 minutes per side, watching for that beautiful golden brown color. Move them around gently with tongs so they color evenly, then transfer them to a wire rack or paper towels to drain.
- Whisk up that quick sauce:
- Stir together the sweet chili sauce and lime juice, then fold in the chopped cilantro. Let it sit while the shrimp fry so the flavors have time to get friendly with each other.
- Serve them while theyre hot:
- Arrange the shrimp on a platter with the sauce in a small bowl alongside. Watch how fast people reach for them, and maybe grab one for yourself first.
 Save
Save These became my go-to contribution to every gathering after my neighbor asked for the recipe at three separate parties. Now theyre just known as my coconut shrimp, and I kind of love that.
Baking Option
Sometimes I bake these instead of frying, and they still turn out beautifully crispy. Arrange them on a wire rack set over a baking sheet at 425°F for about 14 to 16 minutes, flipping them halfway through. The coconut still gets toasty and golden, just with that hands-off ease that lets you prep other things.
Make-Ahead Strategy
Ive breaded these up to 4 hours ahead and kept them on a parchment-lined baking sheet in the refrigerator. The coating firms up a bit in the cold, which actually helps it adhere better when you fry them. Just let them sit at room temperature for about 15 minutes before hitting the hot oil.
Serving Ideas
Beyond the sweet chili sauce, these are fantastic with a quick sriracha mayo or even just fresh squeezed lime. I love serving them alongside simple cucumber salad or some edamame to balance out the richness.
- A cold crisp Riesling or a citrusy wheat beer cuts through the frying beautifully
- If someone avoids coconut, you can swap in extra panko or even crushed cornflakes for the crunch
- These reheat surprisingly well in a 350°F oven for about 5 minutes, though nothing beats fresh from the fryer
 Save
Save Hope these bring as much joy to your table as they have to mine. Happy frying.
Recipe FAQs
- → What is the best way to get the coconut coating crisp?
-
Ensure shrimp are patted completely dry before dredging, and fry in oil at 350°F to achieve a golden, crunchy crust without sogginess.
- → Can I bake instead of frying to make it lighter?
-
Yes, baking at 425°F on a wire rack for 14–16 minutes, turning halfway, yields a crispy texture with less oil.
- → How does the sweet chili sauce complement the shrimp?
-
The tangy, slightly sweet sauce adds a bright, zesty balance to the rich, crunchy coconut breading enhancing overall flavor.
- → Are there good drink pairings with this dish?
-
Light, crisp Riesling or citrusy wheat beers complement the shrimp’s flavors and fresh chili notes nicely.
- → Can gluten-free breadcrumbs be used in the coating?
-
Absolutely. Swapping in gluten-free breadcrumbs maintains crispiness and suits dietary needs without changing texture.
