 Save
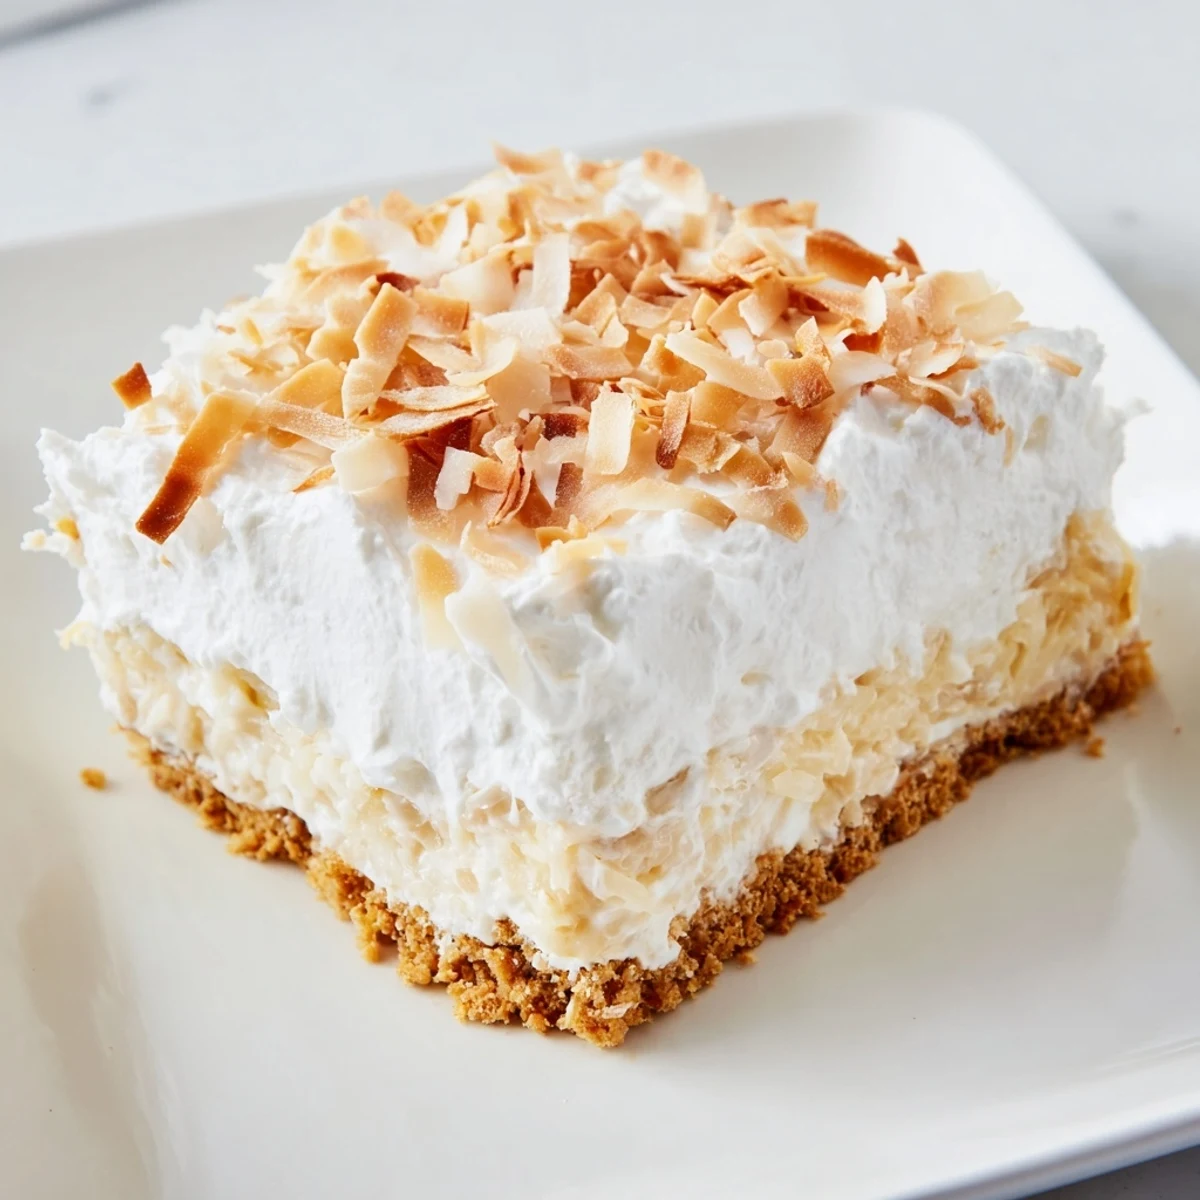
Save Experience a delightful layered dessert featuring a crisp graham cracker crust topped with a smooth coconut cream filling. The filling is enriched with shredded coconut and vanilla, creating a rich, velvety texture. Topped with chilled whipped cream and toasted coconut flakes, these bars offer a balance of crunch and softness. Chill time ensures the layers set perfectly, delivering a refreshing and satisfying treat perfect for any occasion.
My roommate Sarah walked in while I was stirring the coconut milk mixture, nose twitching like a detective. She stood there watching the bubbles form and declared she'd help with the dishes if I promised to save her the corner piece. That's how I knew this recipe was worth keeping—people will negotiate for a square.
I first made these for a summer potluck when I was running dangerously short on time and needed something that felt special. The pan came back empty with three separate people texting me for the recipe before I even made it home. Now they're my go-to when I want to bring something that looks like I tried harder than I actually did.
Ingredients
- Graham cracker crumbs: They create that buttery, sandy foundation that holds everything together. Pulse whole crackers in a food processor or place them in a ziplock and crush with a rolling pin if you need to work out some frustration.
- Unsalted butter, melted: Salted butter works too but reduce the pinch of salt in the crust slightly. Melt it in the microwave in 20 second bursts so it doesn't splatter.
- Coconut milk: Full-fat canned coconut milk makes all the difference here. Shake the can well before opening and don't skip the tempering step or you'll end up with sweet scrambled eggs.
- Cornstarch: This is your thickening insurance. Whisk it into the sugar before adding any liquid to prevent those stubborn lumps that refuse to dissolve.
- Egg yolks: Save the whites for breakfast or meringue. Room temperature yolks incorporate more smoothly into hot liquid, so set them out while you make the crust.
- Sweetened shredded coconut: Toast it in a dry pan over medium heat for 2 to 3 minutes before adding to the filling. The flavor transformation is worth washing one extra pan.
- Heavy whipping cream: Chill your bowl and whisk for 10 minutes before whipping. Cold cream whips faster and holds its shape better, especially in humid weather.
Instructions
- Press and bake the crust:
- Mix the graham cracker crumbs, melted butter, and sugar until it feels like damp sand. Press firmly into your parchment-lined pan using the bottom of a measuring cup—this creates an even layer that won't crumble when you slice later.
- Warm the milk mixture:
- Whisk both milks, sugar, cornstarch, and salt in your saucepan over medium heat. Keep stirring and watch for the first signs of thickening, like when the whisk leaves a trail that briefly holds its shape.
- Temper the egg yolks:
- Whisk your yolks in a separate bowl while the milk heats up. Ladle about half a cup of the hot mixture into the yolks in a thin stream, whisking constantly so the eggs warm up gradually without scrambling.
- Thicken the filling:
- Pour the warmed yolks back into the saucepan and keep cooking until bubbles surface and the mixture coats the back of a spoon. Pull it immediately when it thickens—overcooked custard develops a weird, eggy texture.
- Add coconut and chill:
- Stir in the vanilla and shredded coconut, then pour over your cooled crust. Let it set in the fridge for at least an hour. The filling should wiggle like gelatin when you gently shake the pan.
- Top and finish:
- Whip the cream with powdered sugar and vanilla until stiff peaks form. Spread it over the chilled filling, scatter toasted coconut on top, and chill for another 30 minutes before slicing. Use a clean knife dipped in hot water for the cleanest cuts.
 Save
Save My grandmother tried these and announced she was never making her old-fashioned coconut cream pie again. That's the highest compliment she's ever given me, considering she's been making that pie for fifty years and doesn't hand out praise lightly.
Make-Ahead Magic
These bars keep beautifully in the refrigerator for up to four days, covered tightly. The crust softens slightly over time but never gets soggy, and the flavors meld together beautifully. I've served them on day three and they actually tasted more cohesive than the first day.
Slicing Secrets
Run your knife under hot water and wipe it clean between cuts for restaurant-style squares. I also recommend using the parchment paper overhang to lift the entire slab onto a cutting board before slicing—keeps your pan edges pristine and gives you more cutting room.
Serving Suggestions
These are rich enough to stand alone but a dollop of fresh fruit alongside cuts through the sweetness. Sliced mango or berries create this tropical vibe that really works. Serve them cold straight from the refrigerator for the best texture experience.
- A light drizzle of melted dark chocolate over the whipped topping creates this stunning restaurant-style finish.
- Toasting extra coconut flakes in bulk and storing them in a jar makes the garnish step feel effortless next time.
- Small espresso cups or shot glasses of strong coffee balance the sweetness if you're serving these after dinner.
 Save
Save There's something deeply satisfying about a layered dessert where each component plays its part without competing for attention. These bars have become my quiet ace in the hole for moments that call for something sweet but memorable.
Recipe FAQs
- → What is the best way to achieve a crisp crust?
-
Mix graham cracker crumbs thoroughly with melted butter and sugar, then press firmly into the pan before baking briefly to set a firm foundation.
- → How can I ensure the coconut cream filling is smooth and thick?
-
Cook the milk mixture slowly while whisking, temper egg yolks by slowly adding hot milk, then return to heat to thicken evenly.
- → Can I substitute ingredients for dietary needs?
-
Yes, use gluten-free cracker crumbs for the crust and ensure dairy substitutes fit your dietary preference without affecting texture significantly.
- → What is the purpose of chilling the bars?
-
Chilling sets the creamy filling and whipped topping, allowing layers to firm up and flavors to meld for ideal texture and taste.
- → How do toasted coconut flakes enhance the dessert?
-
They add a crunchy, nutty contrast that complements the creamy layers and reinforces the coconut flavor theme.
