 Save
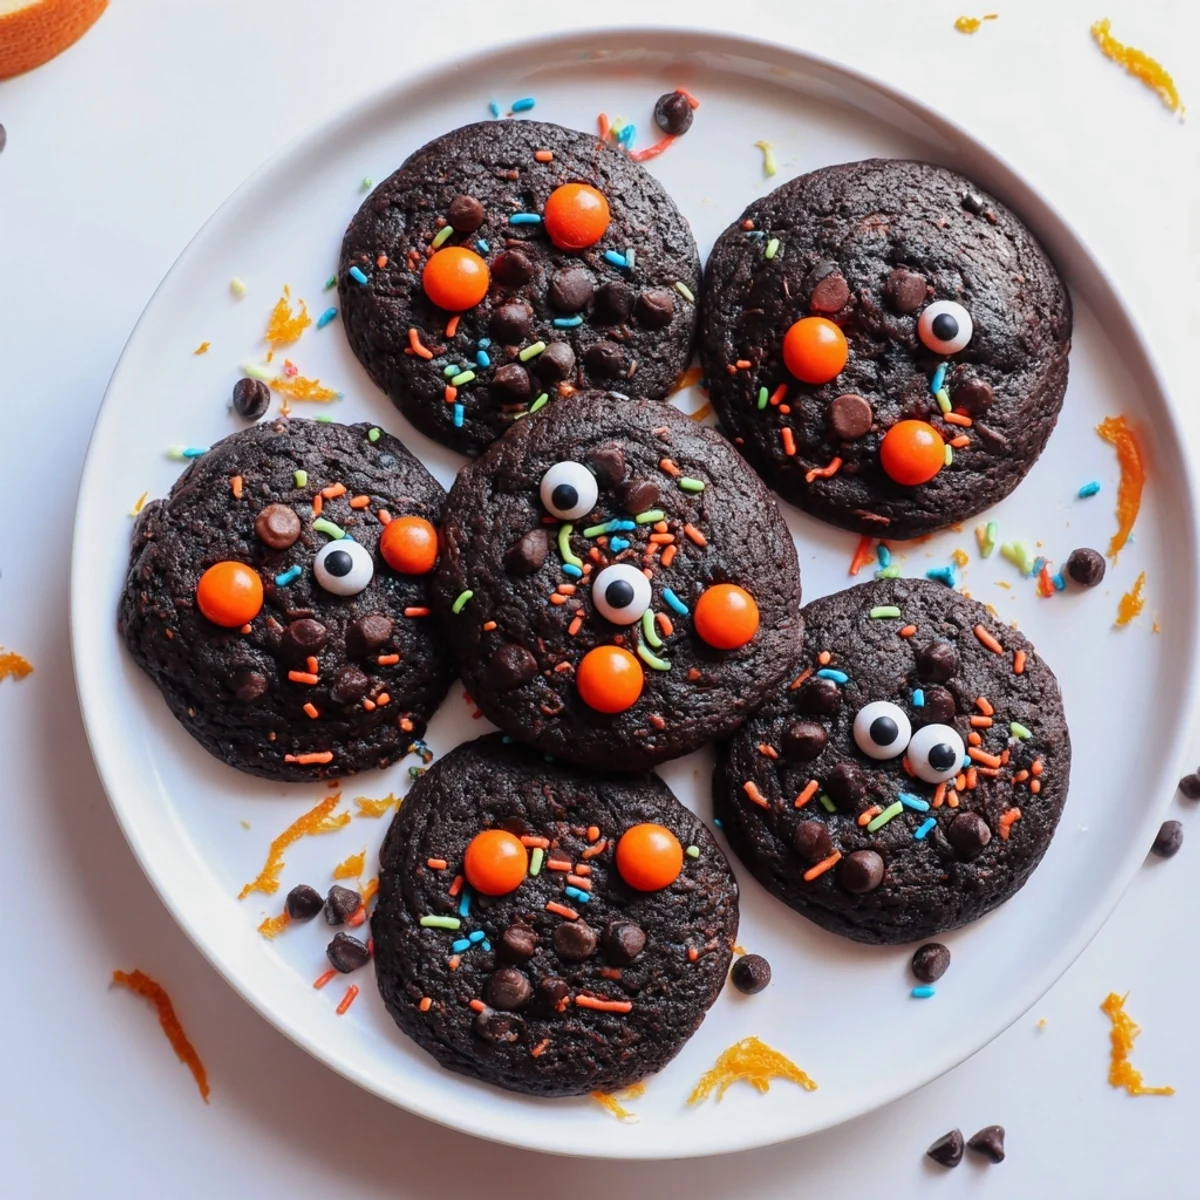
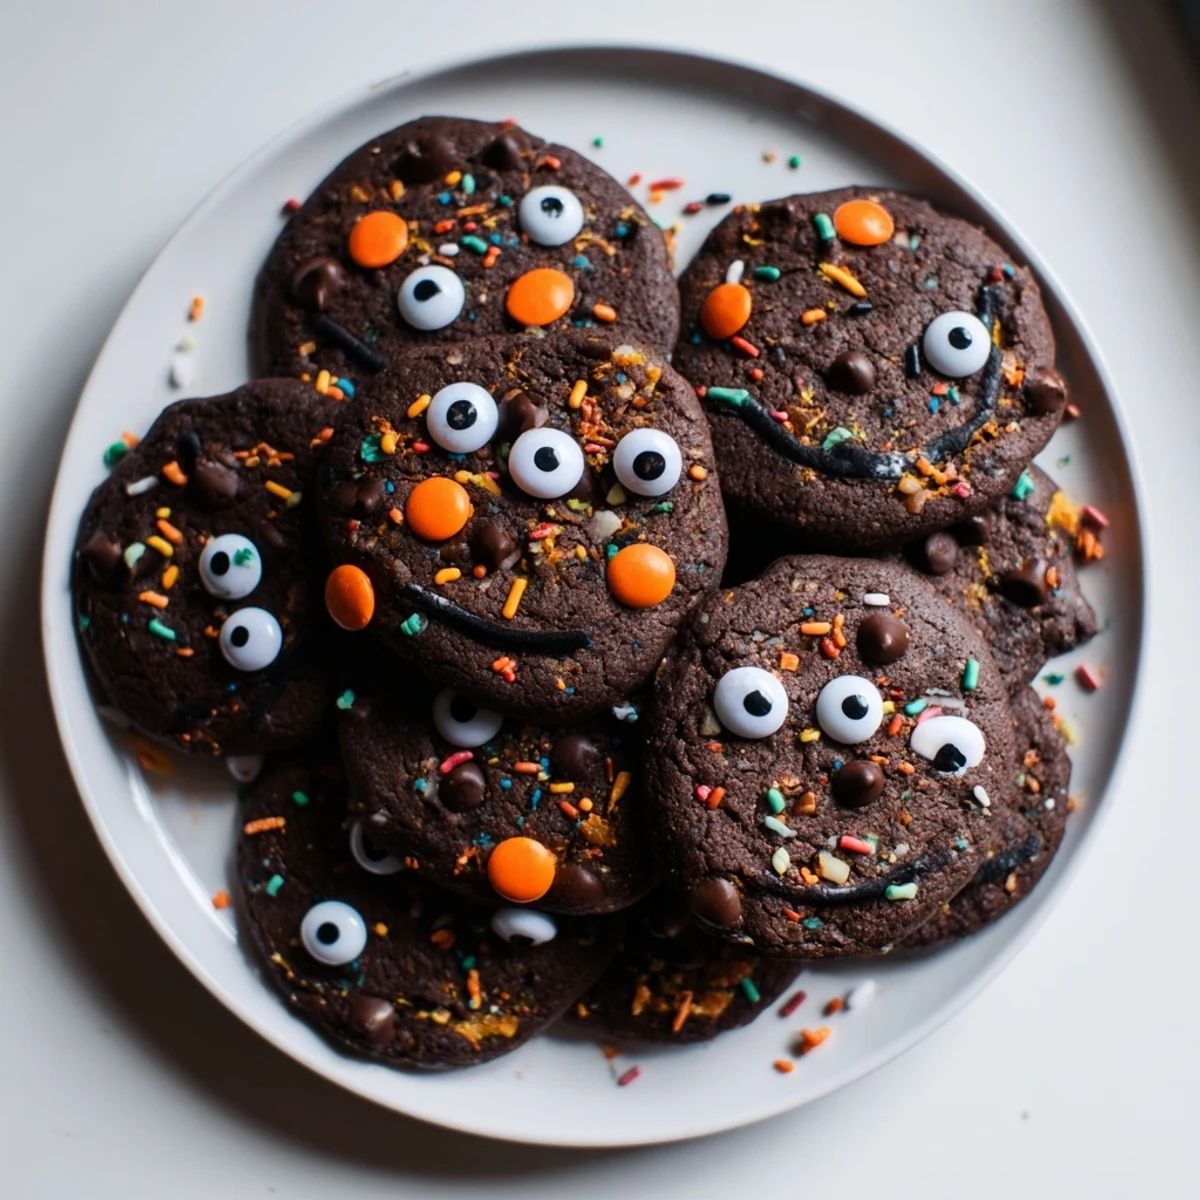
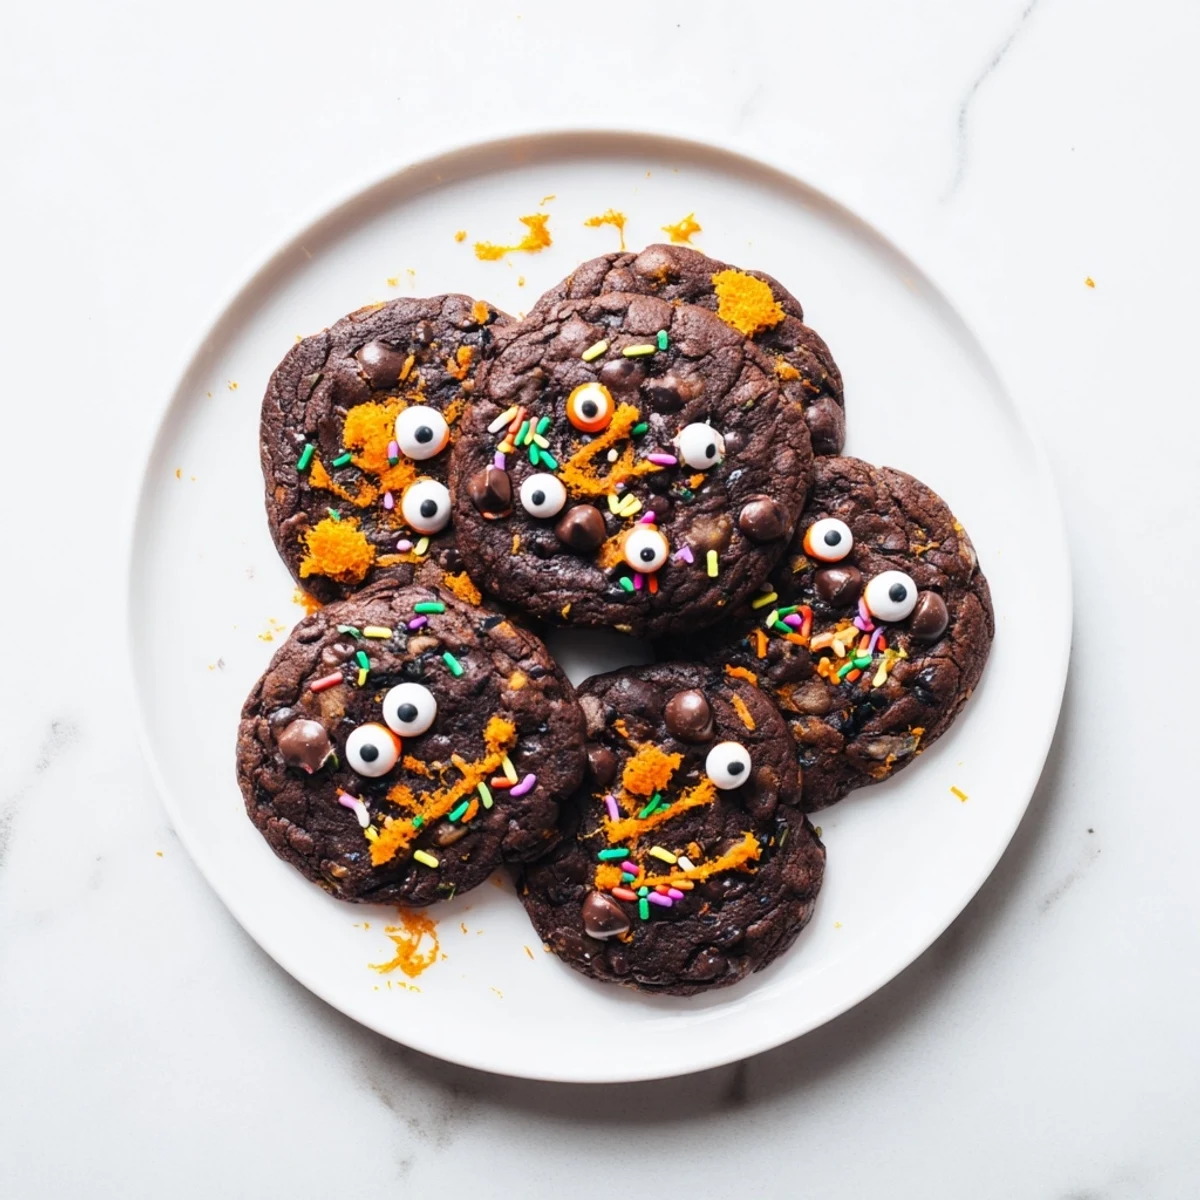
Save These delightfully spooky treats combine rich cocoa with bright orange zest and juice for a flavor that's both indulgent and refreshing. The soft, chewy texture features semisweet chocolate chips throughout, while the edges bake to perfect crispness. What makes these special is the decorating phase—transforming cooled cookies into goofy, ghoulish faces using candy eyeballs, colorful sprinkles, and piped chocolate details. Kids love getting creative with the expressions, making them ideal for Halloween parties or autumn afternoon activities.
Last October, my daughter begged me to make something spooky for her class party. I was rushing between meetings and had zero energy for elaborate royal icing work. These chocolate orange cookies saved my sanity and I ended up making three batches because my husband kept eating them before I could even decorate them.
The kitchen smelled incredible while these were baking and my daughter kept asking if they were done yet. We ended up having a mini decorating competition at the counter and I am pretty sure her spooky faces came out better than mine. Now she requests them every year.
Ingredients
- 2 cups all purpose flour: Regular flour works perfectly here, no need for anything fancy
- 1/2 cup unsweetened cocoa powder: This gives them that deep rich chocolate color and flavor
- 1 teaspoon baking soda: Helps them puff up just right in the oven
- 1/4 teaspoon salt: Balances out the sweetness from all that sugar
- 3/4 cup unsalted butter softened: Room temperature butter makes mixing so much easier
- 1 cup granulated sugar: Creates that crisp edge everyone loves
- 1/2 cup light brown sugar: Adds moisture and a slight caramel flavor
- 2 large eggs: Bind everything together and help the cookies rise
- 1 teaspoon vanilla extract: Pure vanilla makes a noticeable difference
- Zest of 2 large oranges: Fresh orange zest is where all that bright citrus flavor comes from
- 2 tablespoons fresh orange juice: Complements the zest and adds moisture
- 1 cup semisweet chocolate chips: I have used milk chocolate too when that was what I had on hand
- Candy eyeballs and decorations: The weirder the better honestly
Instructions
- Get your oven ready:
- Preheat to 350°F and line two baking sheets with parchment paper to prevent sticking and make cleanup easier.
- Whisk the dry ingredients:
- In a medium bowl, combine flour, cocoa powder, baking soda, and salt until well blended.
- Cream the butter and sugars:
- Beat butter, granulated sugar, and brown sugar in a large bowl until the mixture looks fluffy and pale.
- Add the wet ingredients:
- Mix in eggs one at a time, then stir in vanilla, orange zest, and orange juice until everything is incorporated.
- Combine it all:
- Gradually add the dry ingredients to the wet mixture, mixing just until you no longer see streaks of flour.
- Add the chocolate chips:
- Fold them in gently so you do not overwork the dough.
- Scoop and space:
- Drop tablespoon sized balls onto your prepared baking sheets, leaving about 2 inches between each cookie.
- Bake until perfect:
- Bake for 10 to 12 minutes, watching for edges that look set while centers remain soft.
- Cool completely:
- Let them rest on the baking sheets for 5 minutes before moving to wire racks.
- Make them spooky:
- Once cool, let everyone decorate with candy eyeballs, sprinkles, or icing to create freaky faces.
 Save
Save My neighbor asked for the recipe after I brought over a small plate. She told me her kids usually pick the sprinkles off cookies but they devoured these and asked for more. Something about that orange zest really makes people curious.
Making Them Ahead
I have learned that the dough actually freezes beautifully if you want to bake fresh cookies later. Just scoop the dough balls onto a baking sheet, freeze until solid, then transfer to a bag.
Decorating Like a Pro
Melted chocolate works better than icing for detailed designs because it sets faster and stays put. I use a toothpick to drag the chocolate into spooky expressions or hair.
Serving and Storage
These disappear fast at parties, but if you somehow have leftovers, they stay soft in an airtight container for days. I actually think they taste even better on day two when the orange flavor has had time to develop.
- Place a piece of bread in the container to keep them extra soft
- Bring to room temperature before serving for the best texture
- Package them in clear bags with ribbon for easy party favors
 Save
Save Hope your kitchen gets messy and your Halloween gets a little more delicious. These cookies have become our family tradition and I bet they will find their way into your holiday rotation too.
Recipe FAQs
- → How long do these keep fresh?
-
Store in an airtight container at room temperature for up to 4 days. The chocolate chips stay melty and the orange flavor remains bright.
- → Can I freeze the dough?
-
Yes, scoop dough balls onto a baking sheet and freeze until solid. Transfer to a freezer bag for up to 3 months. Bake from frozen, adding 1-2 minutes.
- → What if I can't find candy eyeballs?
-
Use white chocolate chips with dots of dark chocolate piped in the center, or create eyes using round sprinkles and mini M&Ms.
- → How can I make the orange flavor stronger?
-
Add 1/2 teaspoon orange extract along with the vanilla, or increase the orange zest to 3 tablespoons and juice to 3 tablespoons.
- → Can I make these ahead for a party?
-
Bake and cool completely up to 2 days ahead. Decorate the day of serving for best results—the decorations stay fresh and the texture remains perfect.
