 Save
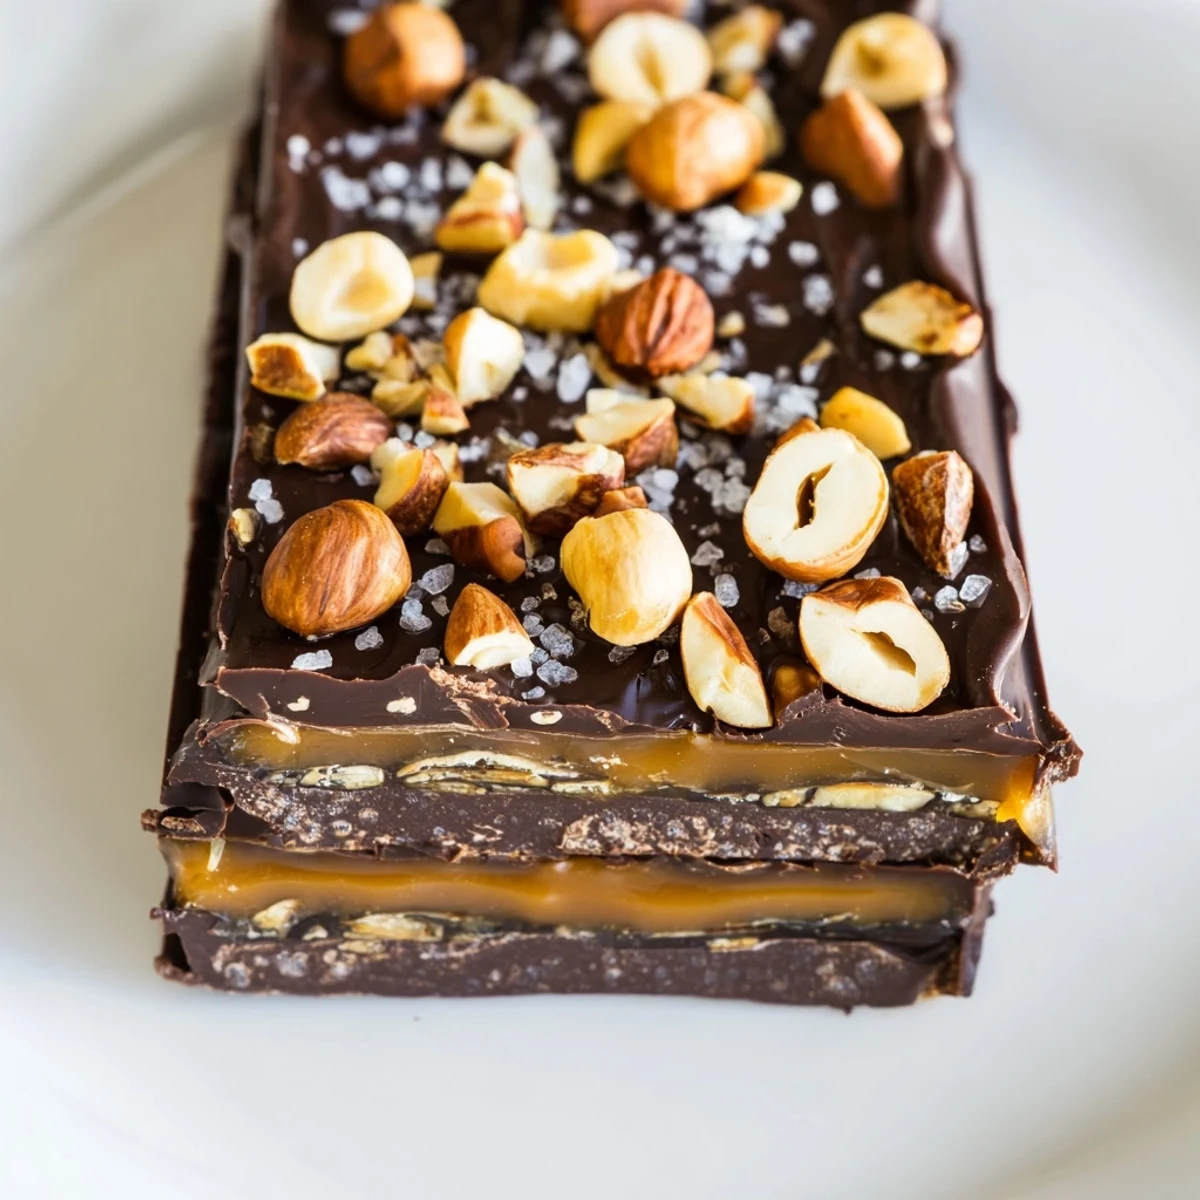
Save Enjoy these indulgent chocolate bars combining smooth dark chocolate with creamy caramel and crunchy mixed nuts. The process involves melting chocolate and butter, chilling the base, then layering soft caramel mixed with cream, topped with nuts, and finished with a final chocolate coating. After chilling to set, the bars are sliced to serve, offering a delightful balance of textures and flavors. Perfect for those seeking a rich, sweet treat with a satisfying crunch.
There's something about layered chocolate bars that reminds me of raiding my grandmother's kitchen counter one winter afternoon, finding a homemade candy box she'd been hiding. The way the layers caught the light, dark chocolate giving way to glossy caramel and then those golden nut pieces peeking through, felt like discovering edible architecture. I've been chasing that moment ever since, and this recipe captures it perfectly every single time.
I once brought a batch to a casual dinner party thinking they'd be a quiet side dessert, but people actually paused mid-conversation to eat them. Someone asked for the recipe before they'd even finished their first bar, which told me everything I needed to know about how these things hit.
Ingredients
- Dark or semi-sweet chocolate, 300 g chopped: This is your foundation, so pick something you'd actually eat on its own, not baking chocolate that tastes like regret.
- Unsalted butter, 2 tbsp: Helps the chocolate melt smoothly and adds richness without overpowering the layers.
- Soft caramels, 200 g unwrapped: The creamy heart of these bars, softening into pure indulgence when mixed with cream.
- Heavy cream, 3 tbsp: Transforms stiff caramels into a spreadable dream without breaking them down into grainy sludge.
- Mixed nuts, 120 g roughly chopped: Toast them first if you want to unlock deeper flavors, or use them raw if you prefer a cleaner taste.
- Flaky sea salt, 1/4 tsp optional: A tiny pinch wakes up all the sweetness and makes people wonder what your secret ingredient is.
Instructions
- Prep your pan:
- Line your square pan with parchment paper and leave the edges hanging over the sides like little handles for later. This makes pulling the whole slab out a single satisfying motion instead of wrestling with it.
- Melt your chocolate and butter:
- Use a double boiler if you're being careful, or microwave in short bursts if you're in a hurry, stirring between each blast until it's glossy and smooth. Either way, you're looking for that perfect melted state where there are no grainy bits.
- Lay the foundation:
- Pour half the melted chocolate into the pan and spread it flat with a spatula, getting into the corners so you have an even base. Pop it in the fridge for 15 minutes and let it firm up while you move on to the next layer.
- Make your caramel layer:
- Combine the unwrapped caramels and cream in a saucepan over low heat, stirring constantly until they melt into something smooth and pourable. Don't rush this or let it bubble too hard, or you'll end up with caramel that's too thick to spread.
- Build the middle:
- Spread the warm caramel over your set chocolate base, then scatter the chopped nuts across the top and press them down gently so they stay put. If you're using salt, sprinkle it now so it catches in the caramel.
- Seal it closed:
- Pour the remaining melted chocolate over everything and spread it to cover all the nuts completely, pressing slightly to bond with the layer below. This top coat is what makes them look like proper candy shop bars.
- Chill until set:
- Give the pan at least 30 minutes in the fridge, though I usually leave mine longer because cold chocolate holds its shape better when you cut. You'll know it's ready when it feels completely firm and doesn't flex.
- Cut and serve:
- Use the parchment overhang to lift the whole thing out of the pan, then slice with a sharp knife, wiping the blade between cuts if chocolate sticks. Serve at room temperature for the softest, most luxurious bite.
 Save
Save These bars taught me that homemade chocolate doesn't have to be complicated to feel special. The first time someone bit into one and closed their eyes, I understood why my grandmother kept that candy box so carefully hidden.
The Secret of Layering
Each layer needs to set before the next one goes on, and that patience is what separates these from a messy marble of melted ingredients. The chilling isn't punishment, it's what gives you clean layers with distinct textures instead of a homogeneous paste. I've learned to use that time to make coffee or do something else entirely, rather than standing there watching chocolate firm up.
Choosing Your Nuts and Chocolate
The best version of this uses chocolate you genuinely enjoy eating, not the cheapest option that technically counts as chocolate. Mixed nuts give you variety in every bite, but you can also use just almonds if you prefer simplicity, or hazelnuts if you're feeling fancy. Toast your nuts lightly before chopping if you have time and want deeper, more complex flavors that push back against all that sweetness.
Storing and Sharing
These keep in the fridge for a week in an airtight container, though they rarely last that long in any kitchen I know. They're also surprisingly generous as gifts since you get twelve bars from one pan, enough to share without completely depleting your own supply. Cold bars have a sharper snap when you bite into them, while room temperature ones are creamier, so serve them however your household prefers.
- Cut them on parchment paper to keep your cutting board clean and avoid chocolate smears.
- If your kitchen is warm, keep these chilled until the moment you serve them.
- A sharp serrated knife works better than a chef's knife for clean cuts through all three layers.
 Save
Save These chocolate bars prove that the best treats don't come from a box, and the best moments in the kitchen happen when you slow down enough to layer something properly. Make them once and you'll be making them forever.
Recipe FAQs
- → What type of chocolate works best?
-
Dark or semi-sweet chocolate provides a rich flavor that balances the caramel sweetness well.
- → Can I use different nuts in the bars?
-
Yes, mixed nuts like almonds, hazelnuts, or pecans add great texture and flavor diversity.
- → Is it necessary to chill each layer?
-
Chilling helps each layer set properly, ensuring clean layers and easier slicing.
- → How can I enhance the nut flavor?
-
Lightly toasting the nuts before layering brings out their aroma and crunch.
- → What’s the best way to melt the chocolate?
-
Use a double boiler or microwave in short bursts, stirring until smooth to avoid burning.
- → How long should the final bars chill before serving?
-
Chill for at least 30 minutes to allow the bars to fully set and firm up.
